

The Planck
Part 1, My build log of the 40% Planck Keyboard.
I've written a lot about Mechanical keyboards, and if it wasn't already clear, I'm somewhat of an enthusiast.
This hobby and interest exposes you to a range of keyboards that you didn't previously know existed with an array of layouts, sizes, and colours. I became particularly intrigued by tiny keyboards as they not only look weird, but supposedly can help with both typing efficiency and RSI. After many months of browsing enthusiast forums I came across a Planck. Looking down at your keyboard now you'll notice that the layout is staggered, meaning the keys aren't all aligned. The Planck on the other hand is 'Ortholinear'; the keys are in a columnar fashion! Weird. I like it!
The Planck, being an enthusiast board and 40% of the size of a normal keyboard, is not purchasable in your normal high street shop and once acquiring all of the parts it must be assembled by hand. After initially being put off by the idea seeing as I hadn't soldered since school, I decided to take the plunge. This is the build log of my Planck.
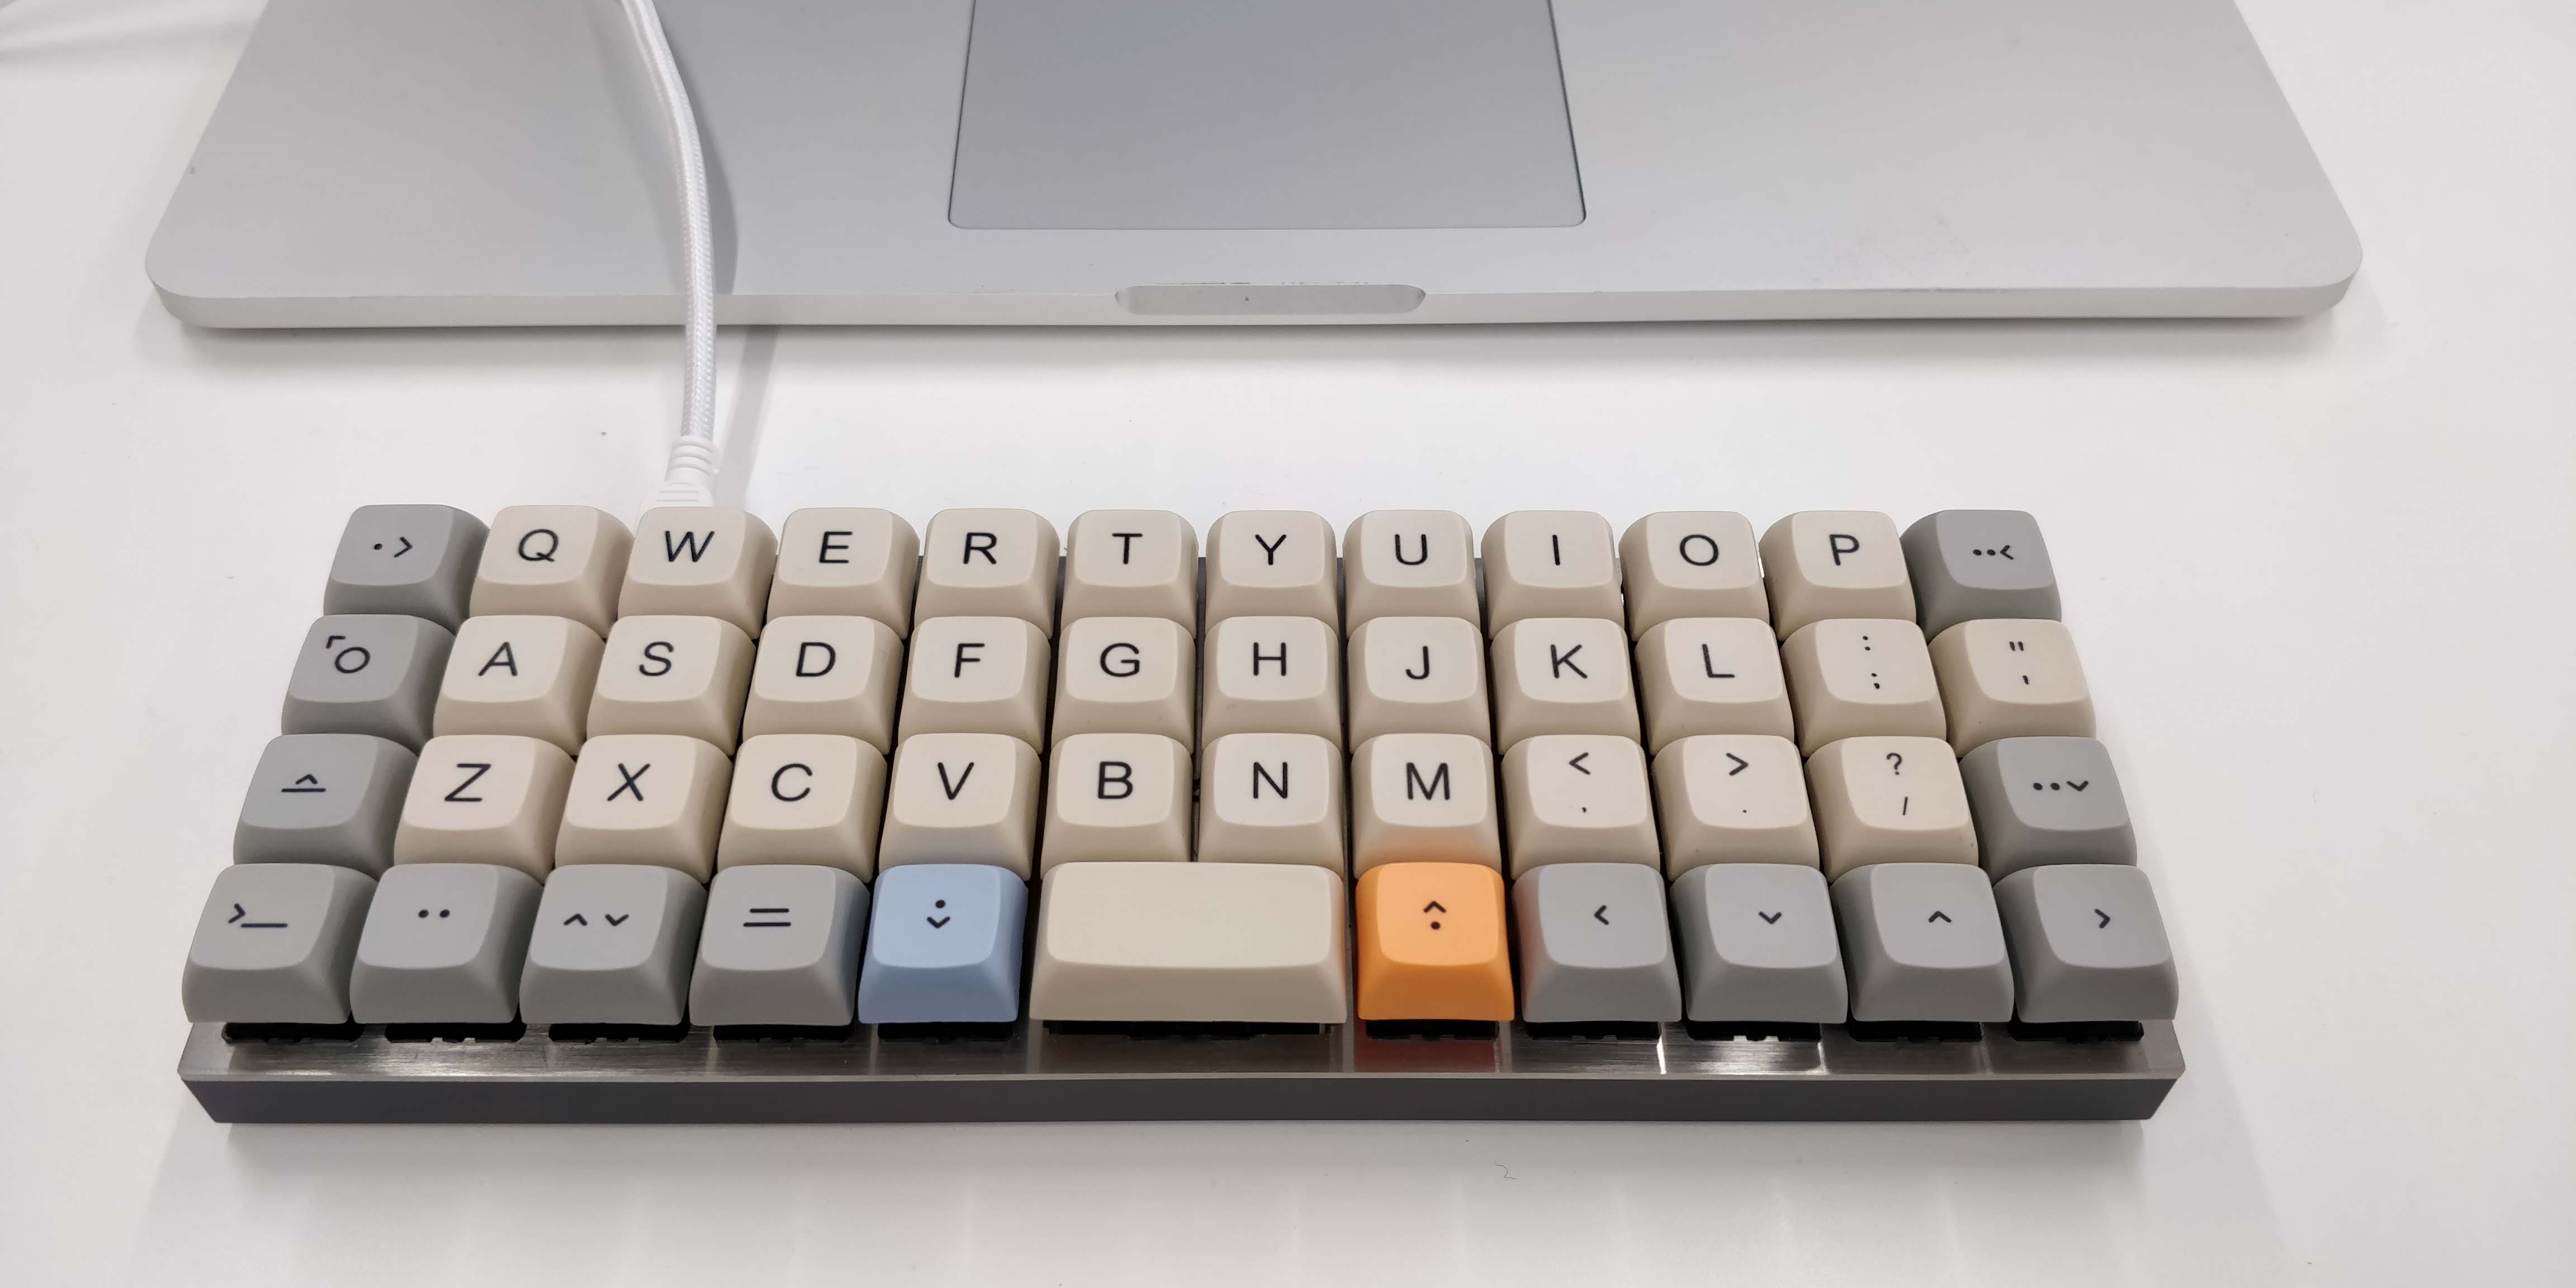
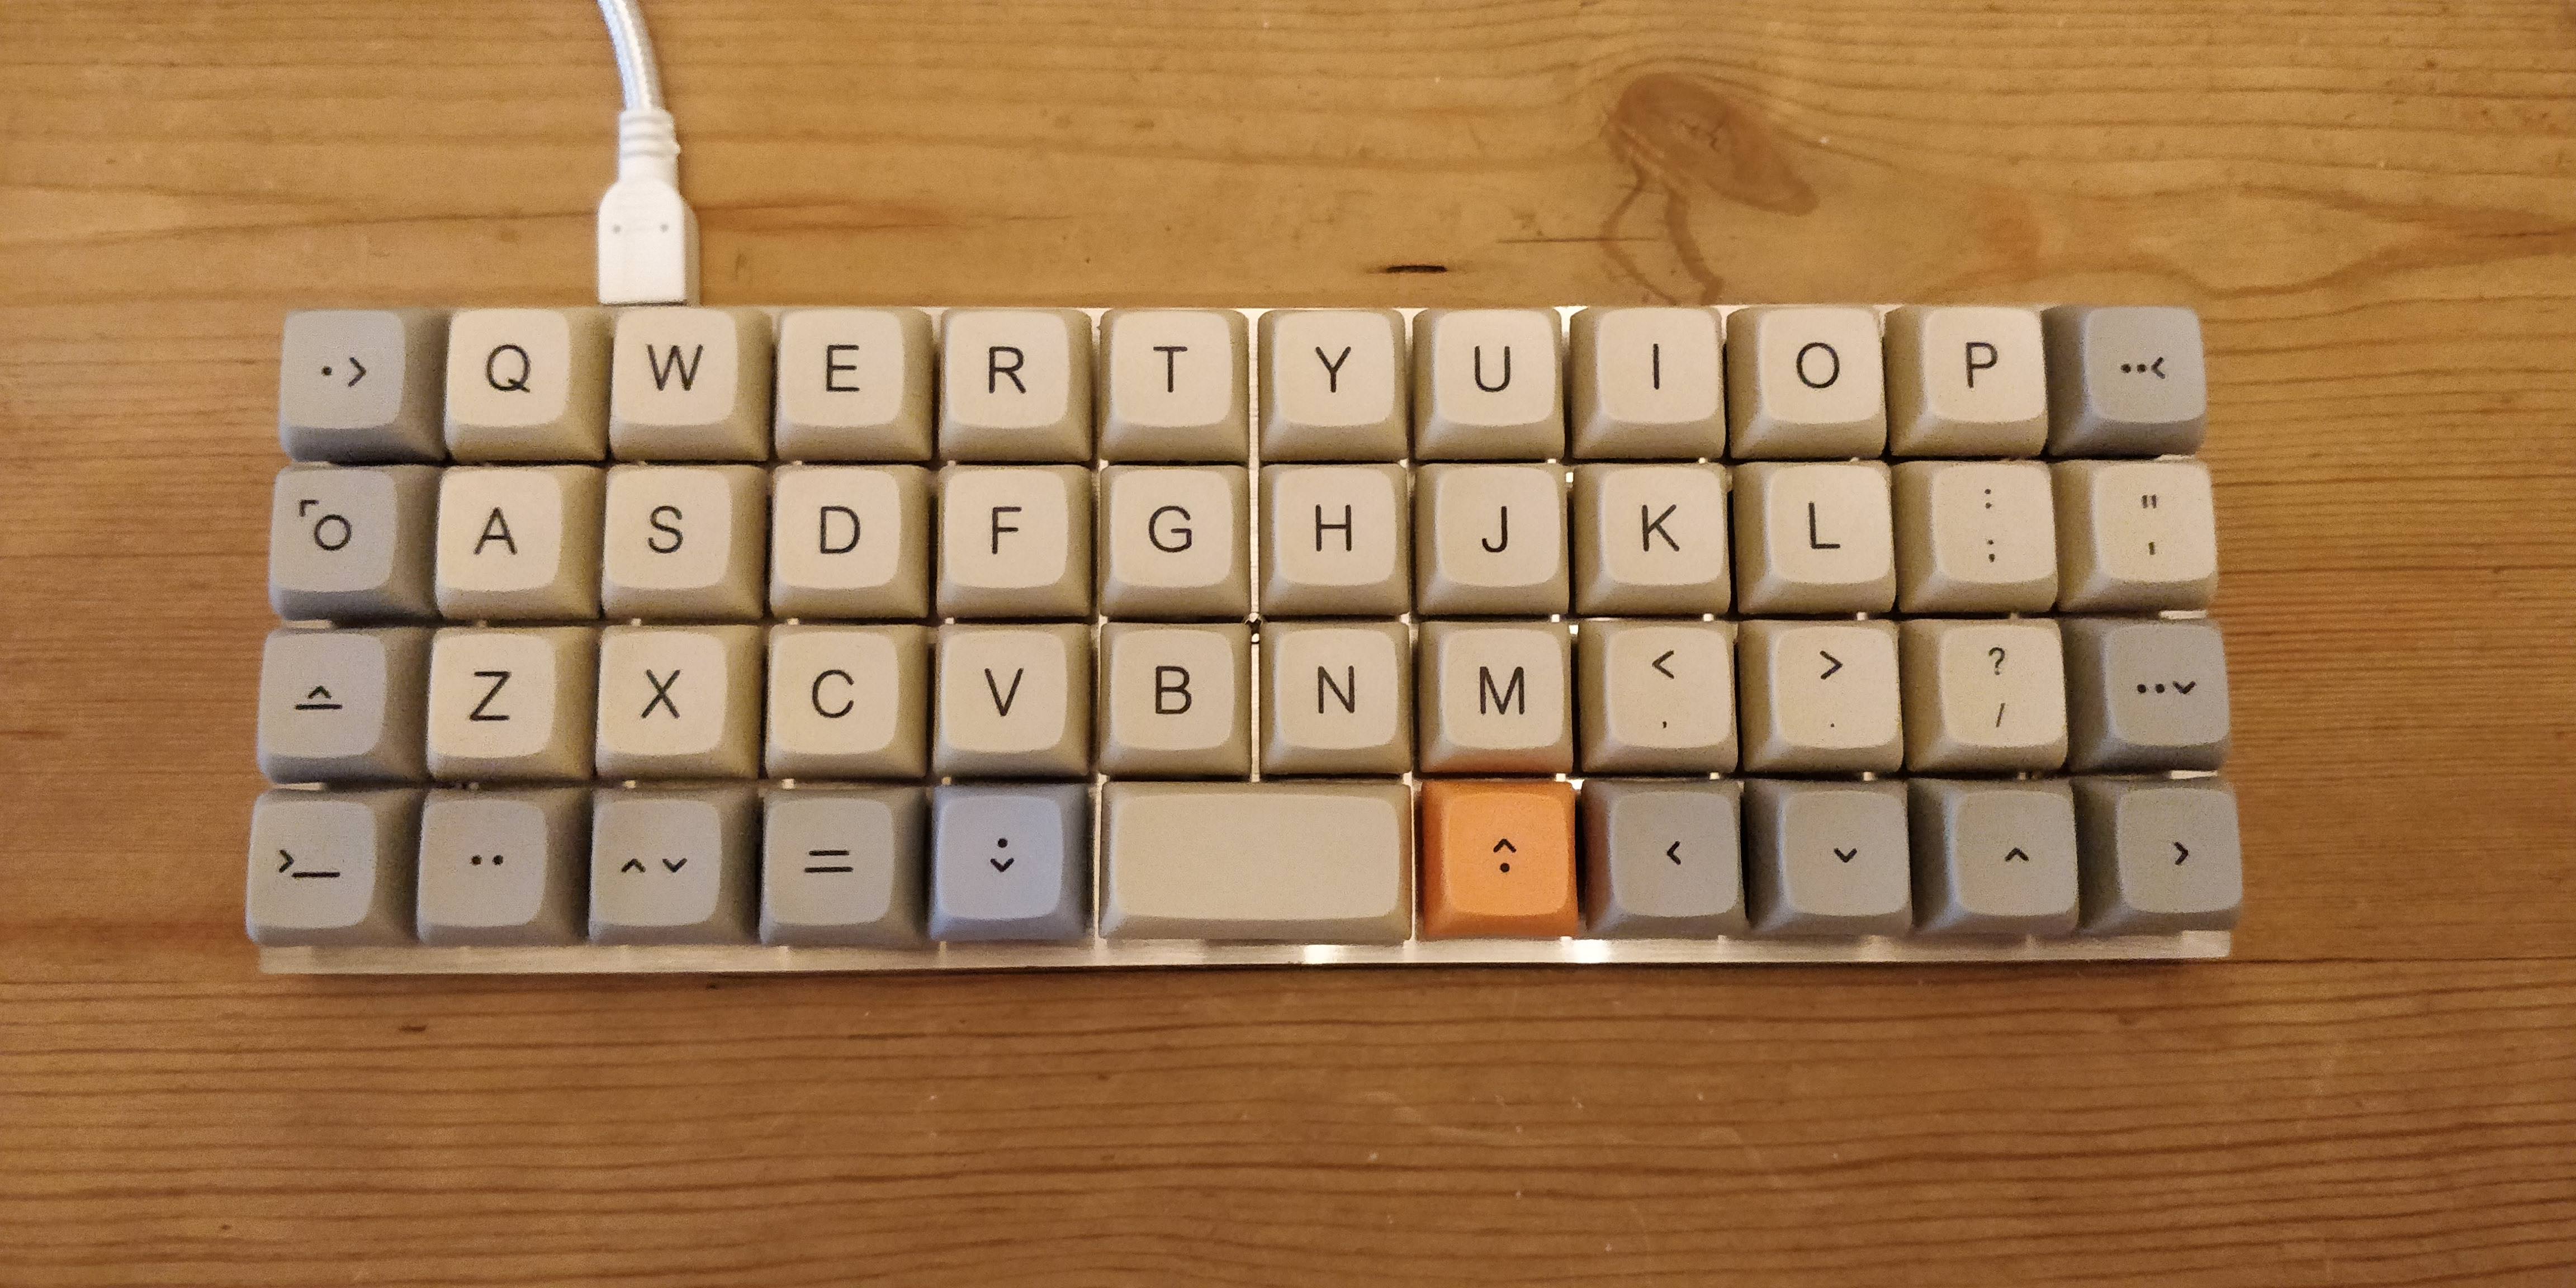
The finished product
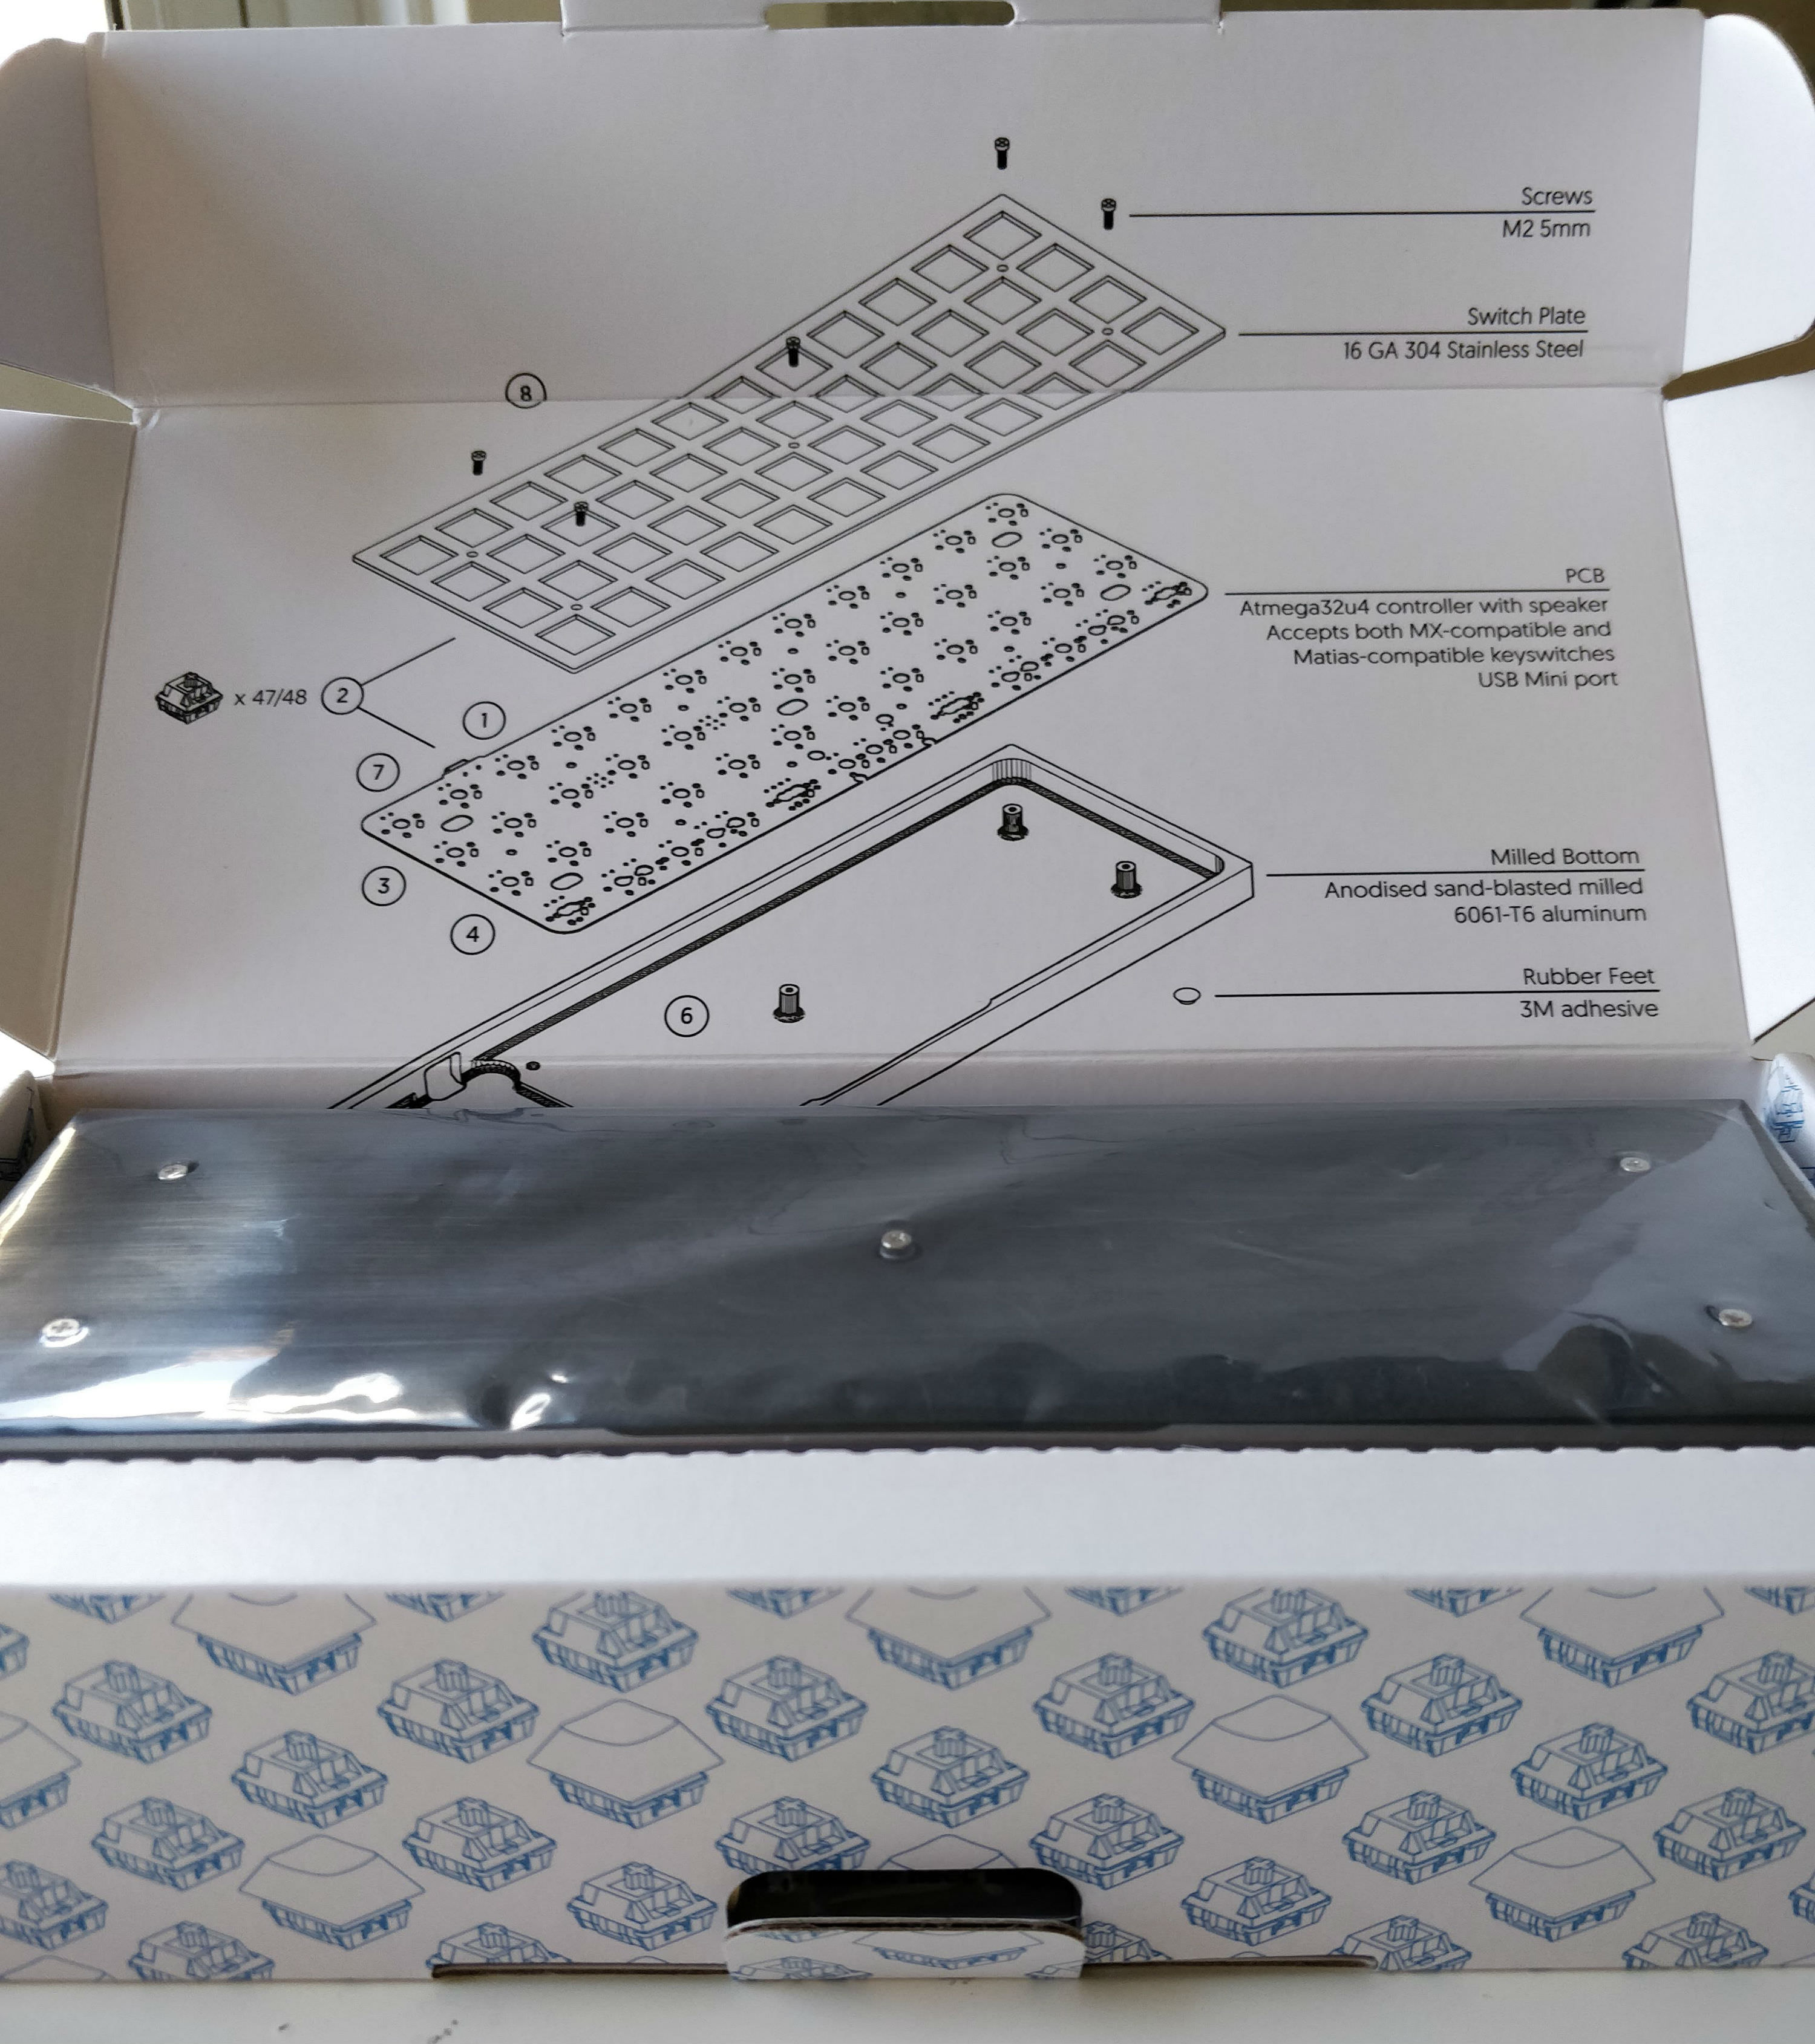
Parts
After waiting six months and through many delays, the parts were finally delivered. I don't think I've unwrapped and opened a box that quickly since Christmas as a kid! The box contained:
- PCB plate (Rev 5)
- Cherry MX Brown switches
- XDA Canvas Keycaps
- Spacebar stabilizer
- Screws
- Steel plate
- Aluminium case
- USB cable
- Felt carrying case
Build Log
I began by plugging the PCB in to my laptop to check that the thing even powers on. Nothing would be more annoying than spending an evening assembling and soldering a paperweight.
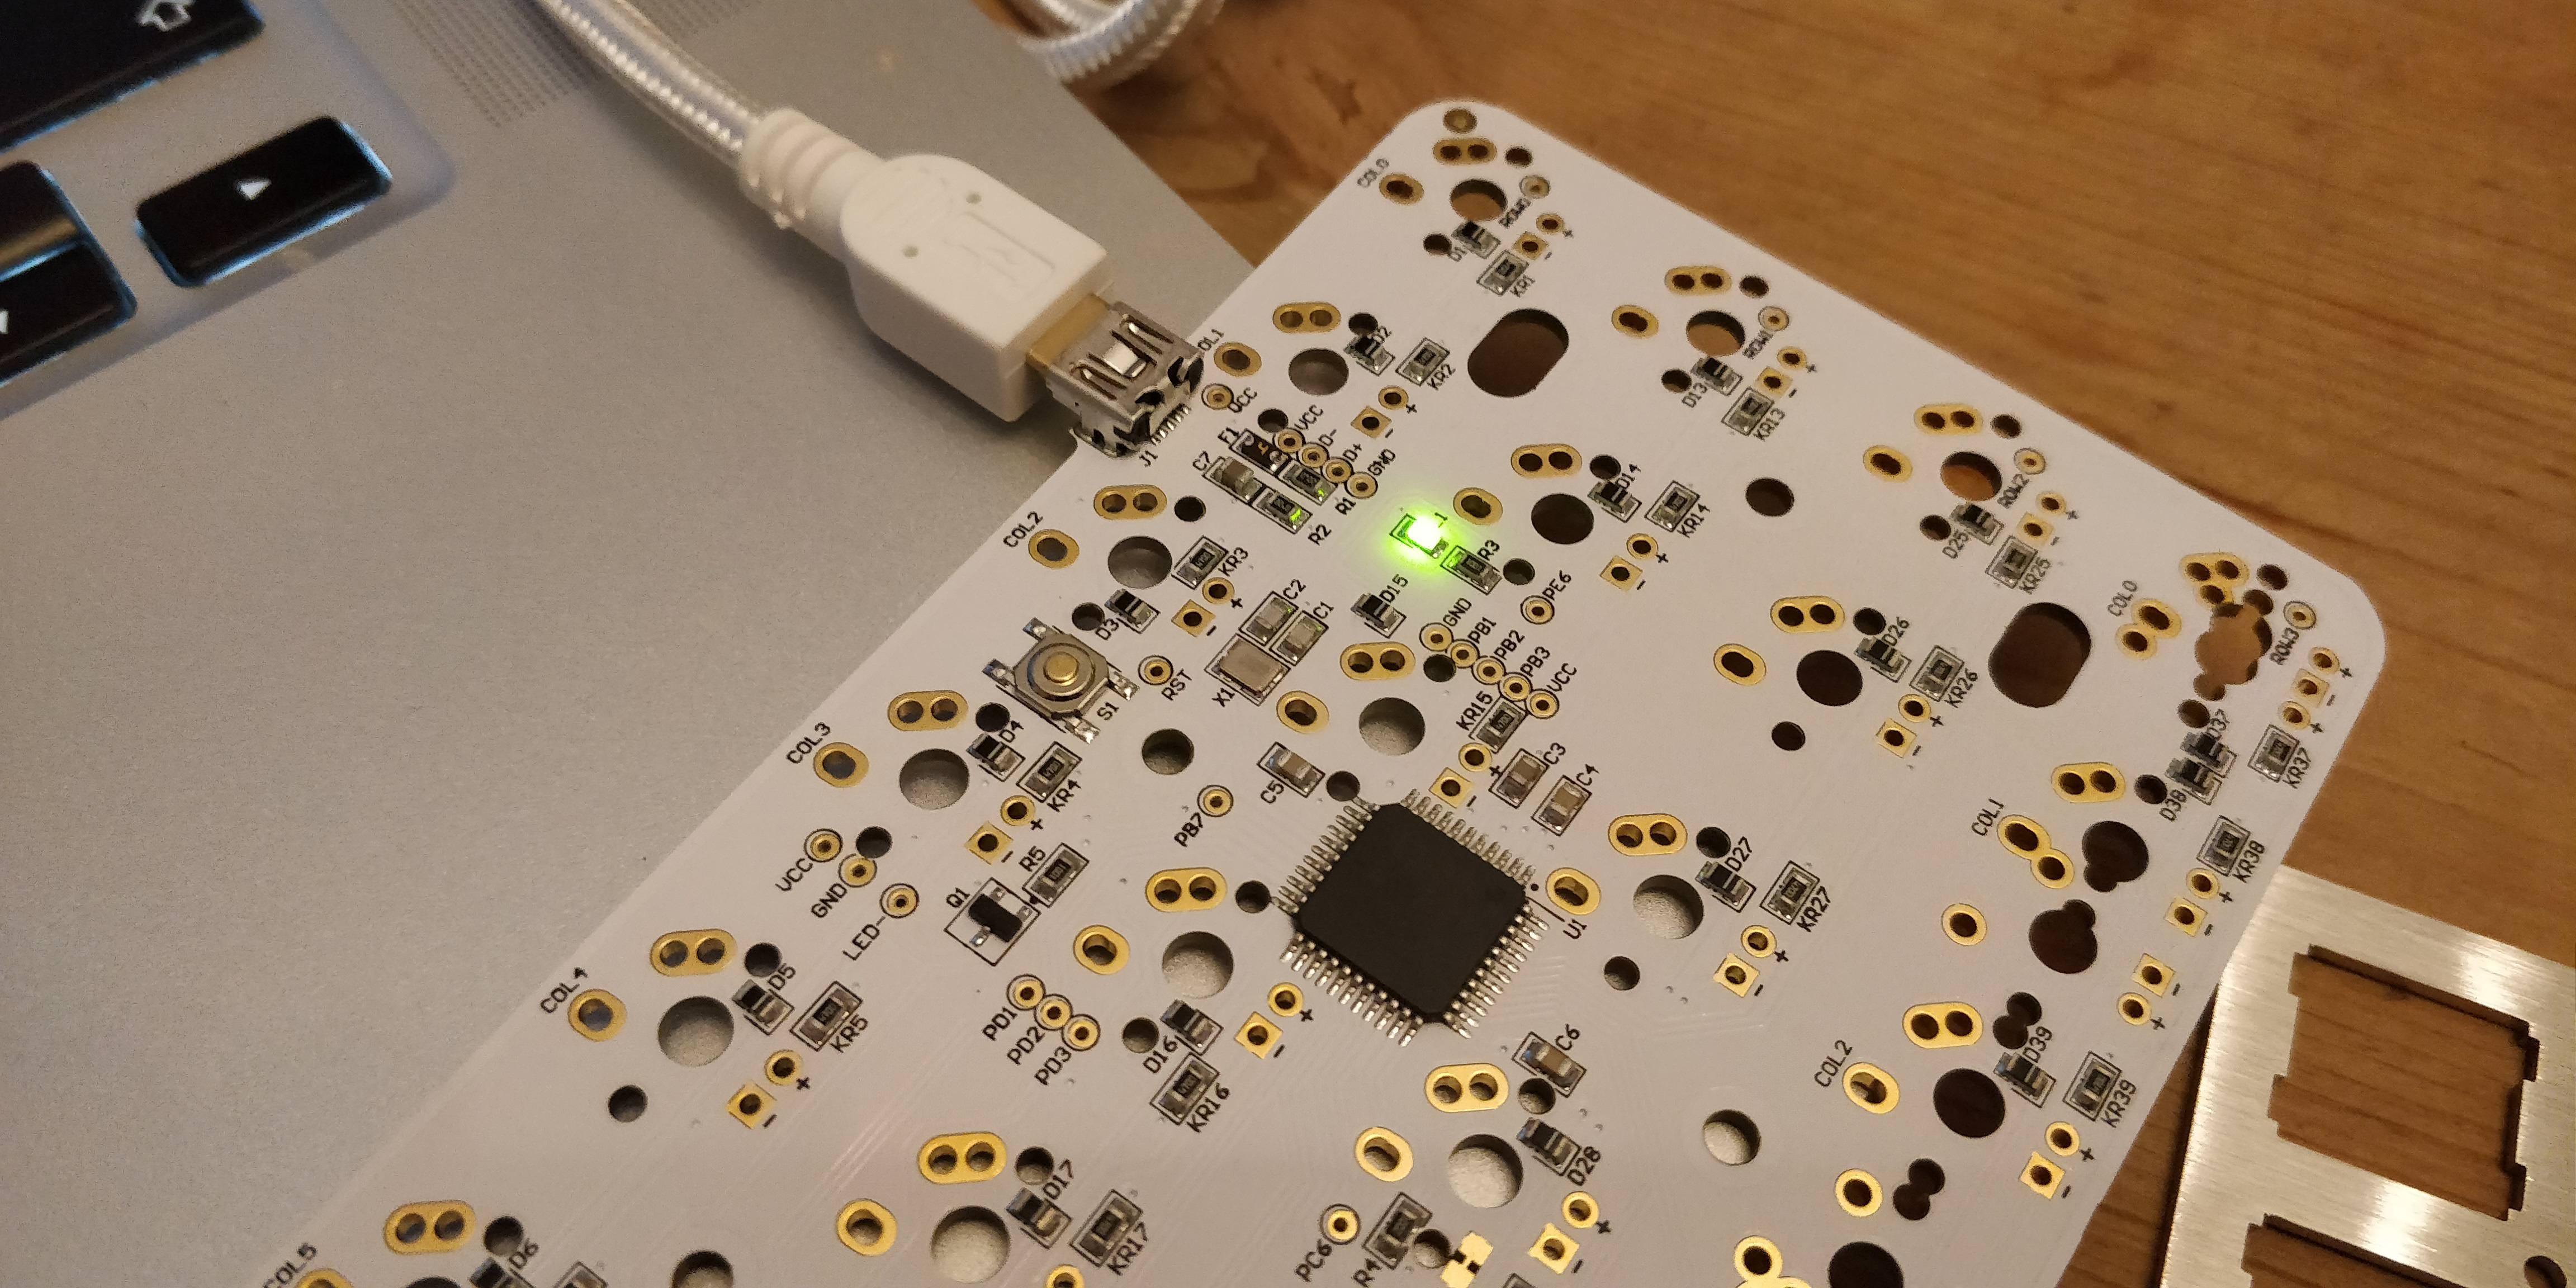
Success! Sort of. All I know is that the PCB powers up, I have no idea if it'll even allow me to type. But we'll leave that mystery until later.
I was building this with my other keyboard enthusiast friend James and his OCD took over a bit. I can't complain too much as it turned out to be a pretty cool photo. Here you can see most of the parts mentioned above that came in the box.

After what felt like years grappling with the tiny parts of the spacebar stabilizer, it was finally assembled and clipped onto the PCB. Out of everything that you'll see in this post this was the most challenging. It turns out I'm not as dexterous as I thought I was. Nor James. It took professional software engineers about 15 minutes to assemble 3 bits of plastic. Depressing.
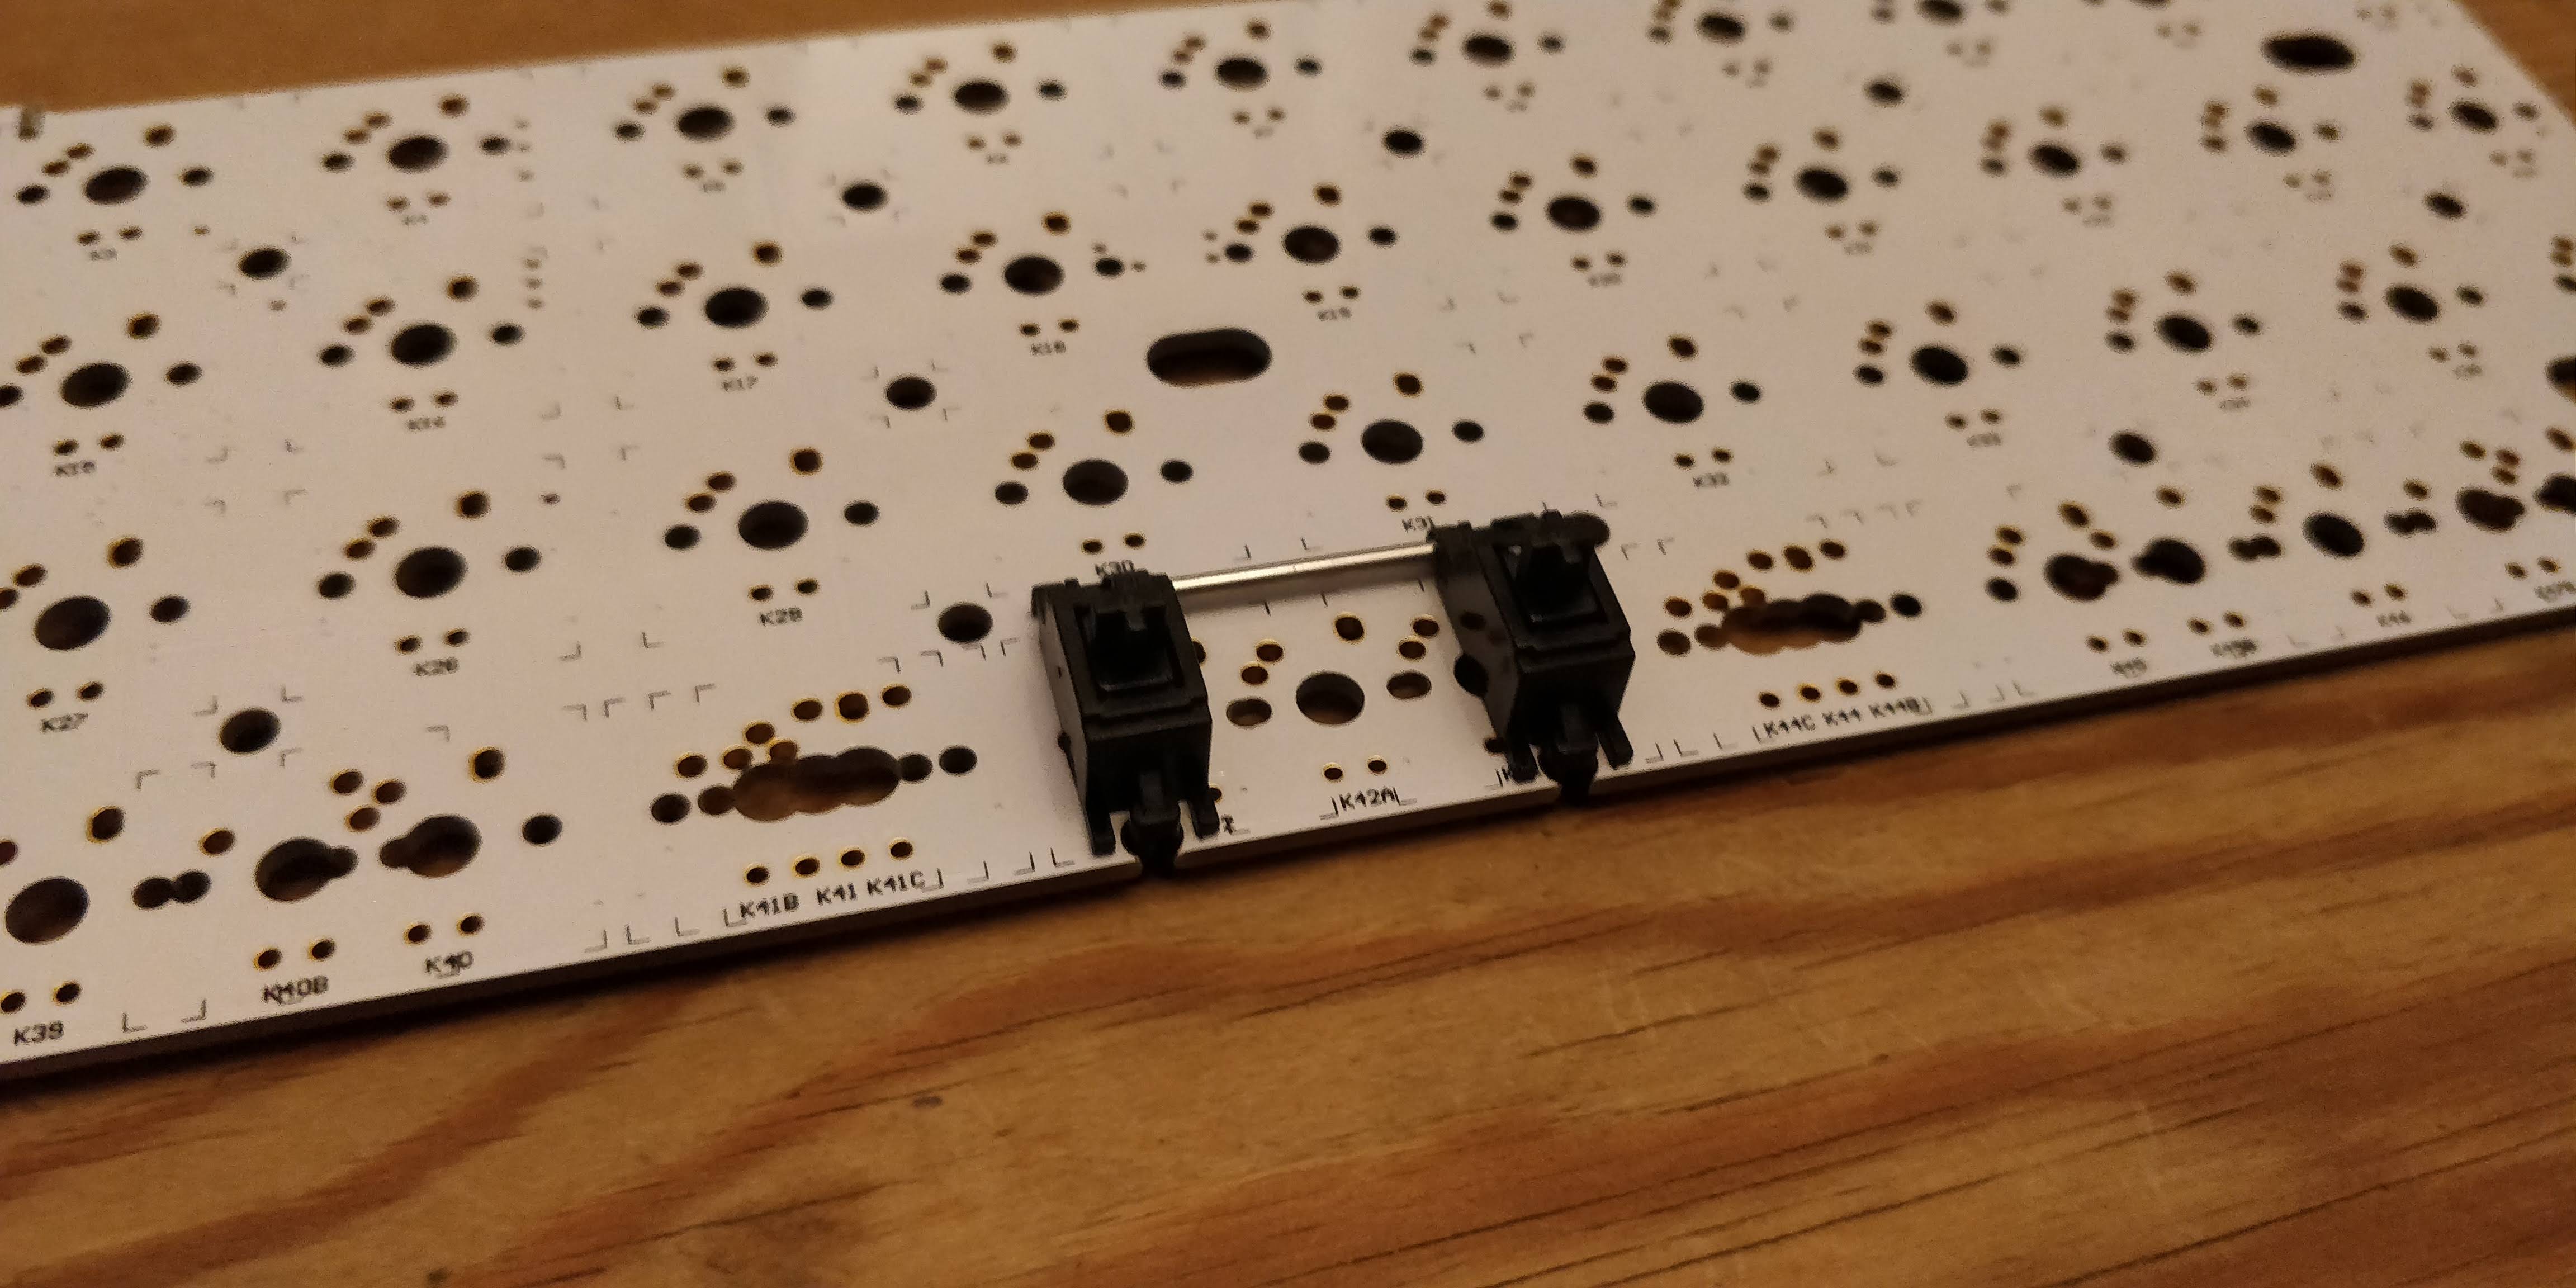
Once in place with the spacebar switch firmly slotted in, the steel plate was then placed over the top and held in place by corner switches to ensure that it wouldn't move and was level.
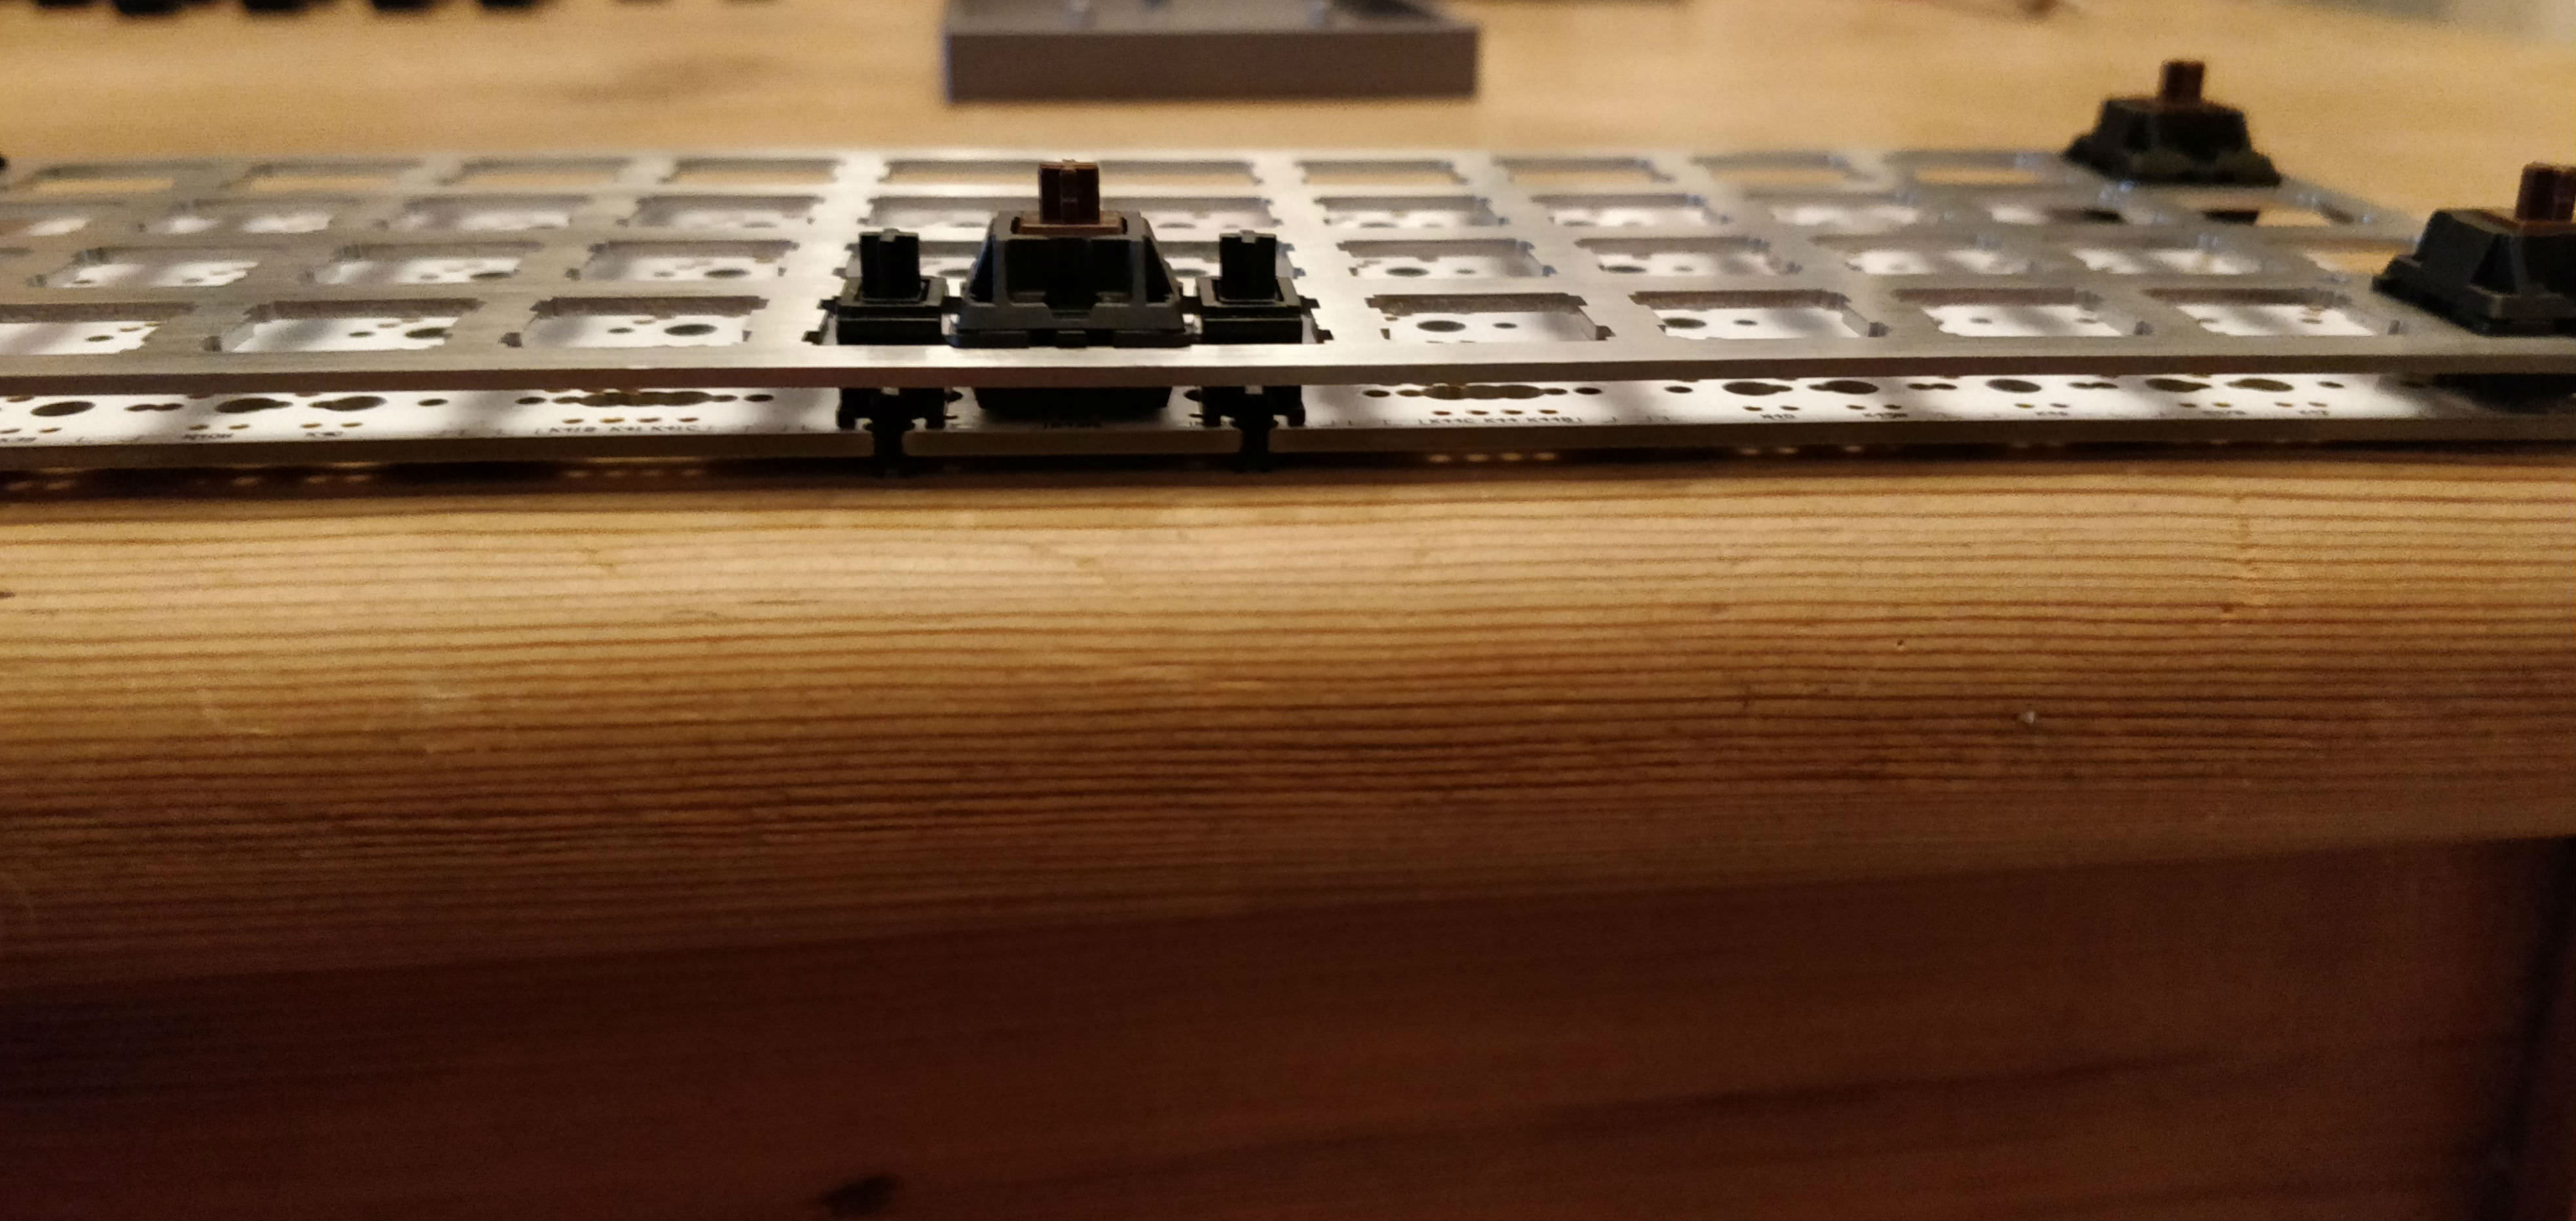
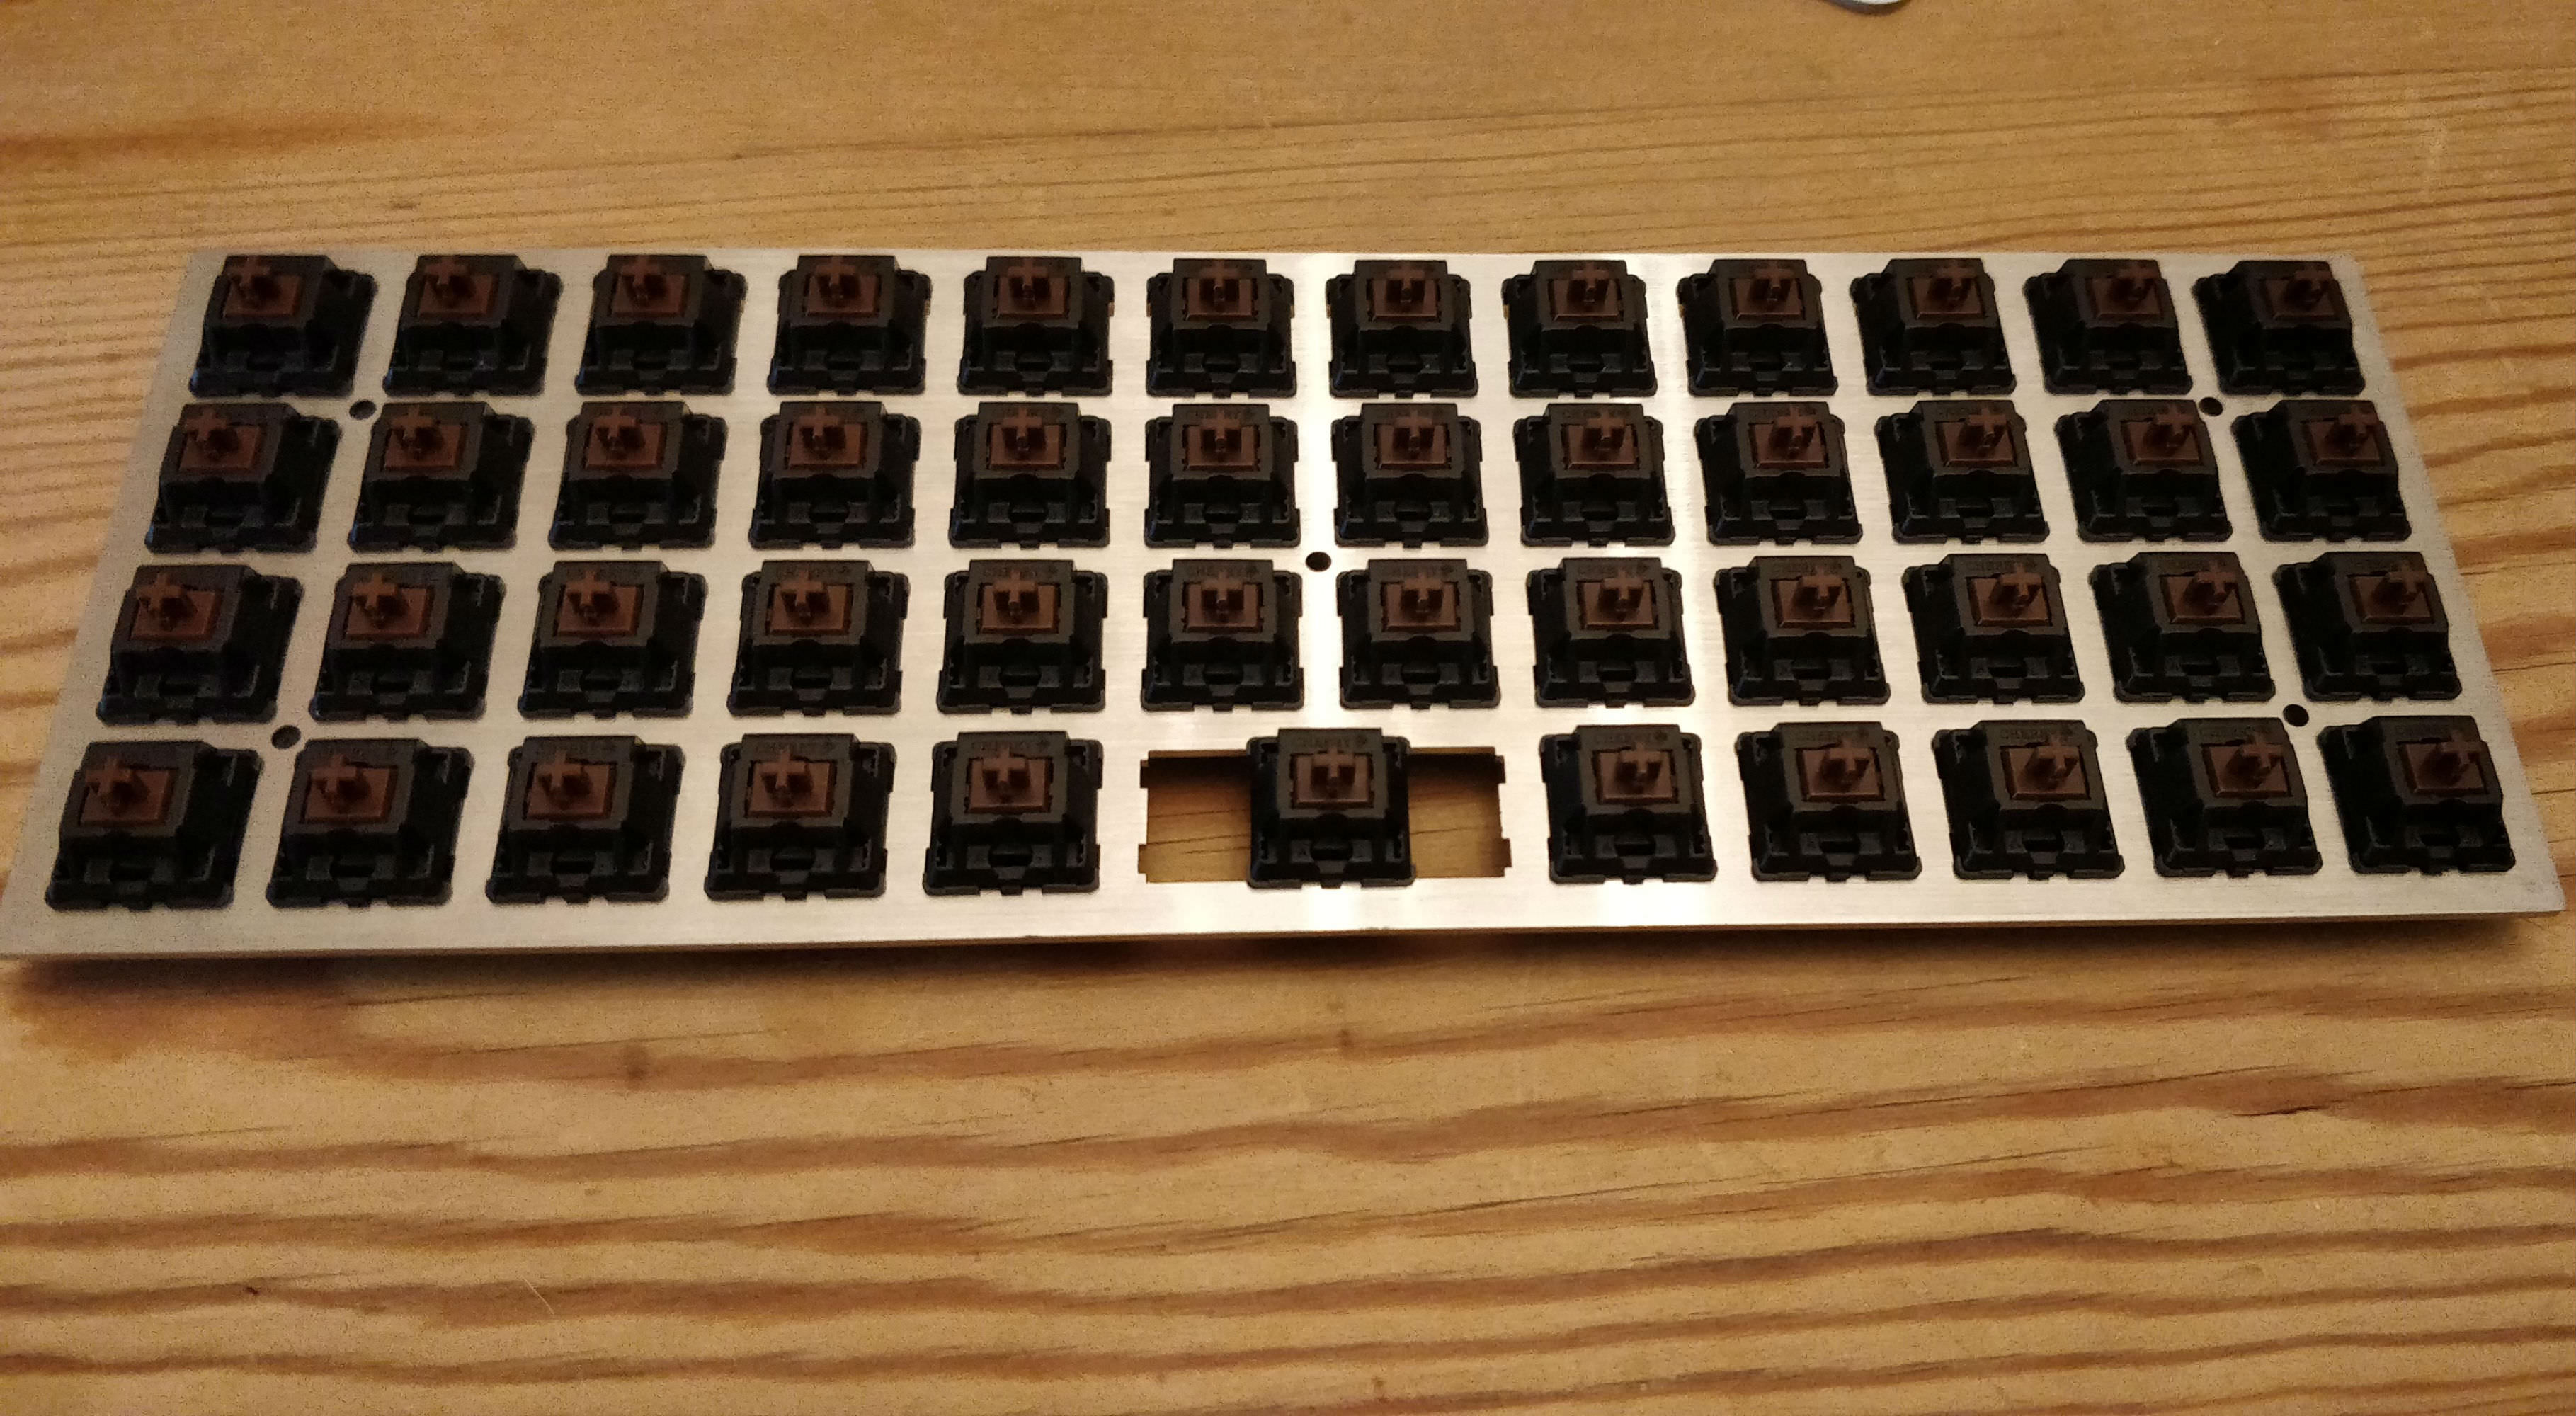
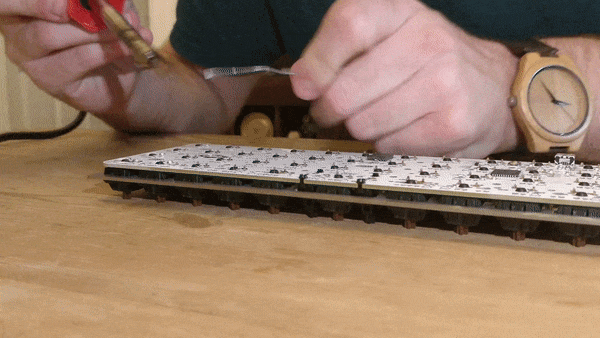
Voila! All 47 switches are now in place. After flipping the board over and ensuring that all of the switches of the pins were straight and poking through the PCB holes, it was time to get the soldering iron out! Let the fun begin.
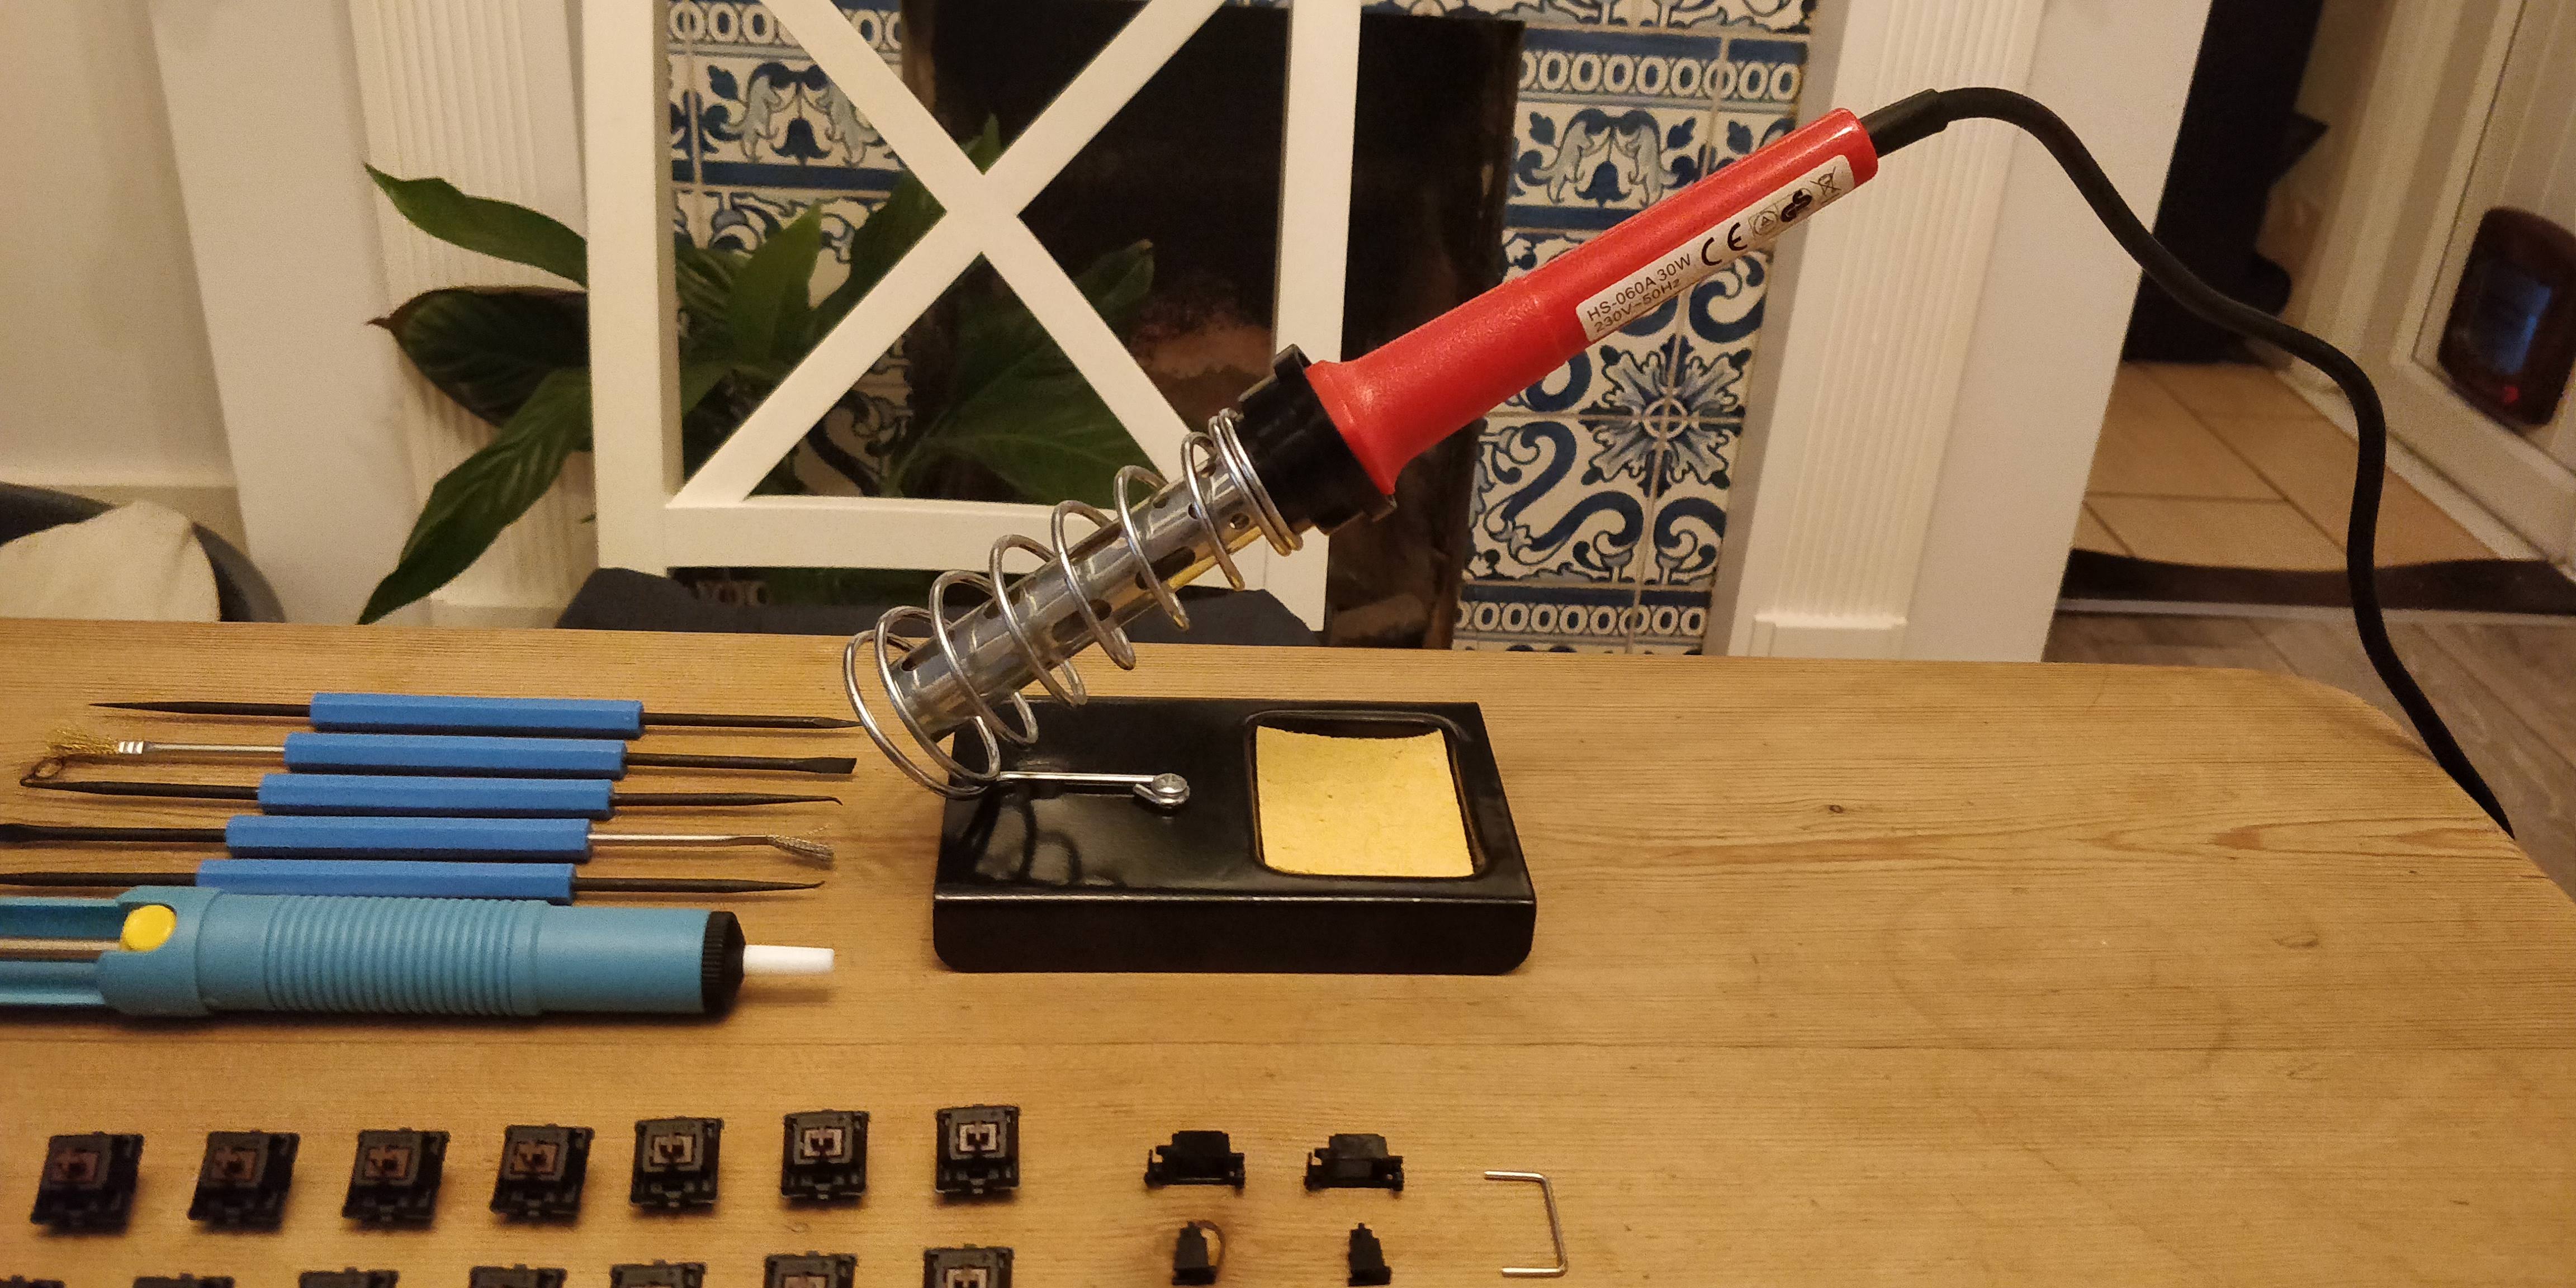
The soldering iron was assembled, the sponge dampened in preparation for wiping excess solder off the end of the iron, and tools such as a desoldering pump and a range of soldering assists were at hand in case it all goes tits-up. This was my genuine expectation for this project having not soldered since school.
I started by wiping the tip of the soldering iron with the damp sponge to clean of any residue left from the previous activity, and then applied it to the connection on the PCB. The solder was then fed onto the heated connection until it was well coated, leaving a droplet-looking splodge on the PCB connection.
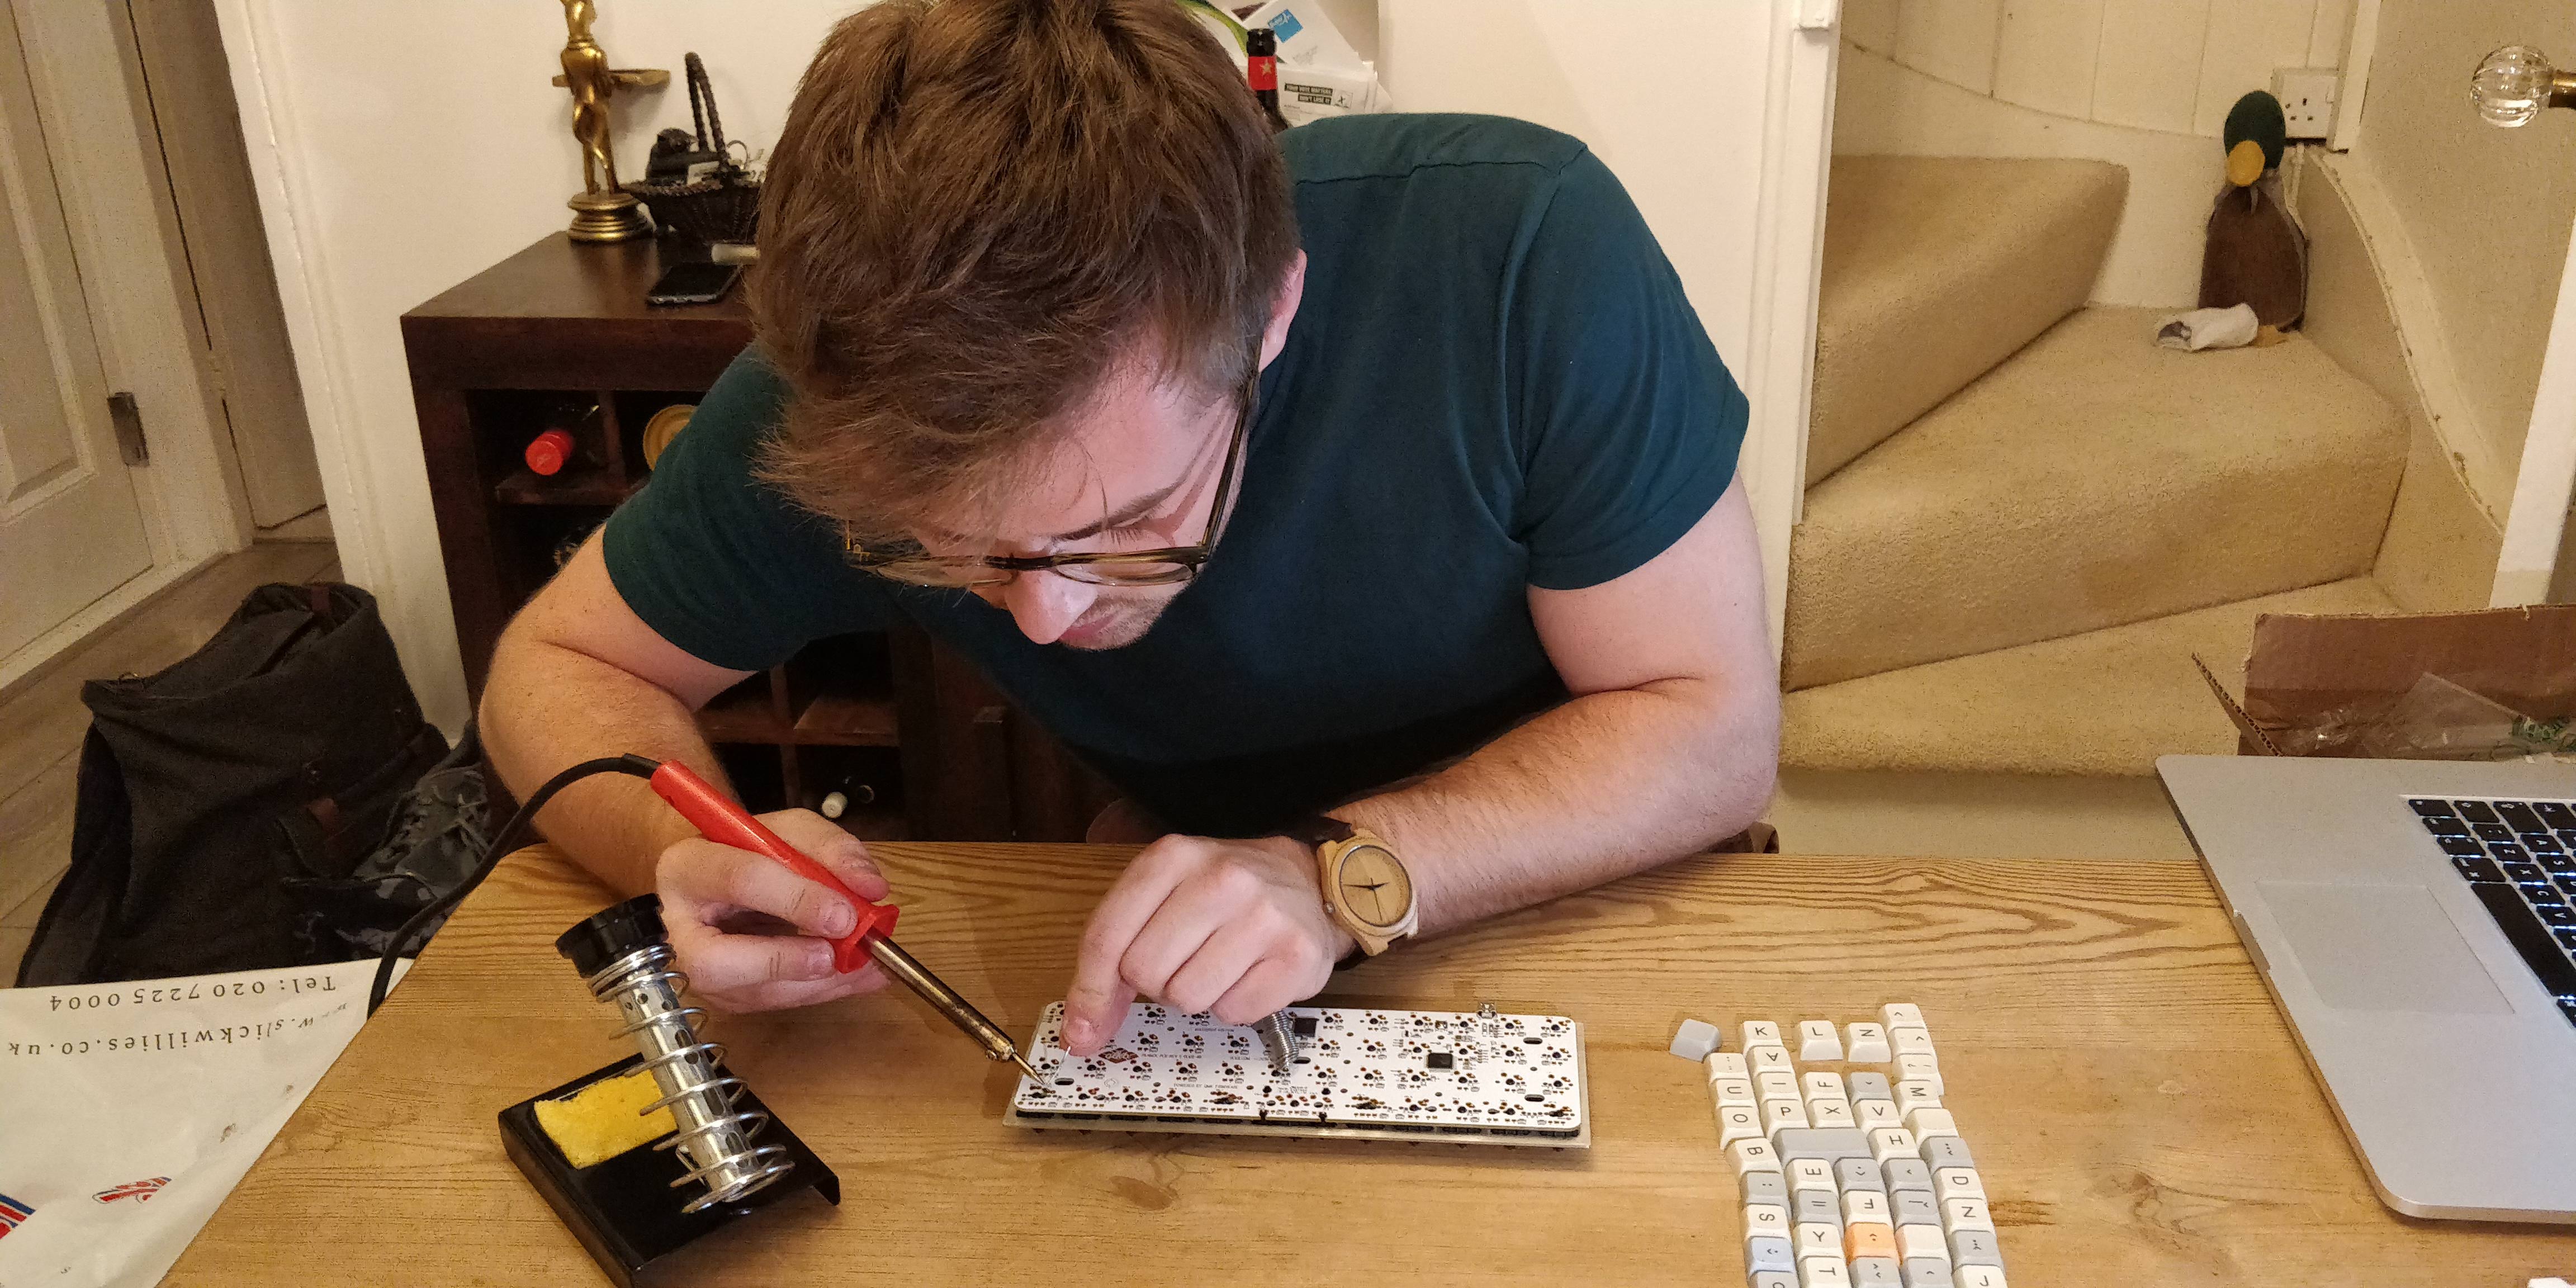
This was then repeated for all 94 legs of the switches taking care not to accidentally join connections or touch the processor. Getting solder on the processor could effectively be game over unless carefully salvaged. I feared that I did not possess the skill set to remedy this worse-case scenario...
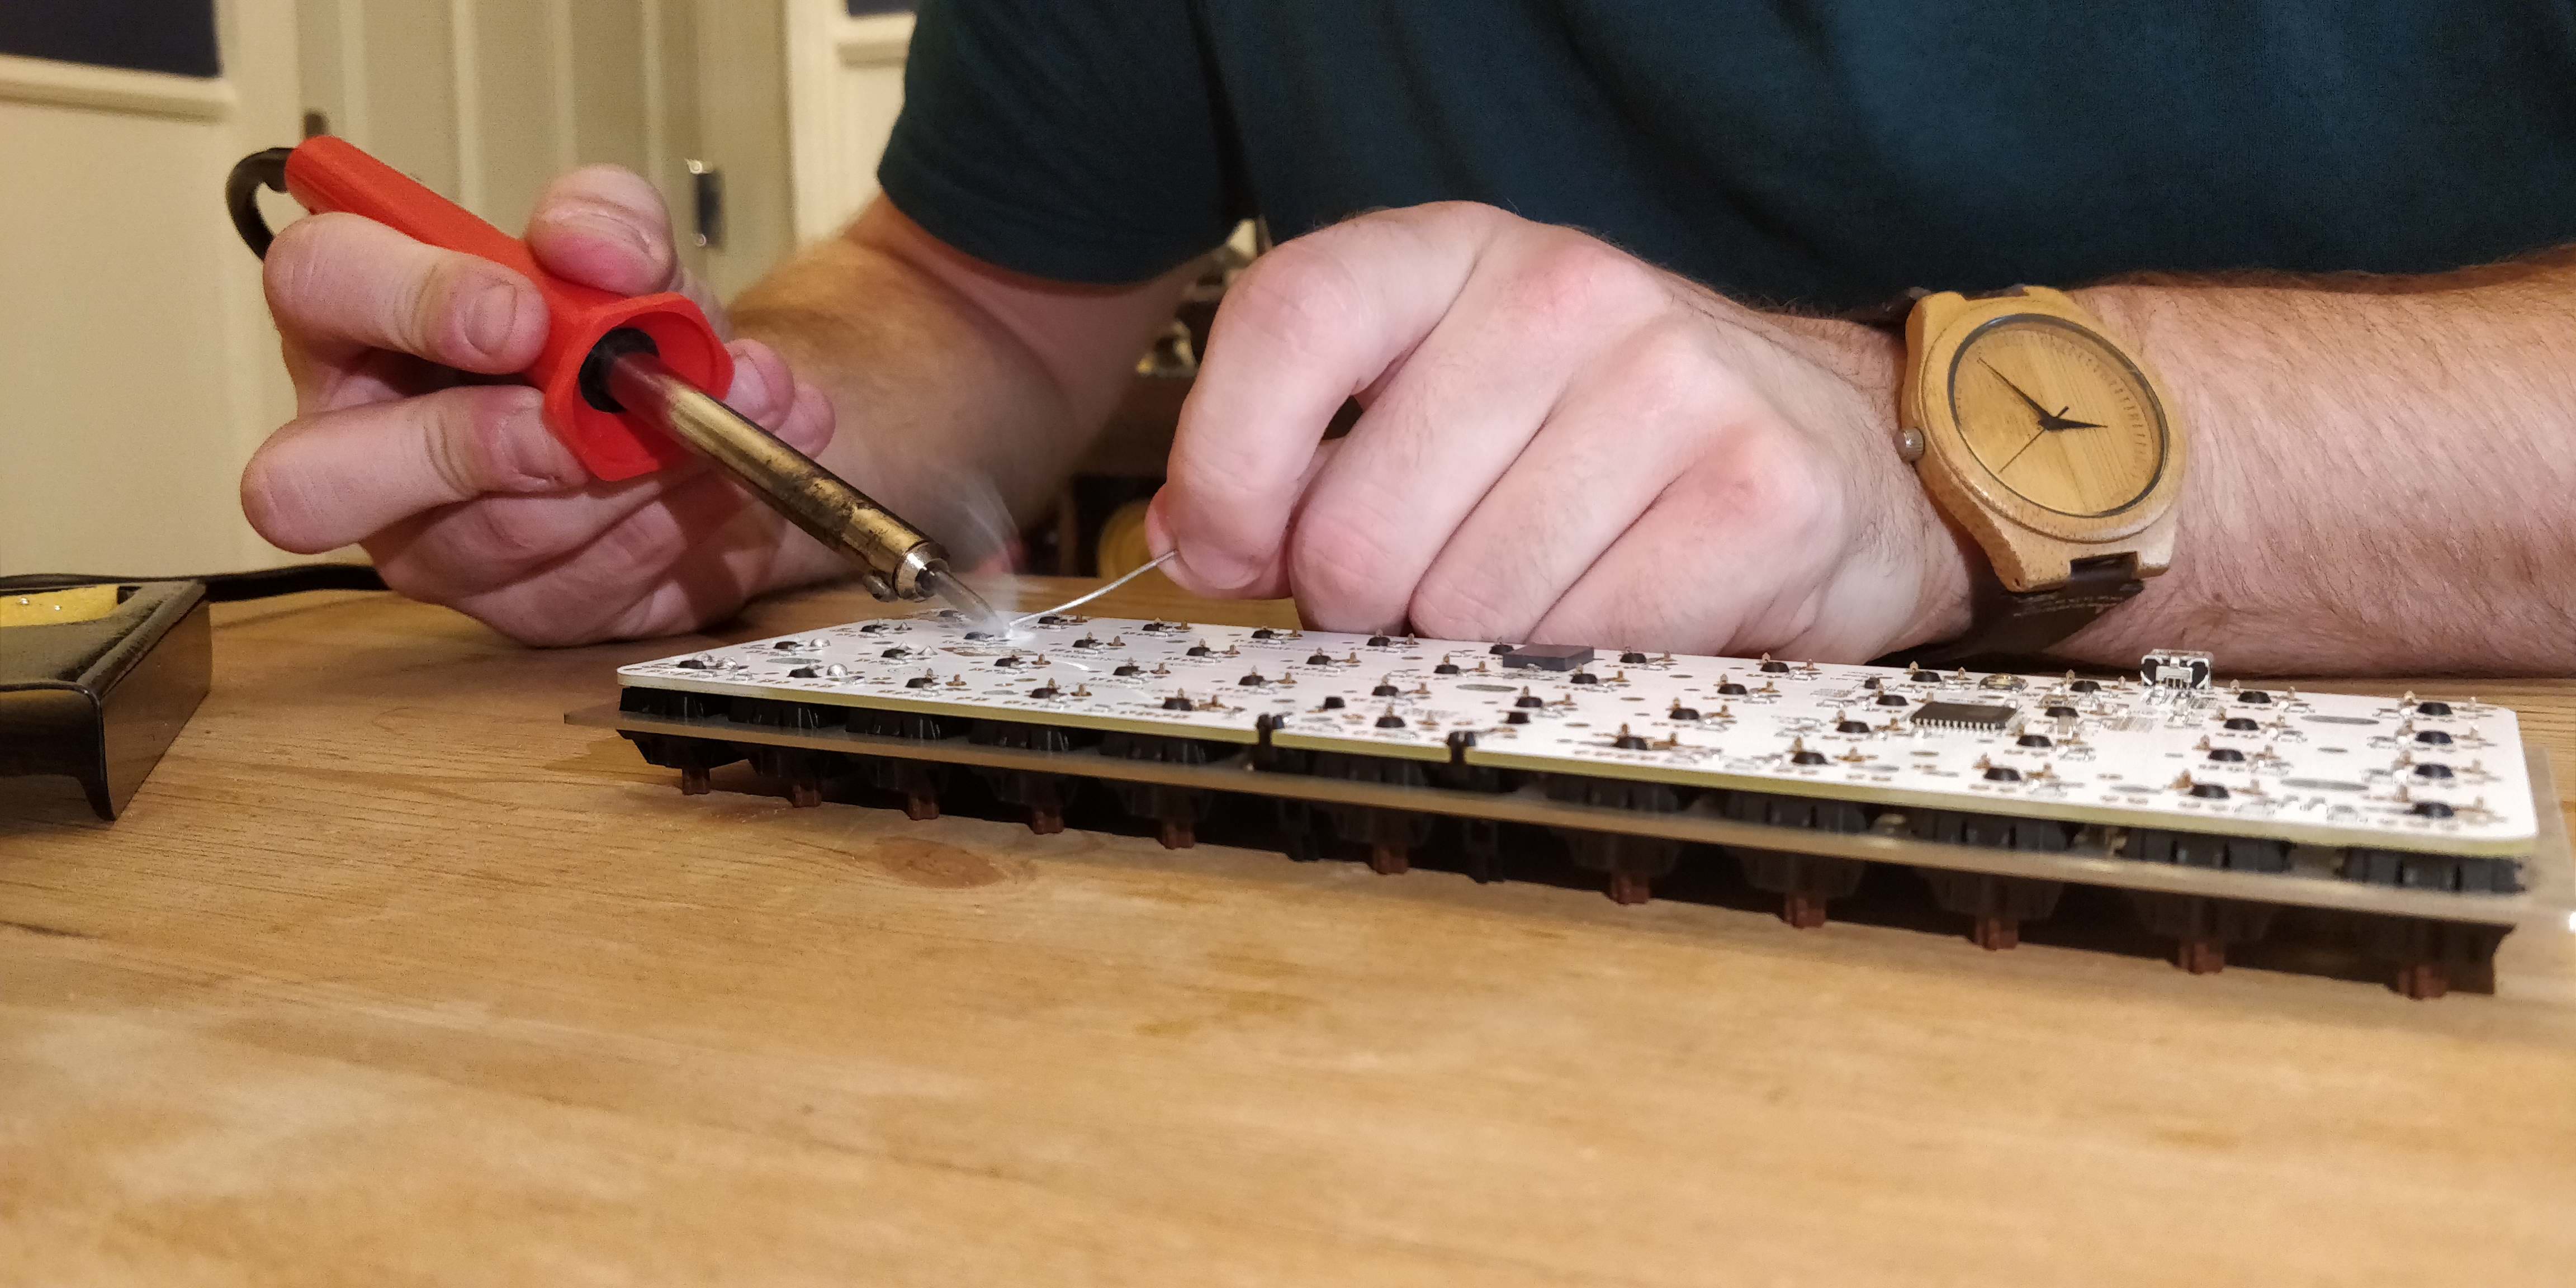
On reflection, if I were to do this regularly, it would be sensible to wear a face mask due to the fumes the solder pumped out. However, care was taken to keep the area well ventilated with a fan.
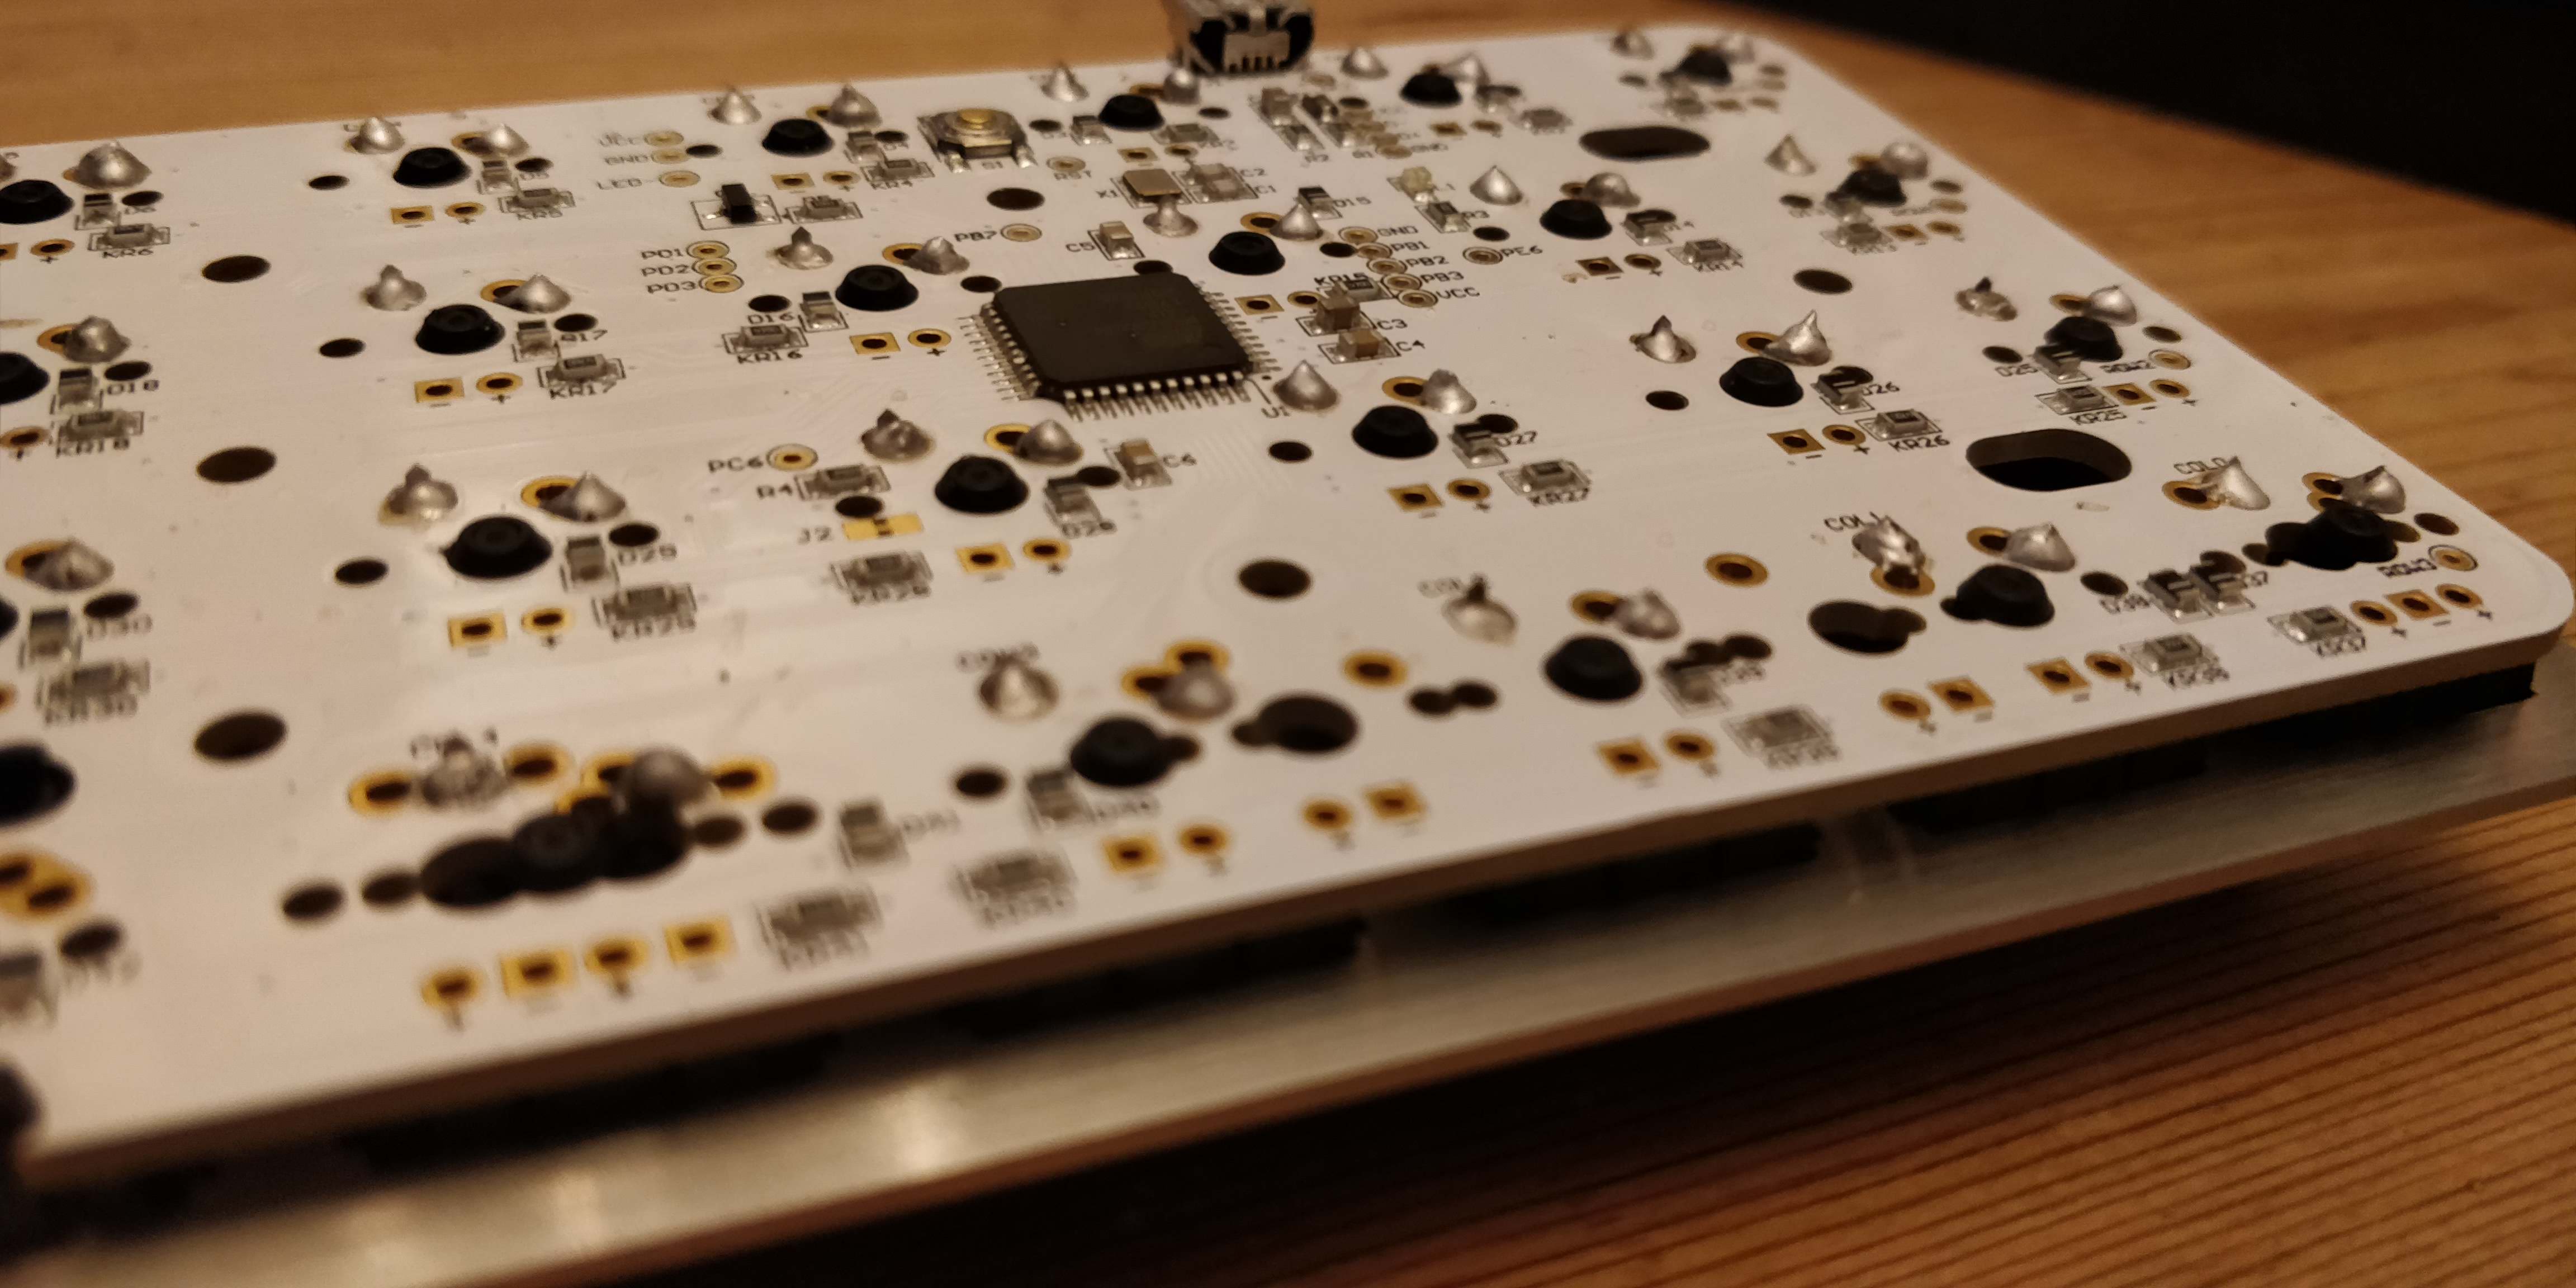
So I won't be winning any awards for soldering any time soon, but I don't think it turned out too bad! The proof will be in the pudding however... Will this thing even work?
At this point I could have just reconnected it to my laptop and tested each switch. To be honest, I should have just done that as again, it could save time in the event of a board failure. However, I was keen to get the keycaps on this thing so it was screwed to the case to allow pressure to be applied to the switches for the keycaps to be pushed into place.
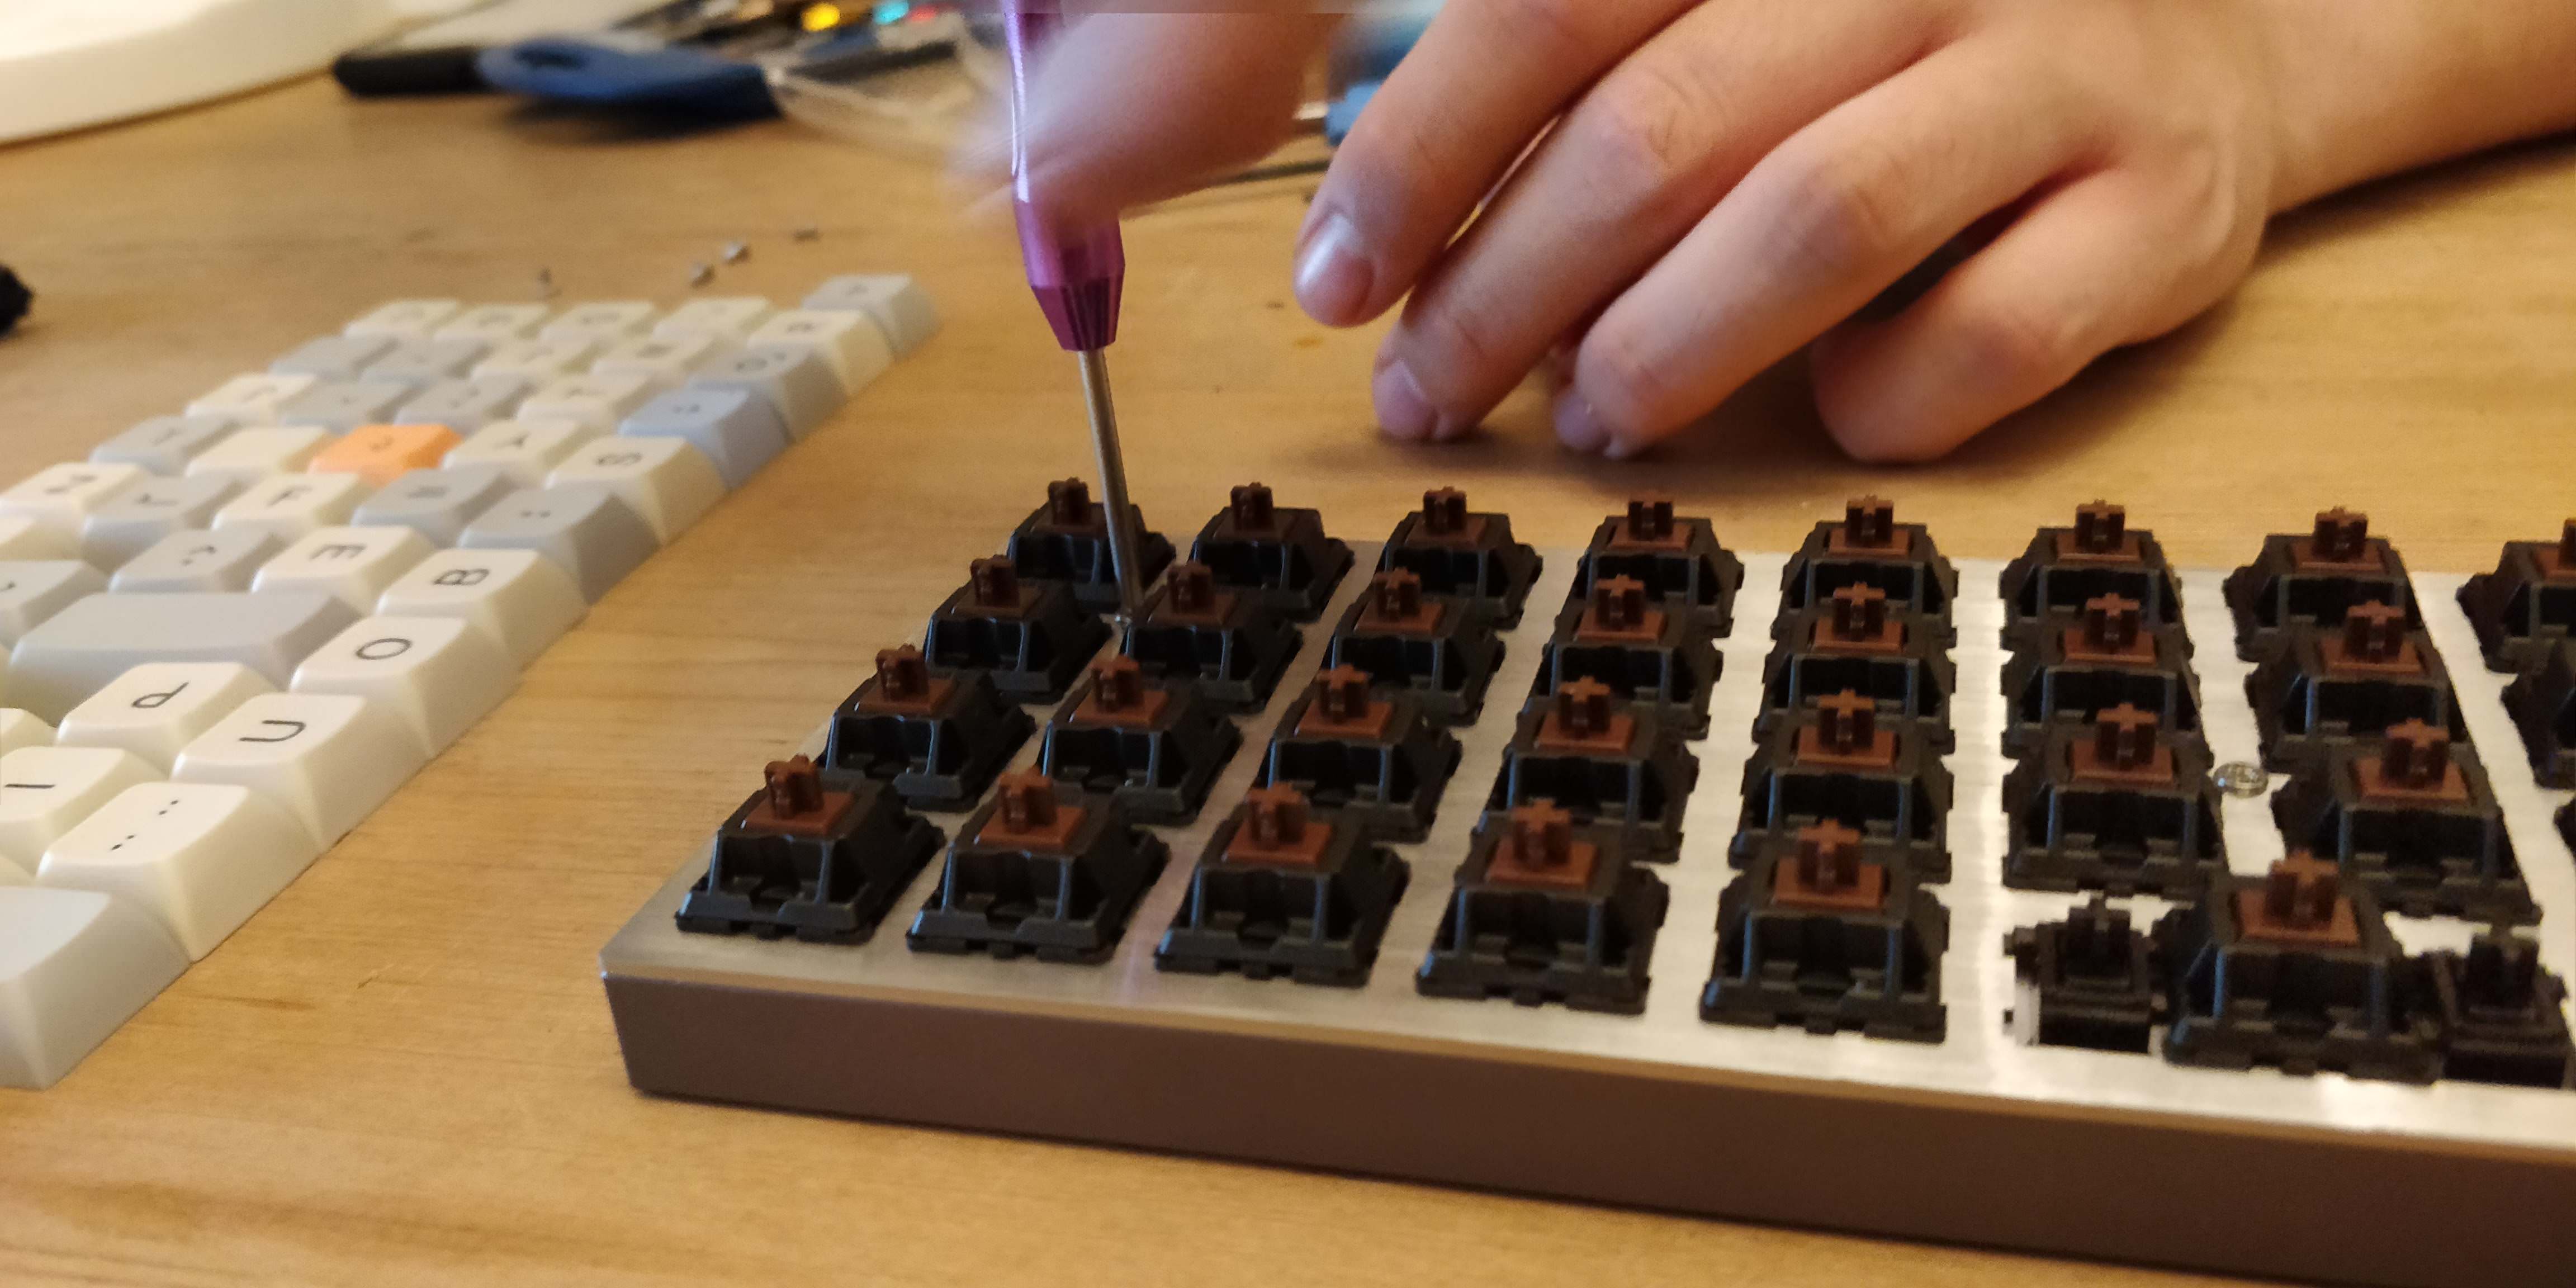
Starting to look good...
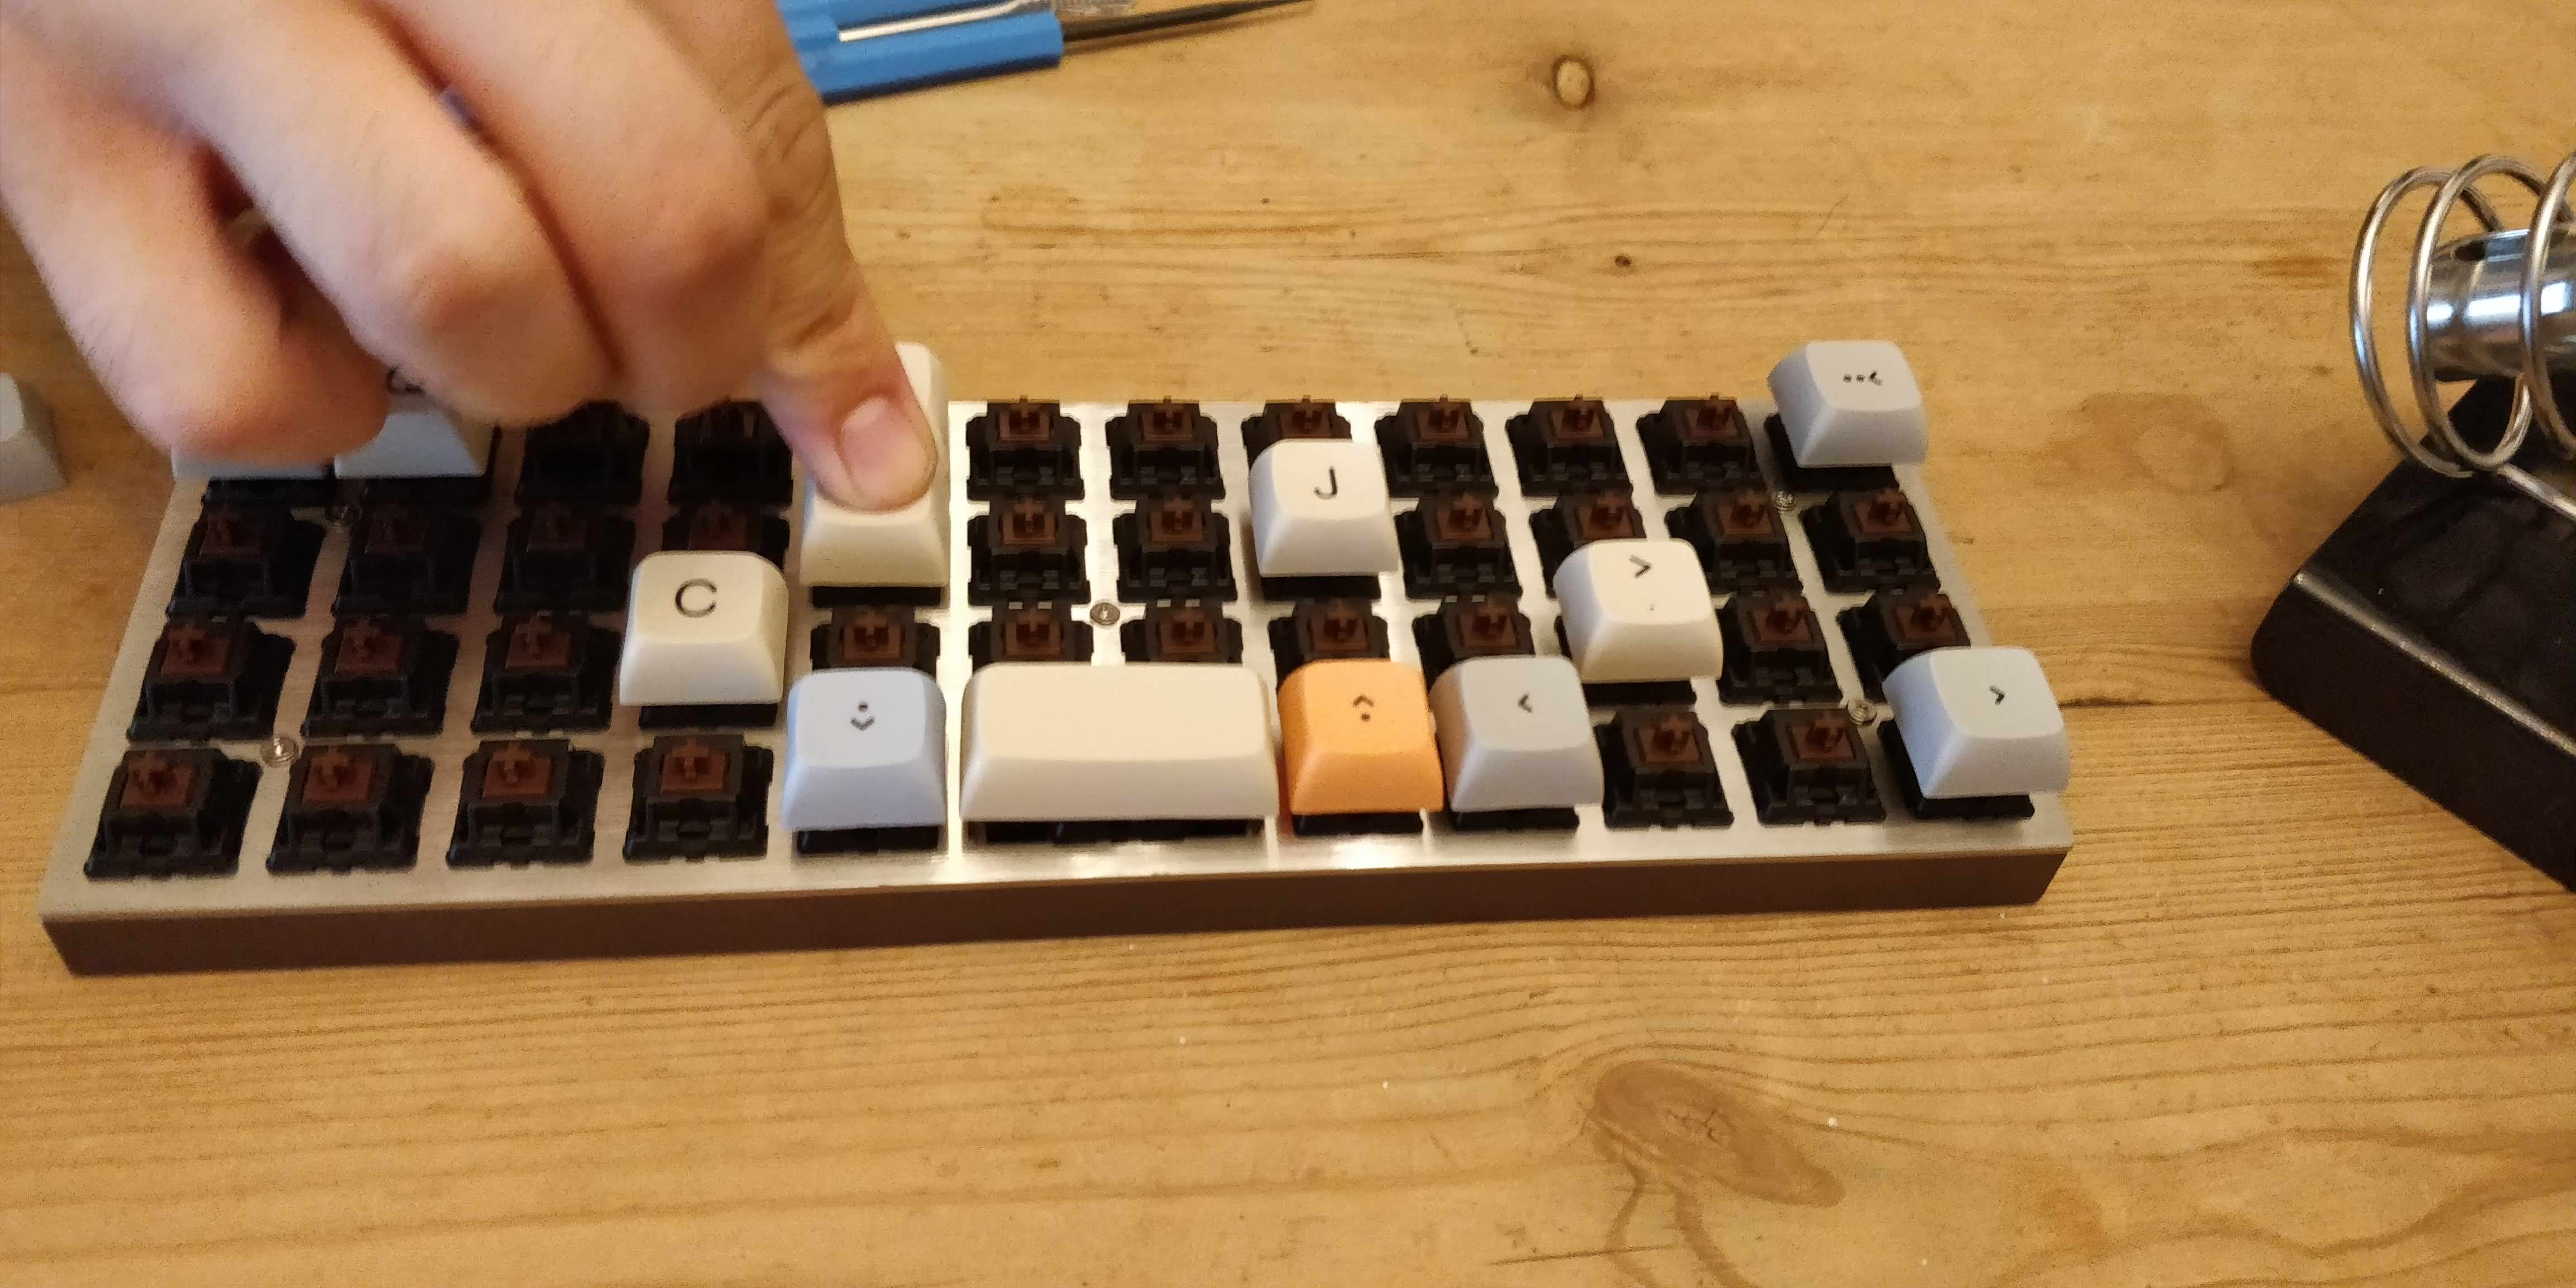
And there we go! After plugging it in and initially freaking out as my mac didn't recognise it, I tested every switch and it works!
A nice snug fit in the carry case too!
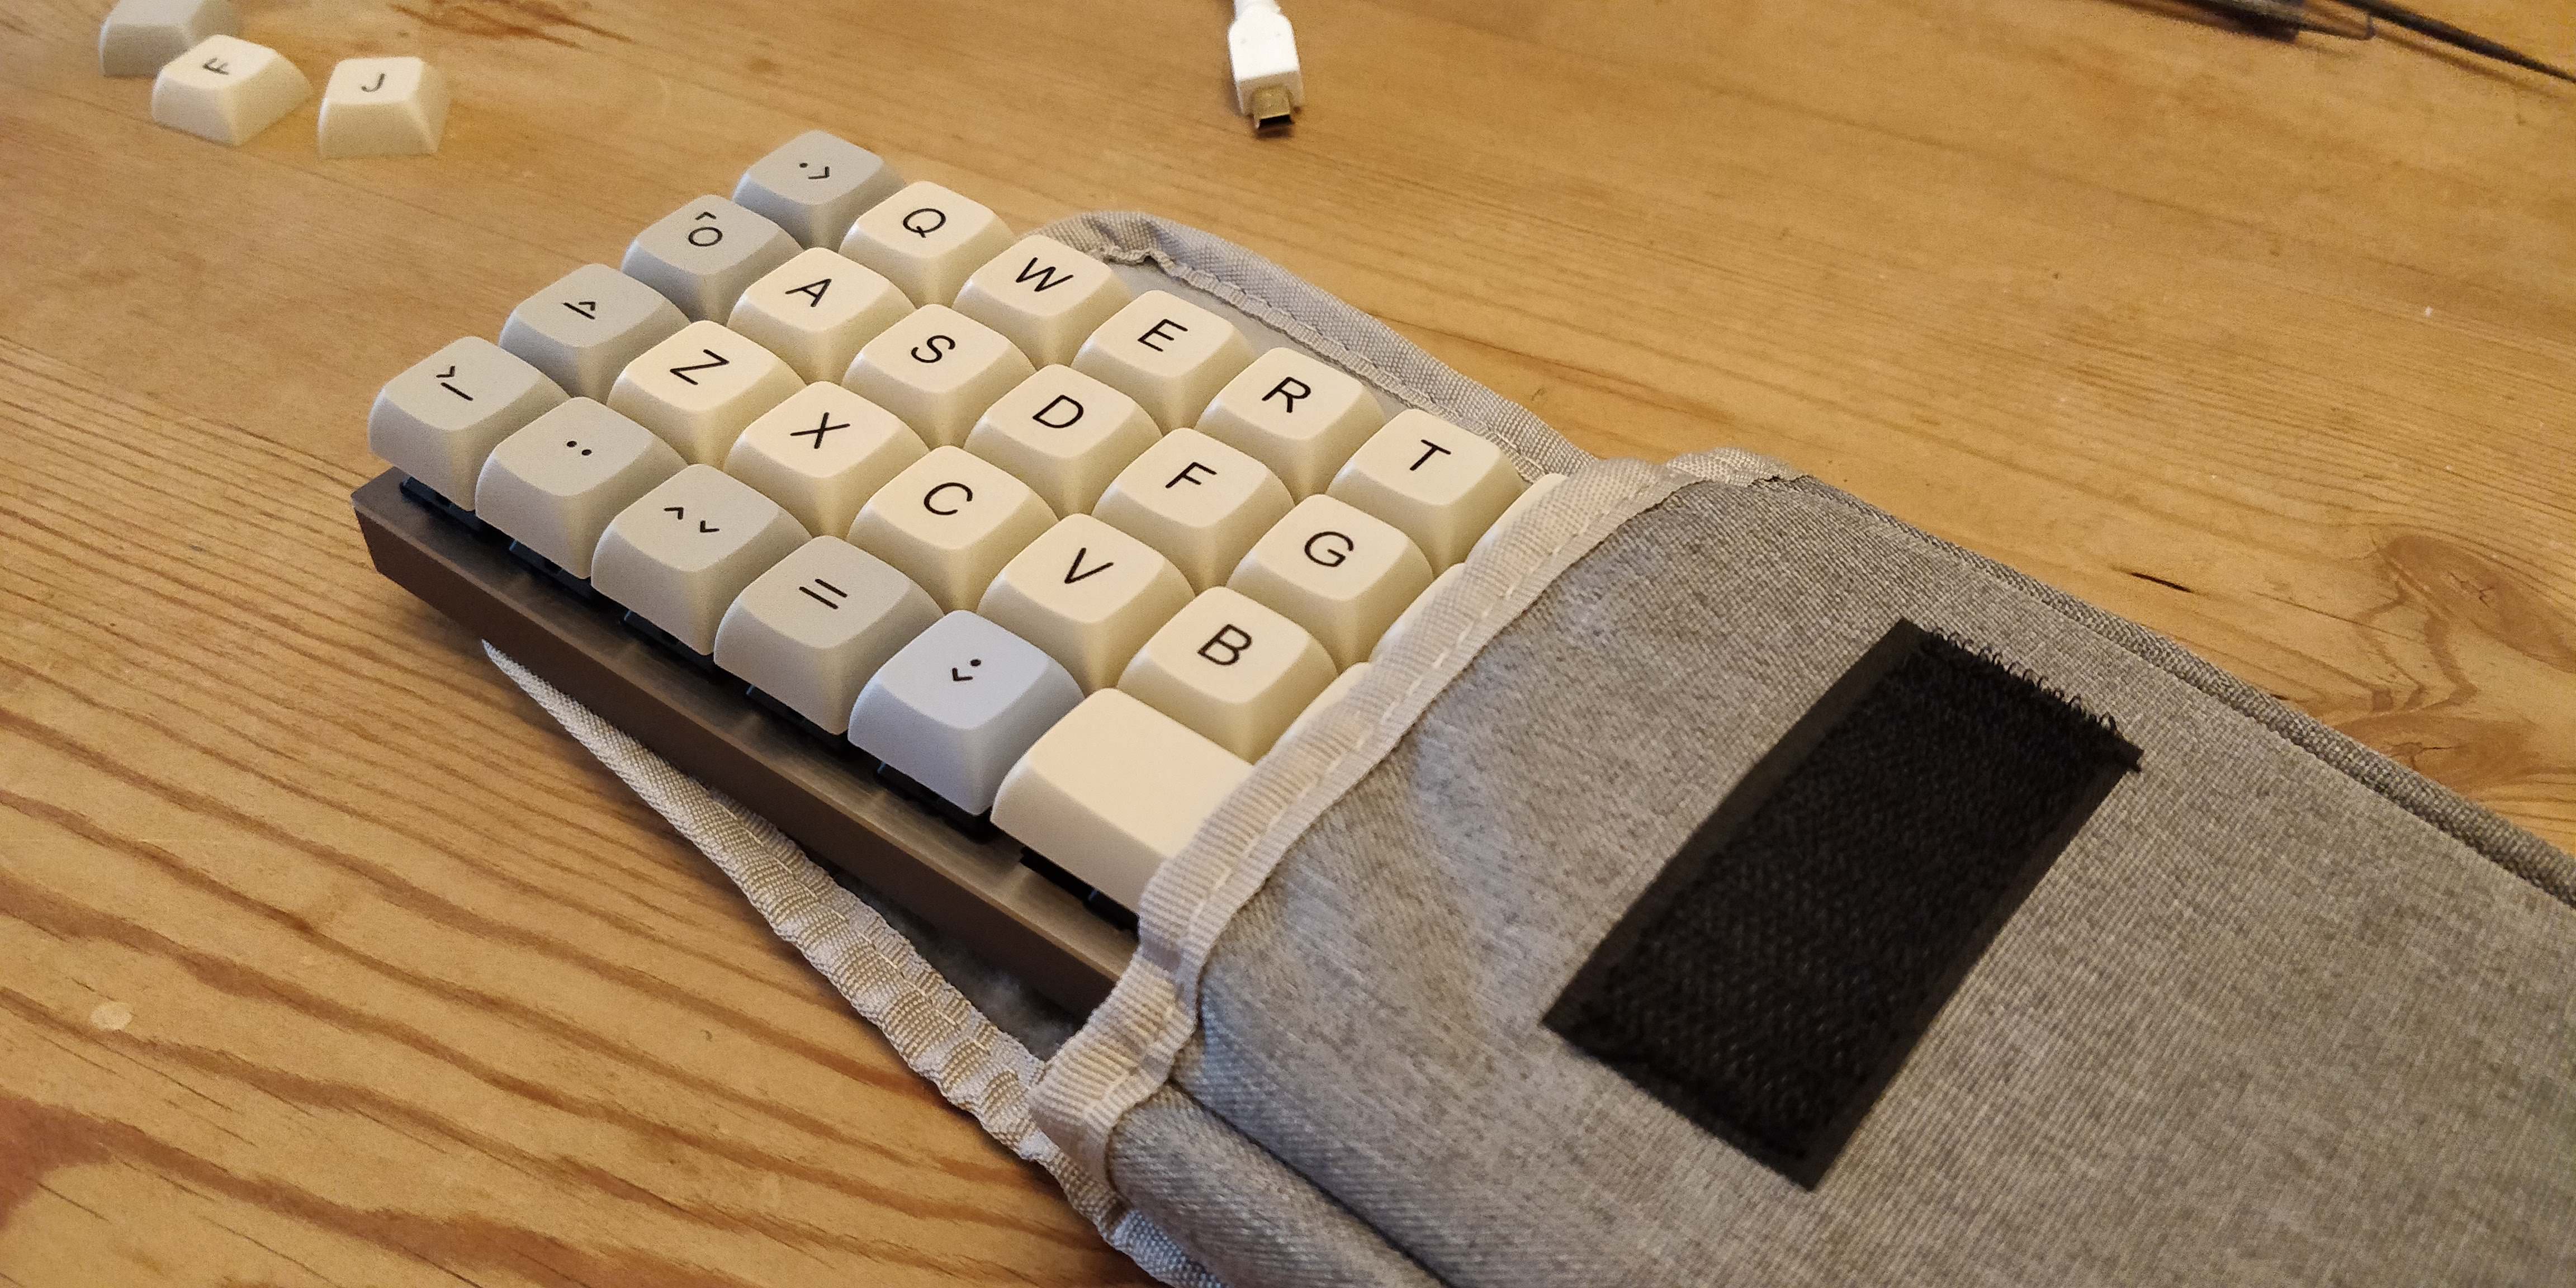
And there we have it. The Planck sitting on my desk at work having been transported in the felt carry case in my work bag.
I get asked approximately 3 times per hour what the hell is sitting on my desk but I realised that it's actually a great way to meet people and network at work. I barely have to put any effort in to reach out; they come to me!
I hope that you enjoyed reading, or learned something from this. If you are another keyboard enthusiast looking for tips in preparation for building your own, let me know in the comments if you need any help.
This is part one in a two part series. The Planck is fully programmable meaning that the keys can be mapped to anything you want. Due to the compactness of the board and my inevitably unique use for it, I spent a lot of time thinking about what I wanted the different layers to contain when activated. E.g holding the RAISE (orange) key will give me access to numbers or symbols. See part two for a look into the different layers and my decisions behind them.
Thanks for reading and happy clacking!


