

Building a Custom Keyboard Case
My build log of a custom oak keyboard case.
I've talked before about my weird hobbies and interests. I have a collection of random impulse buys that would probably baffle future archiologists if the earths population and records were almost completely erased. One of these interests is the wonderful land of mechanical keyboards.
This somewhat niche and geeky field is unknown even to a lot of folk in my profession; the inheritently geeky and nerdy software development practise. Owning a mechnical keyboard (or keyboards for the somewhat obsessed) have an array of advantages which I plan to talk about in another blog post, but for now I want to enthuse about customisation.
You can customise most mechanical keyboards from everything from keycap colour, to switch type, key mappings, and casing. After being inspired by DIY projects spotted around the Internet (mainly the DIY{:target="_blank"} and MechanicalKeyboard{:target="_blank"} subreddits) and somewhat put off by the outrageous cost of purchasing one, I thought I'd attempt to make a wooden keyboard case myself. Being my first woodwork project since school, I was nervous. I documented the process fairly well, so what follows is my build log! Enjoy.
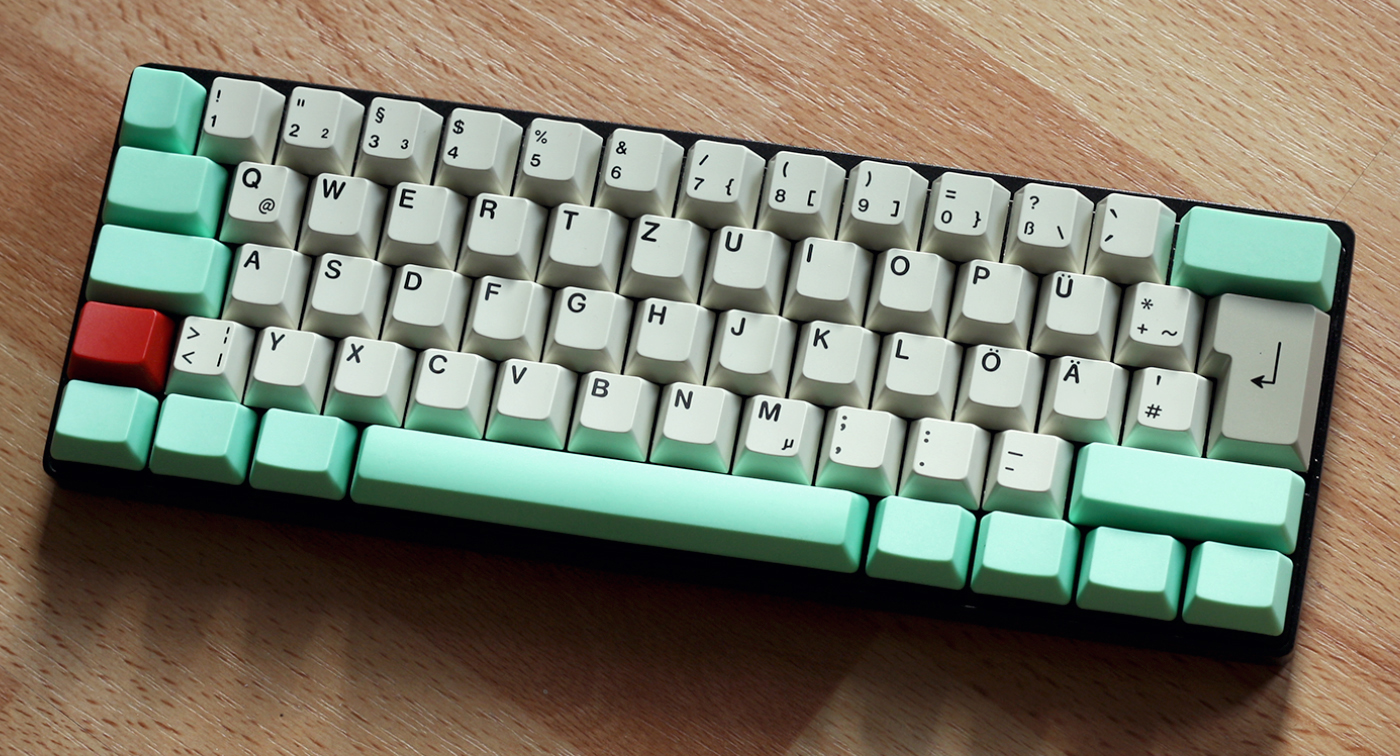
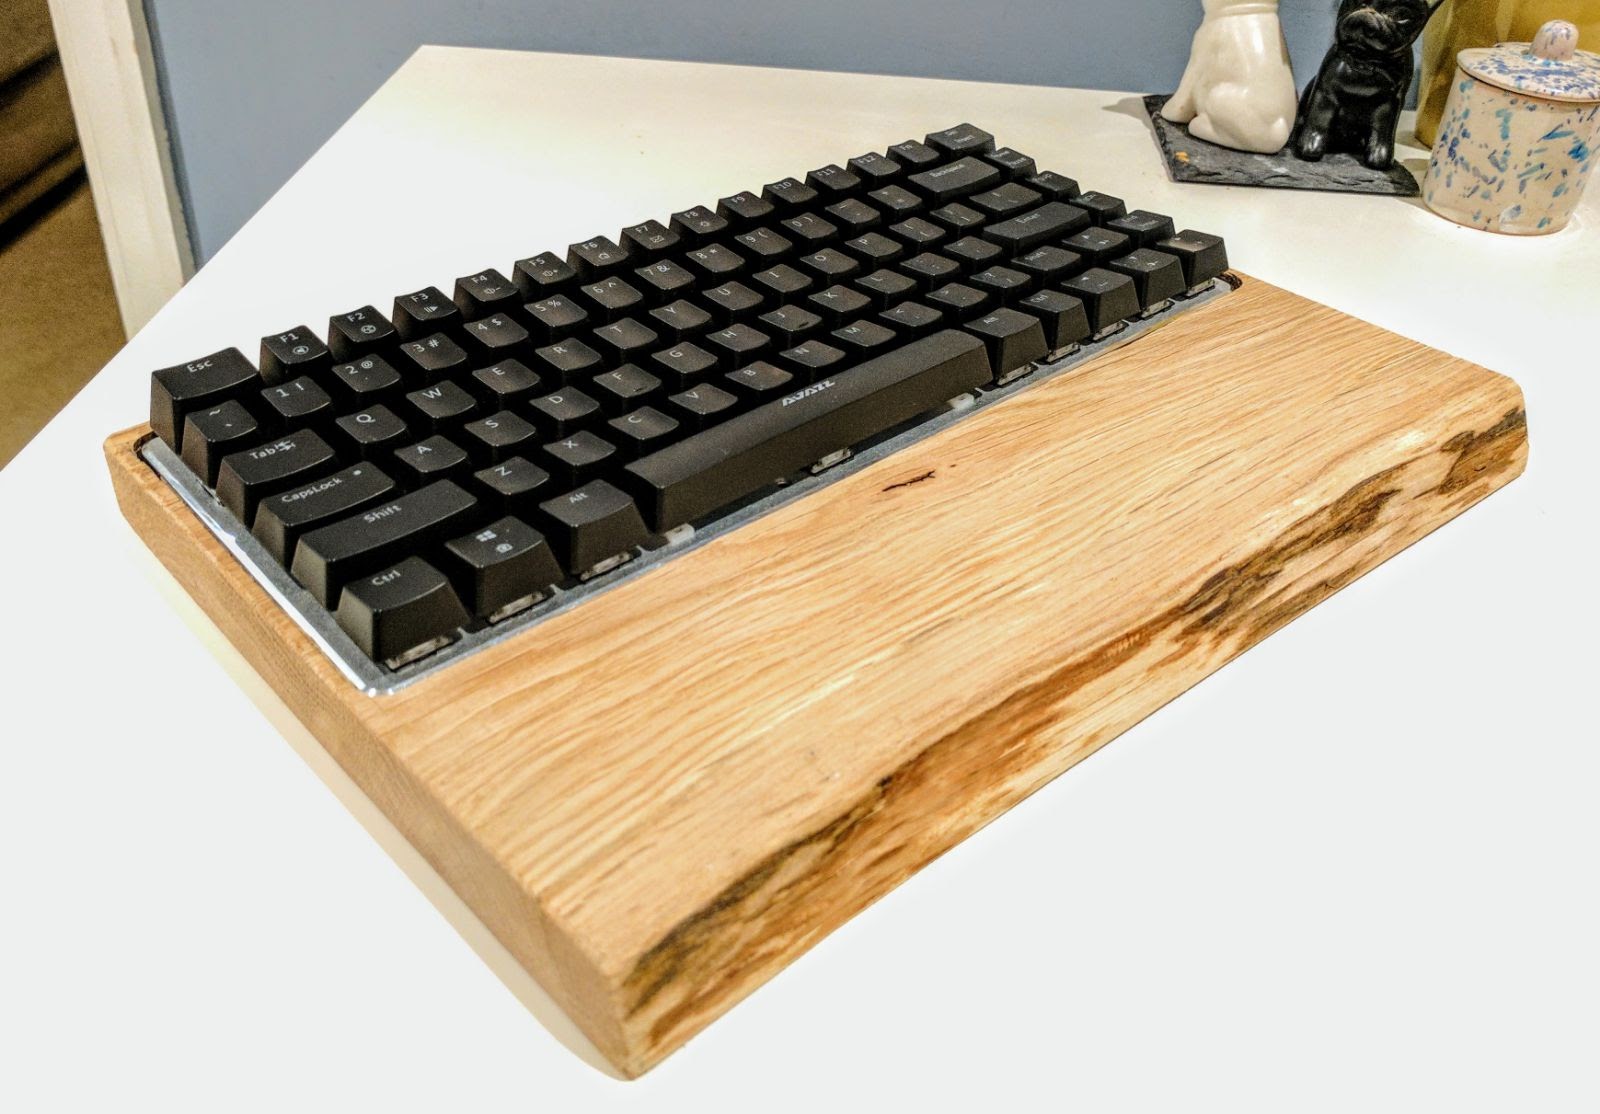
The finished product

Materials used
- Slab of wood, purchased from B&Q
- Handheld router
- Circular saw (any strong saw will do though)
- Chisel
- Electric sander
- Sandpaper (course, medium, and fine)
- Cork sanding block
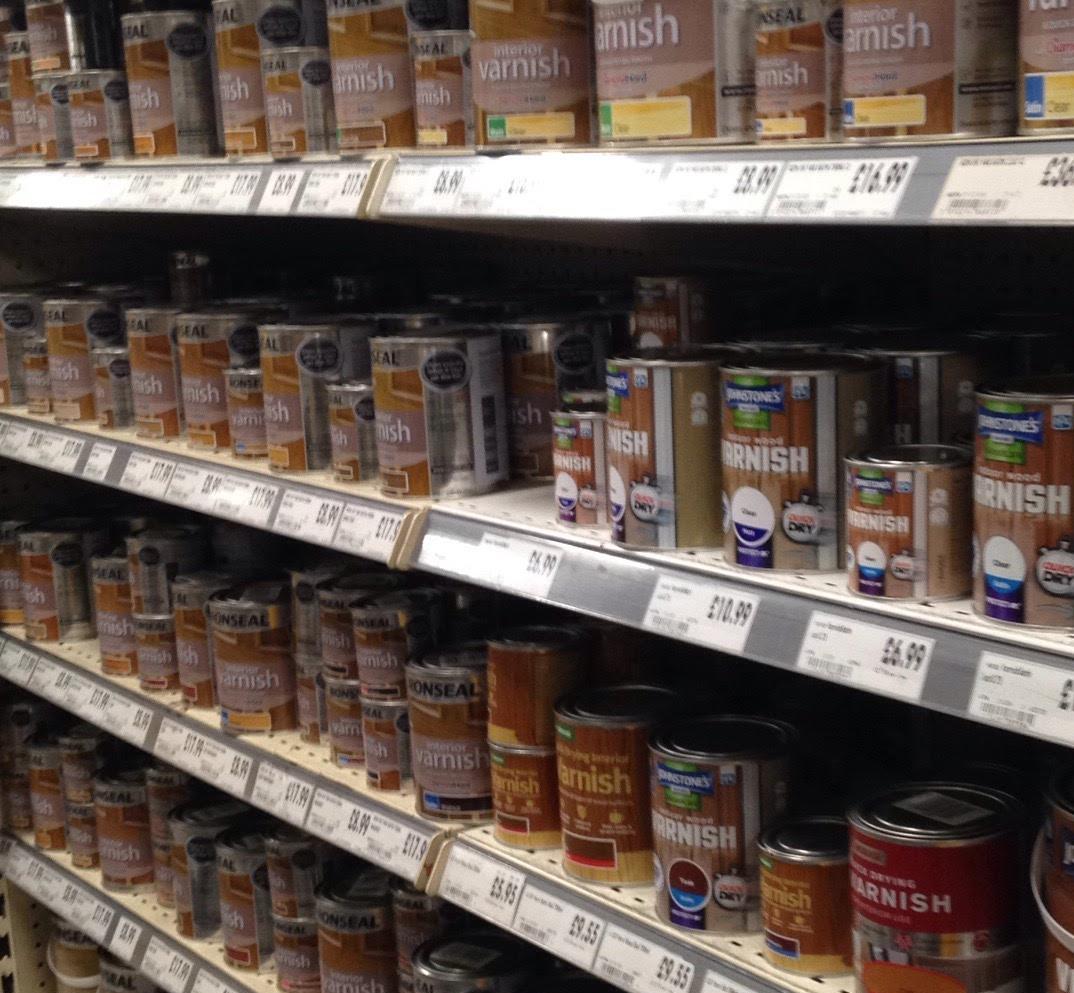
- Stained varnish
- Paintbrush
Build Log
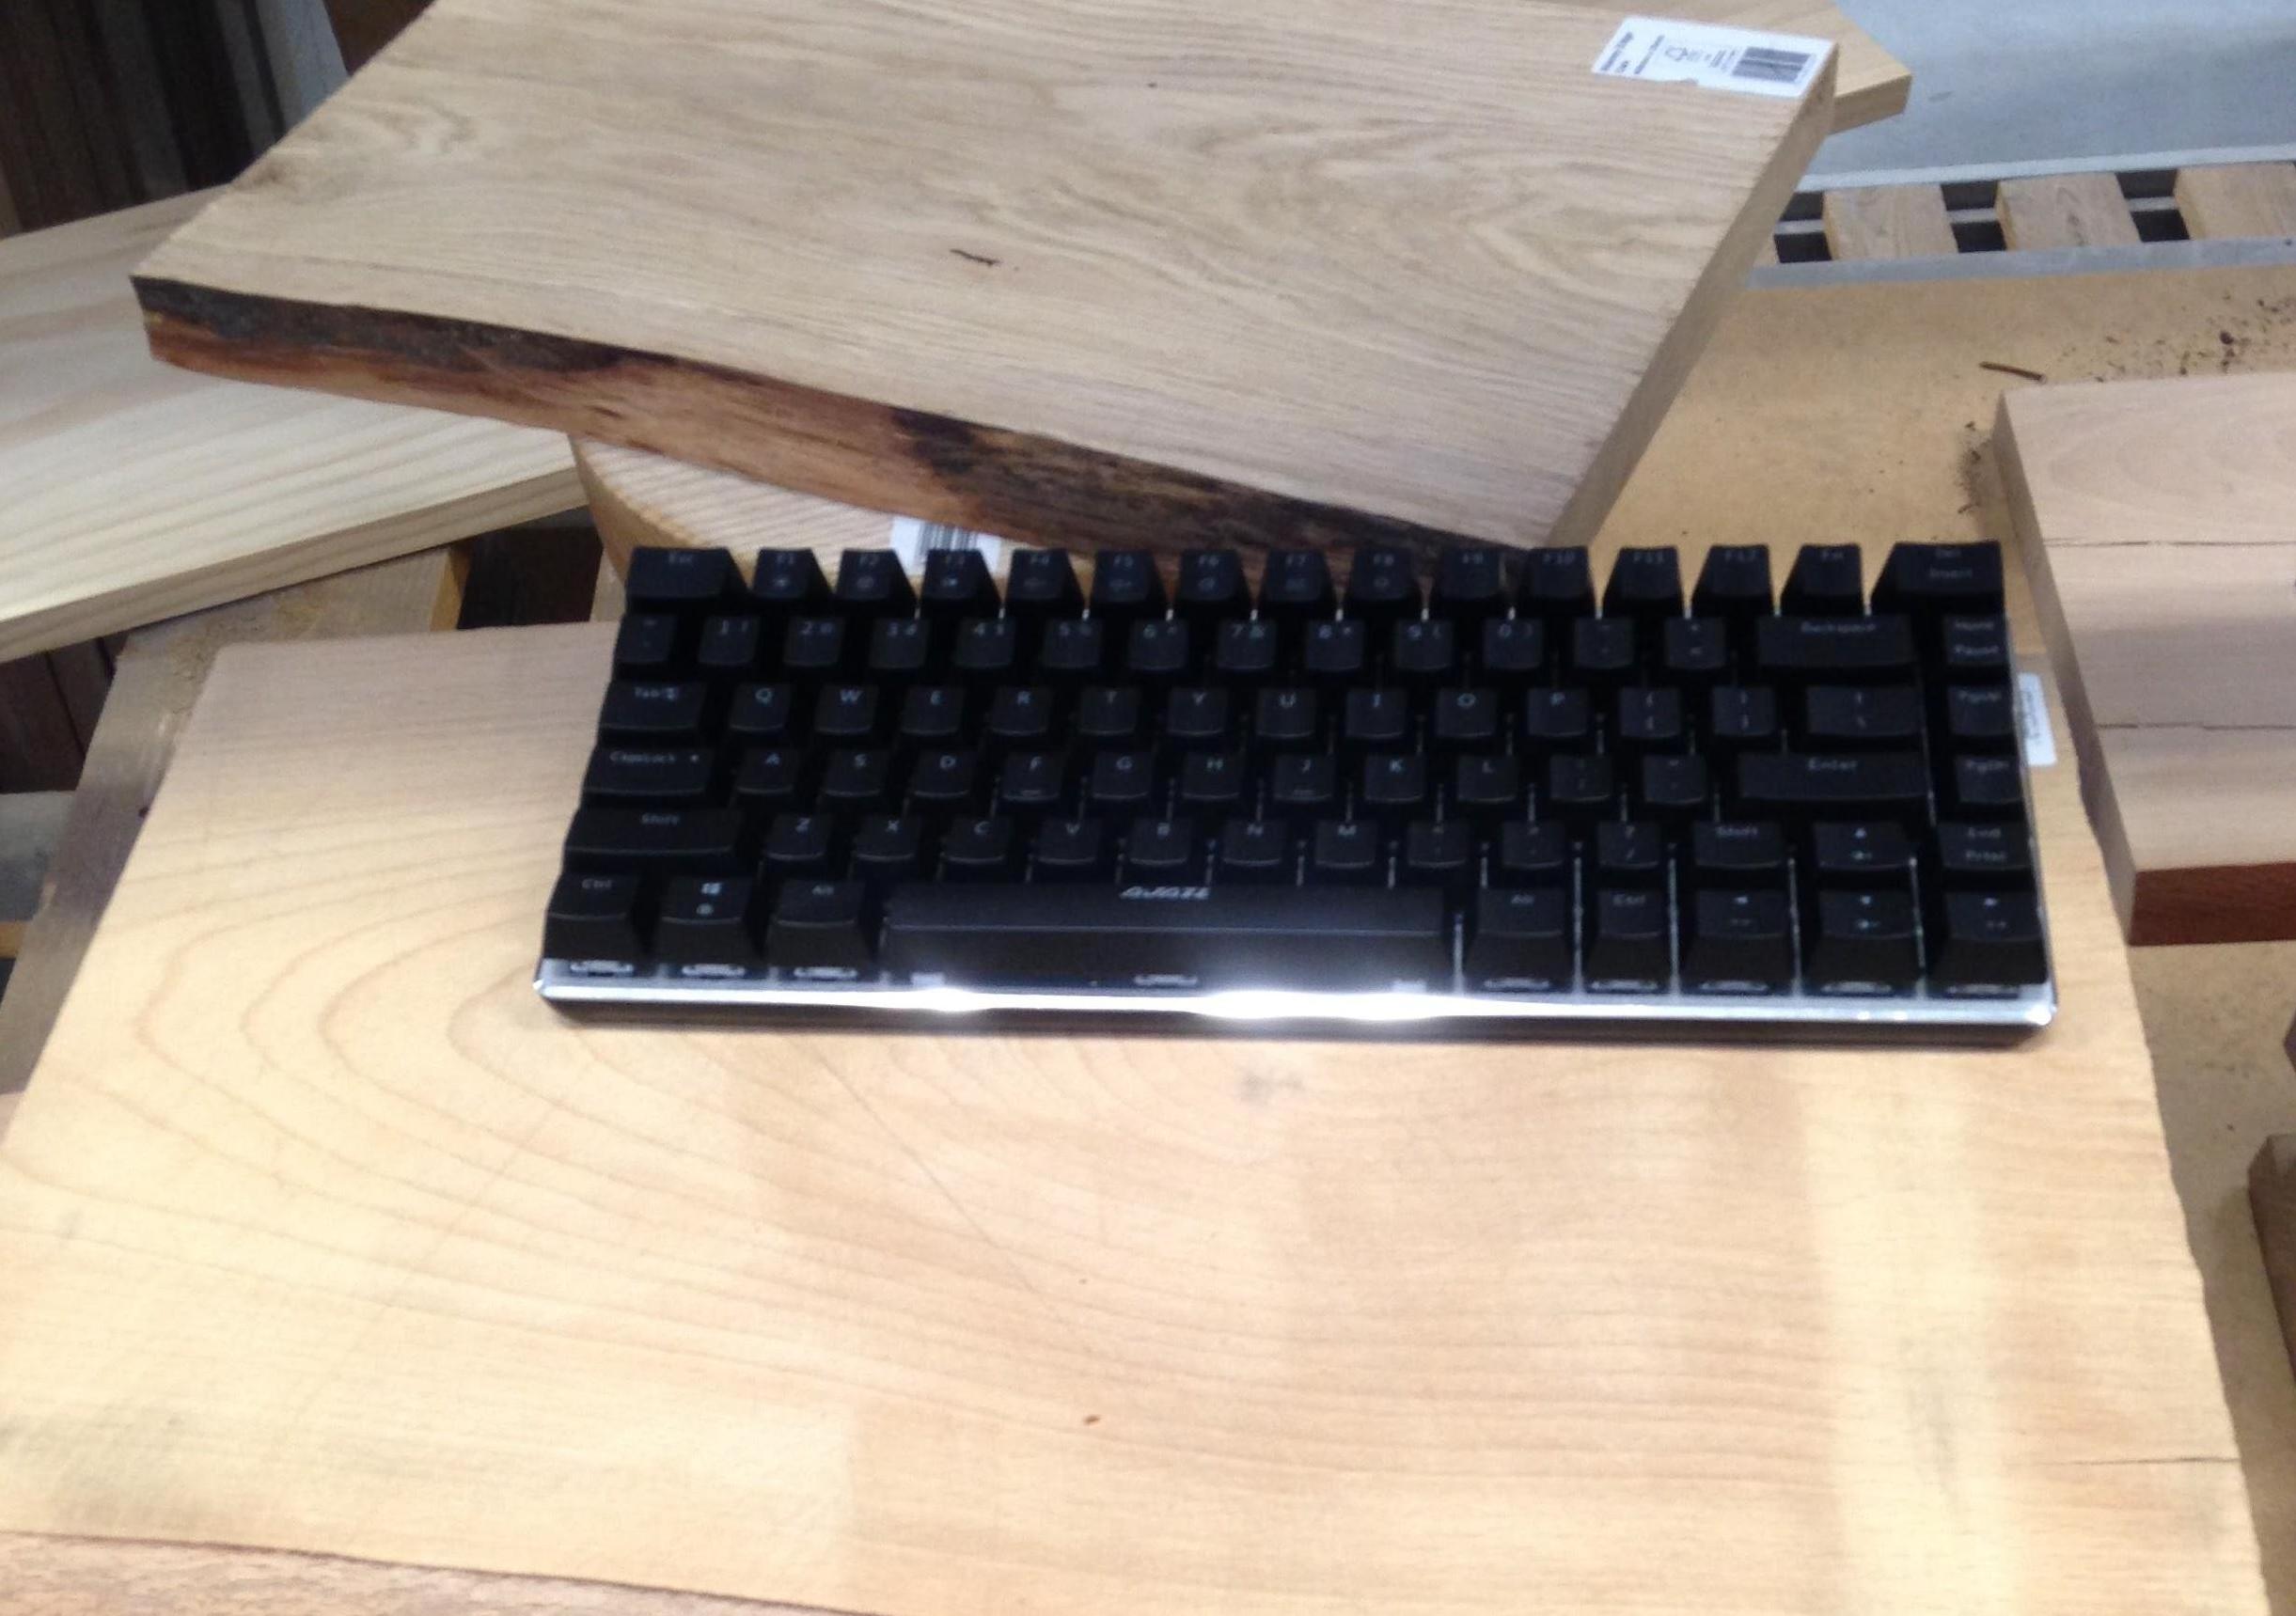
- I started by taking the keyboard to a hardware shop to ensure that I was buying wood of adequate size. Warning: This will attract strange looks from other shoppers.
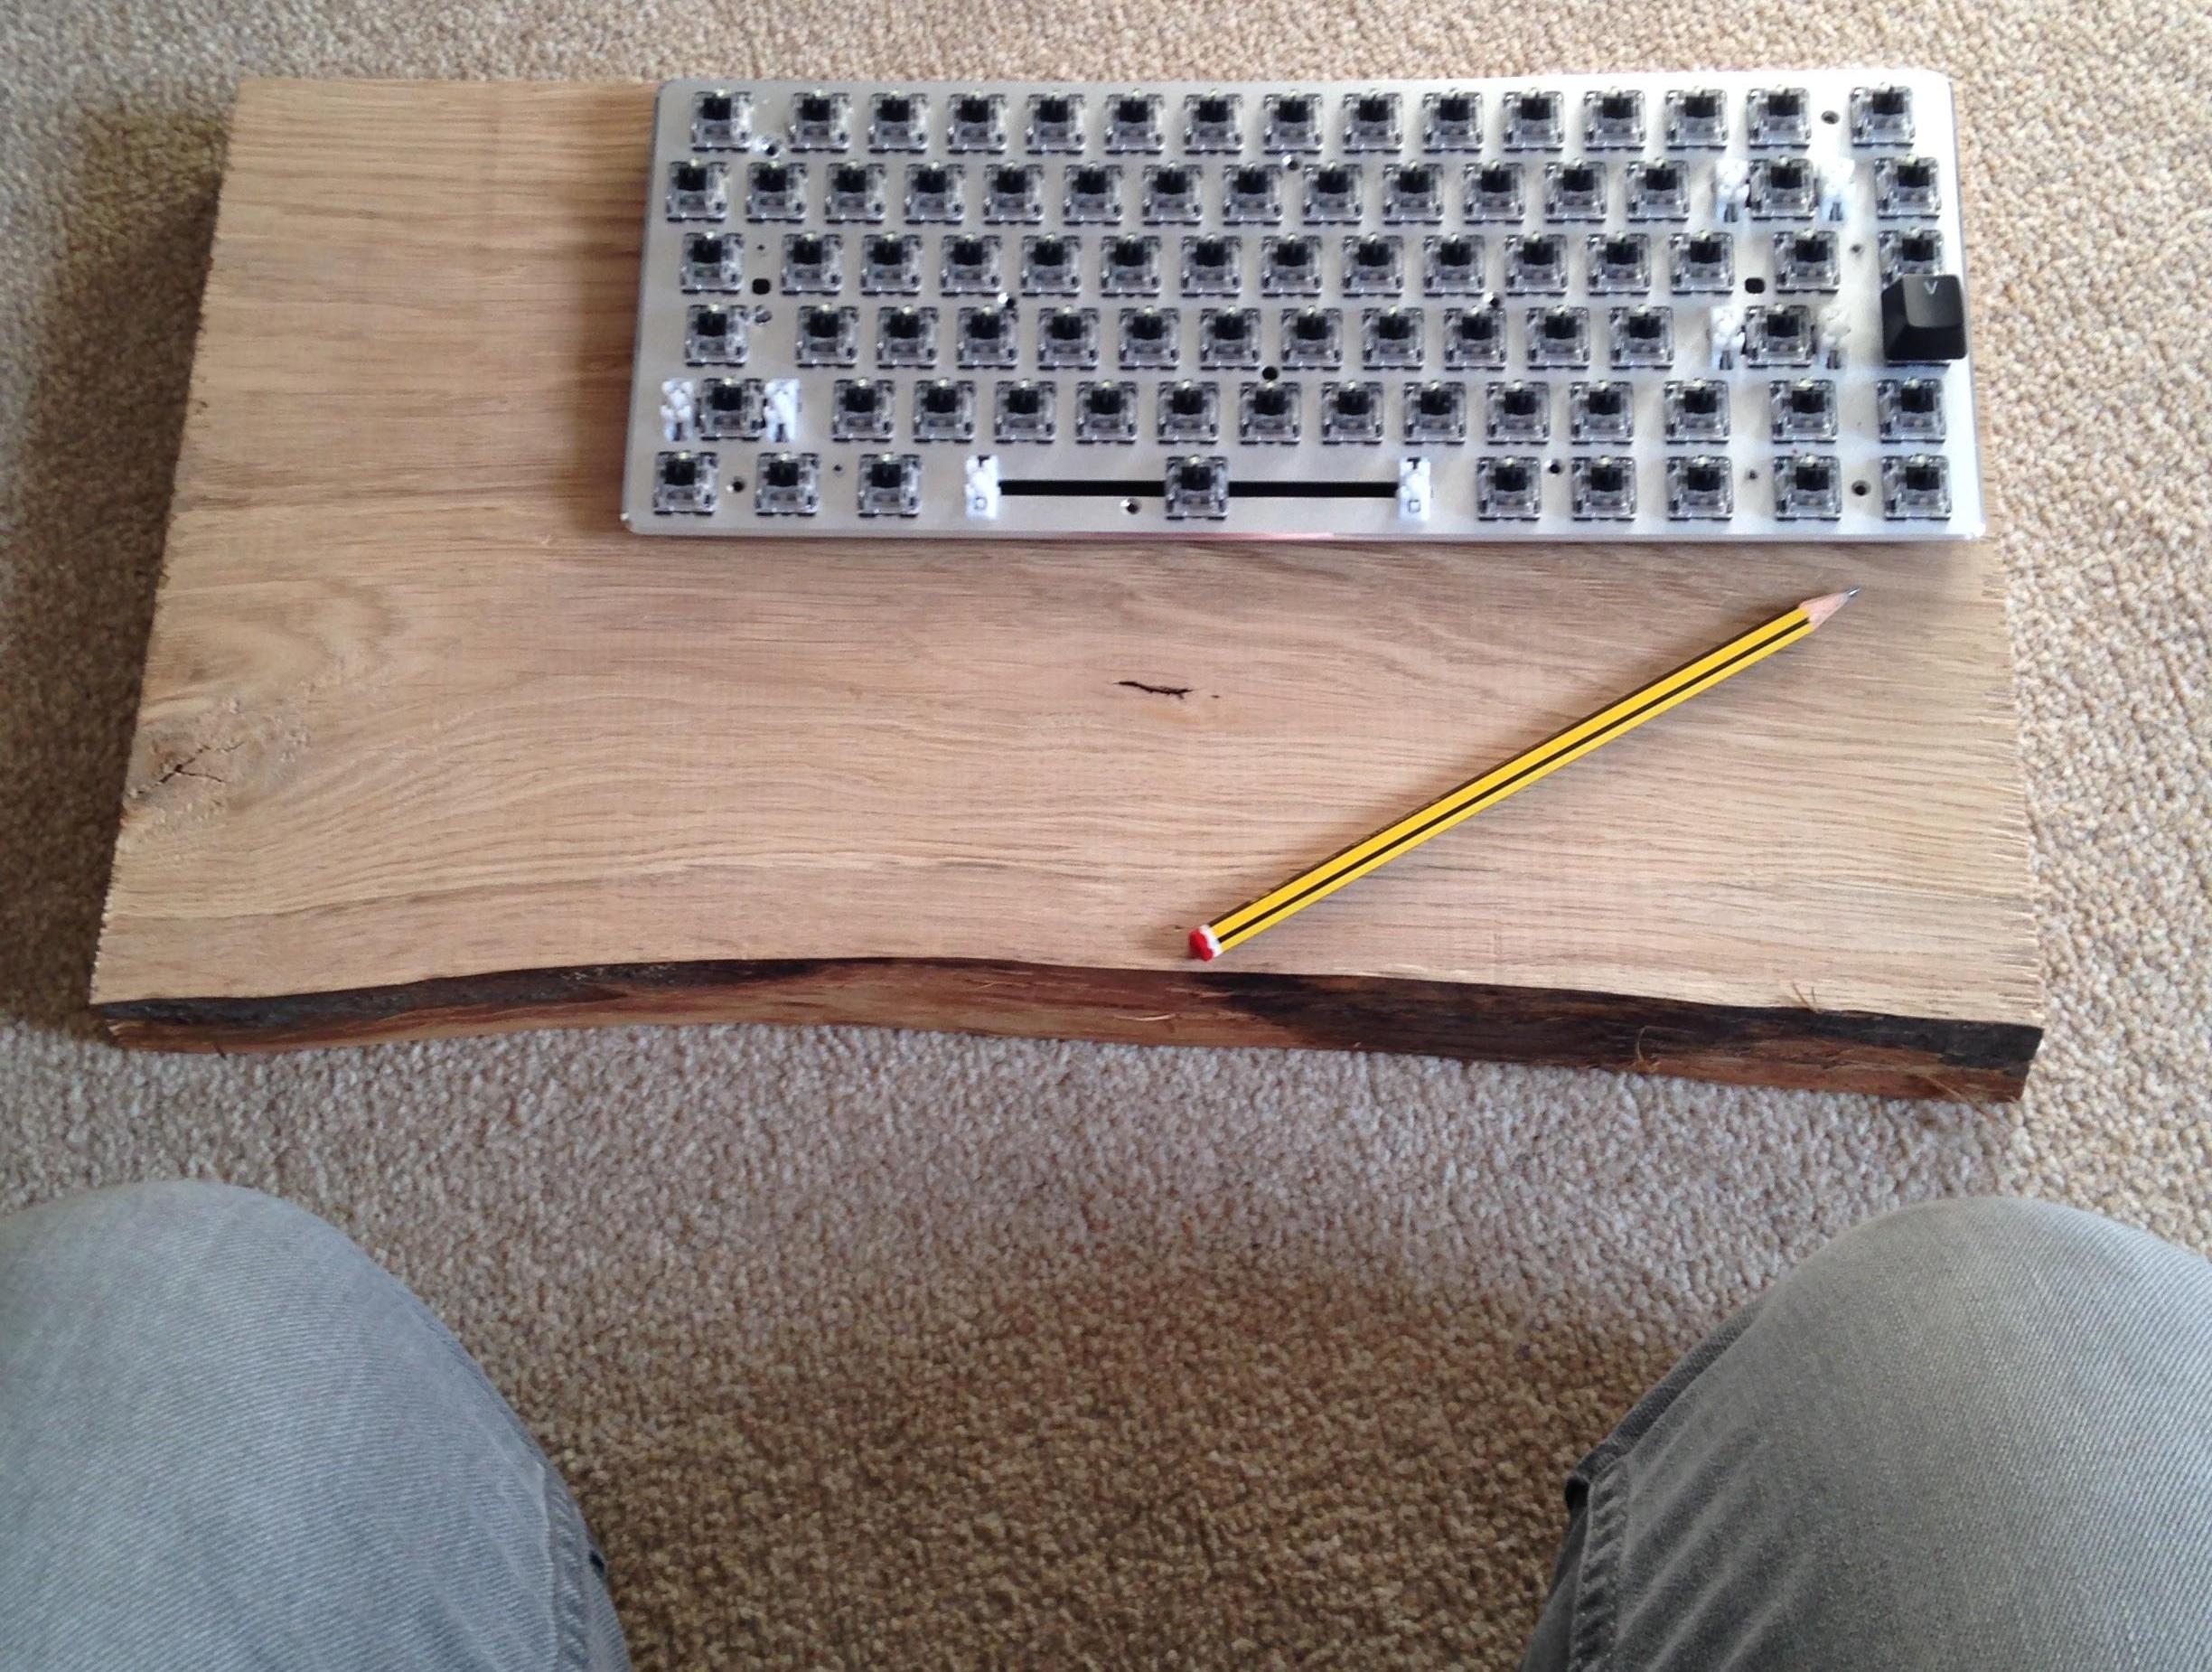
- I removed all of the keys from the board and penciled an outline on the wood. This is the pilot line for when I do the routing. I made sure to indent this somewhat in case of a drastic error.
- I prepared the router and adjusted the height of the bit in order to get the desired depth in the wood.

- This is the result from the first cut with the router. I suspected that this would be trial and error to a certain degree as I wasn't sure how deep it would have to be or how it would turn out. Probably just as well that I needed to go deeper as I made a pigs ear of this.
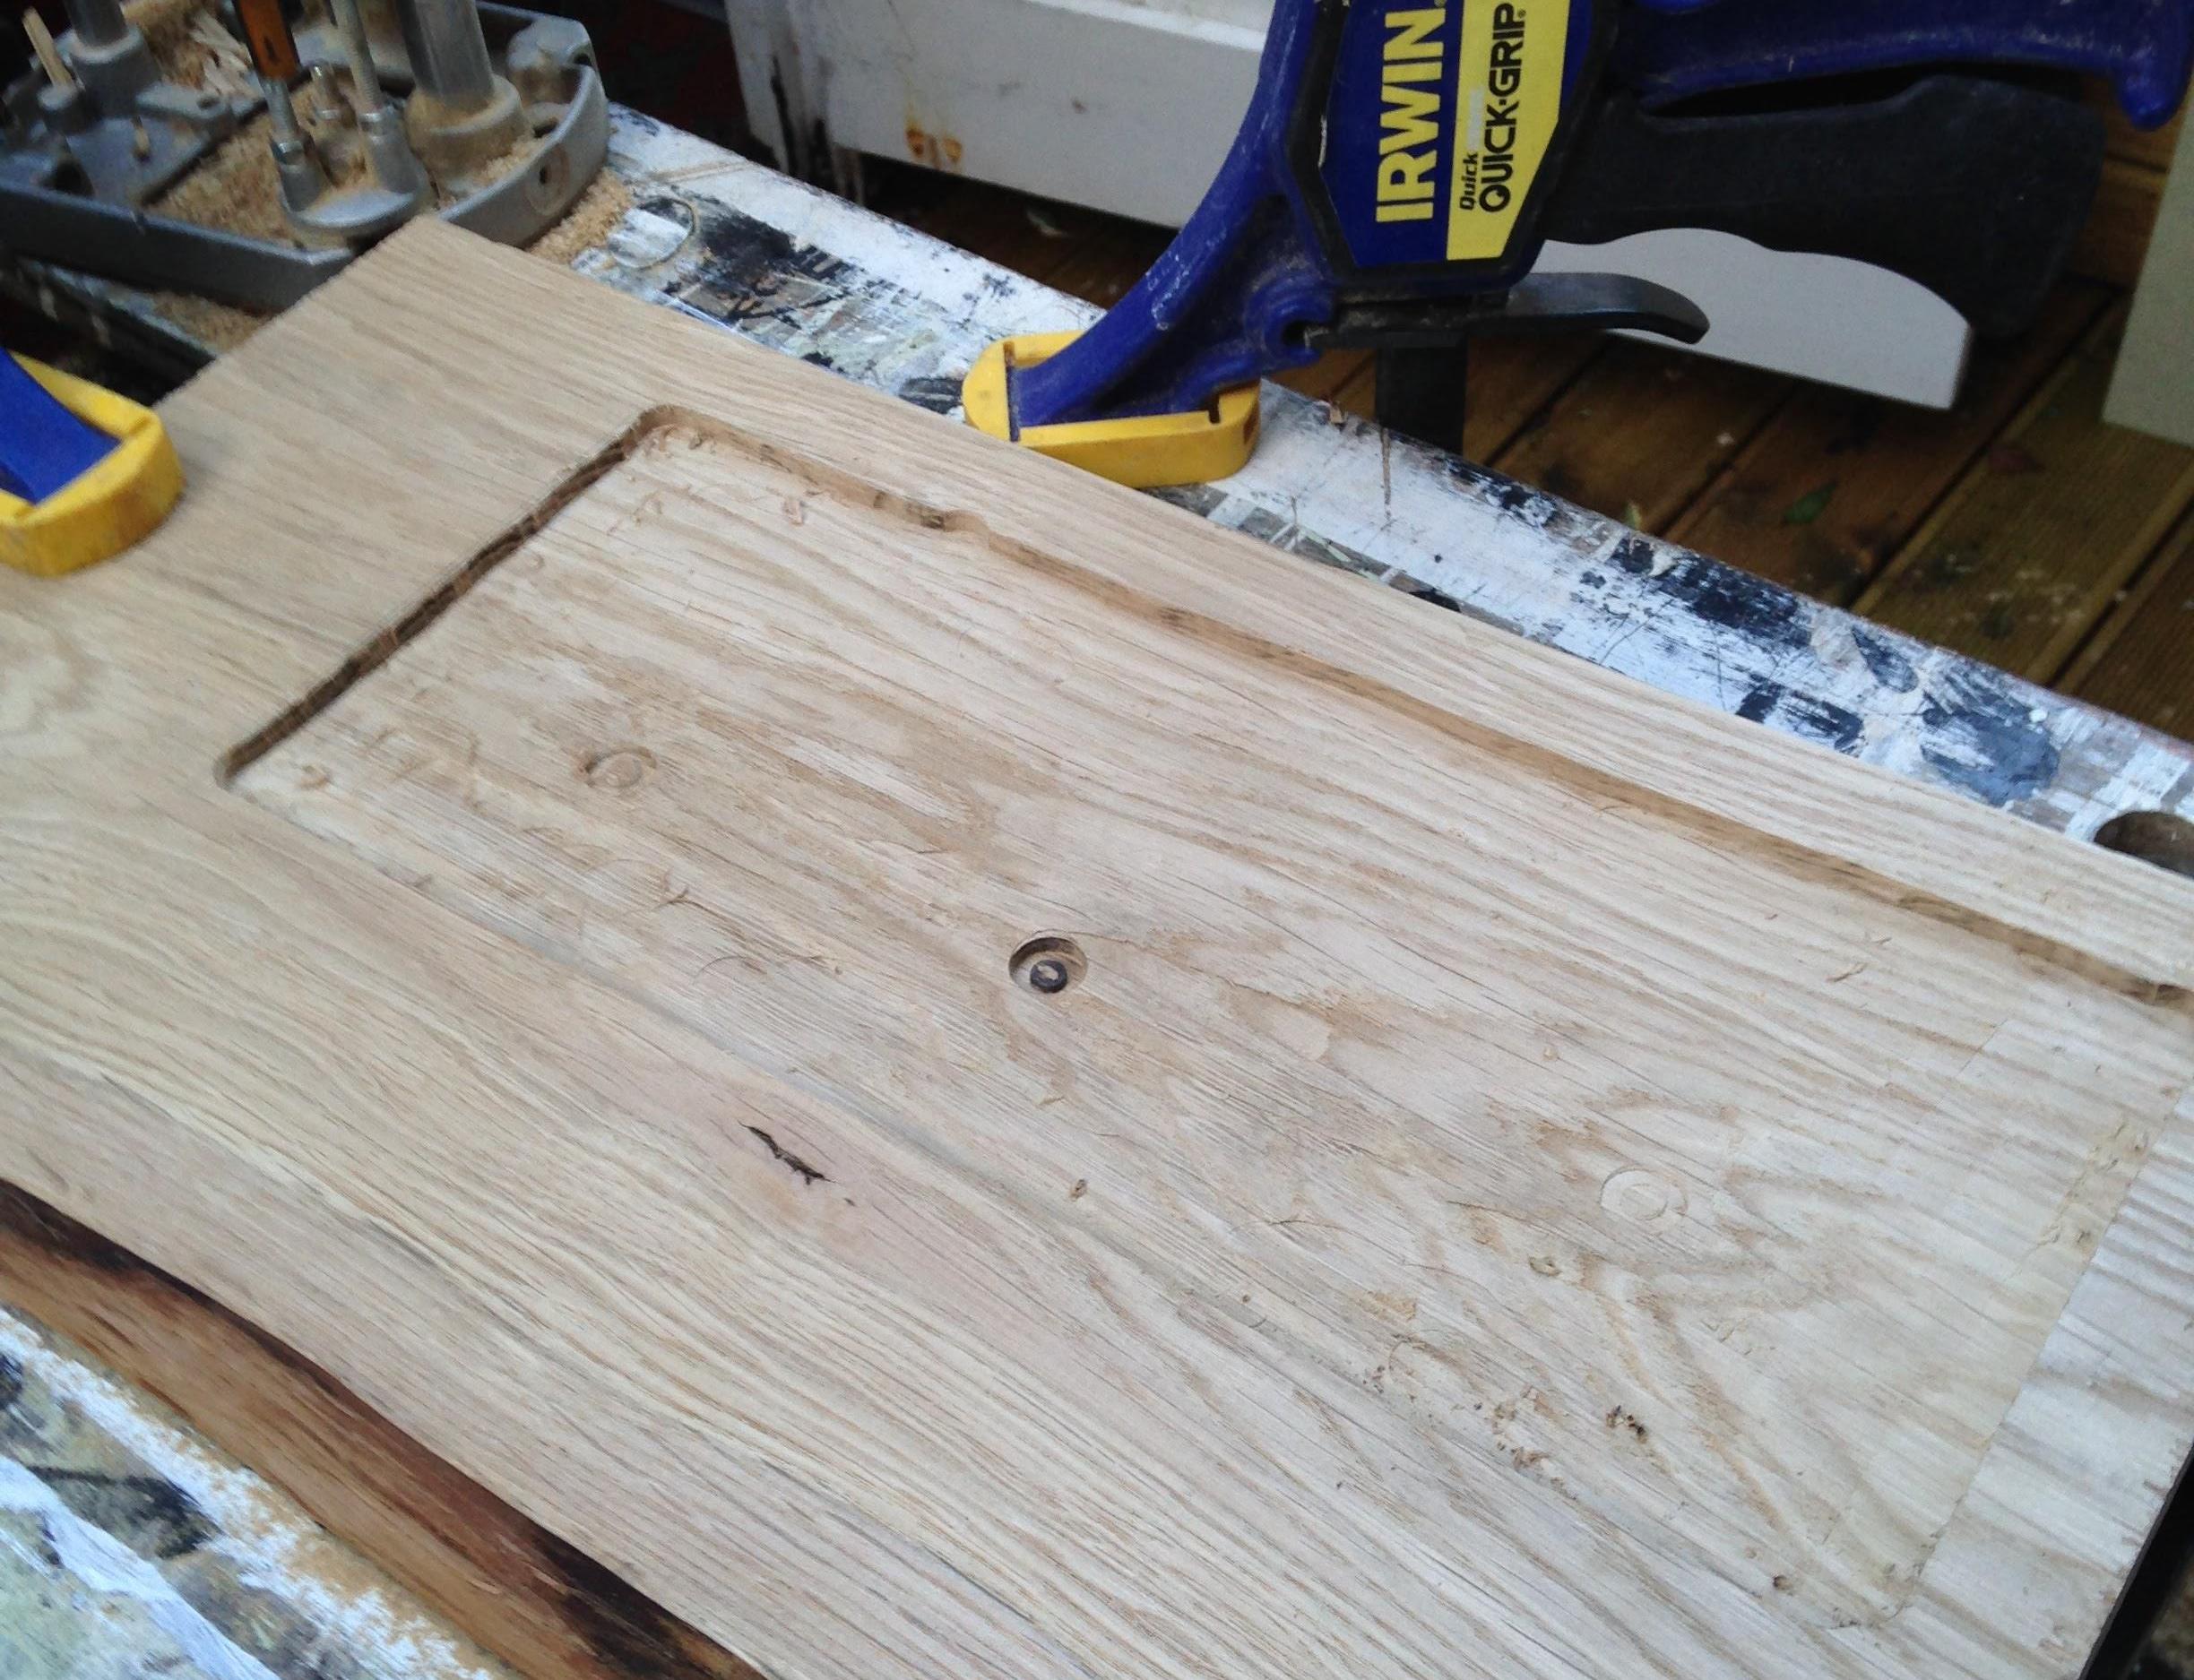
- This it the result of the second deeper cut. The board fits better in it now.

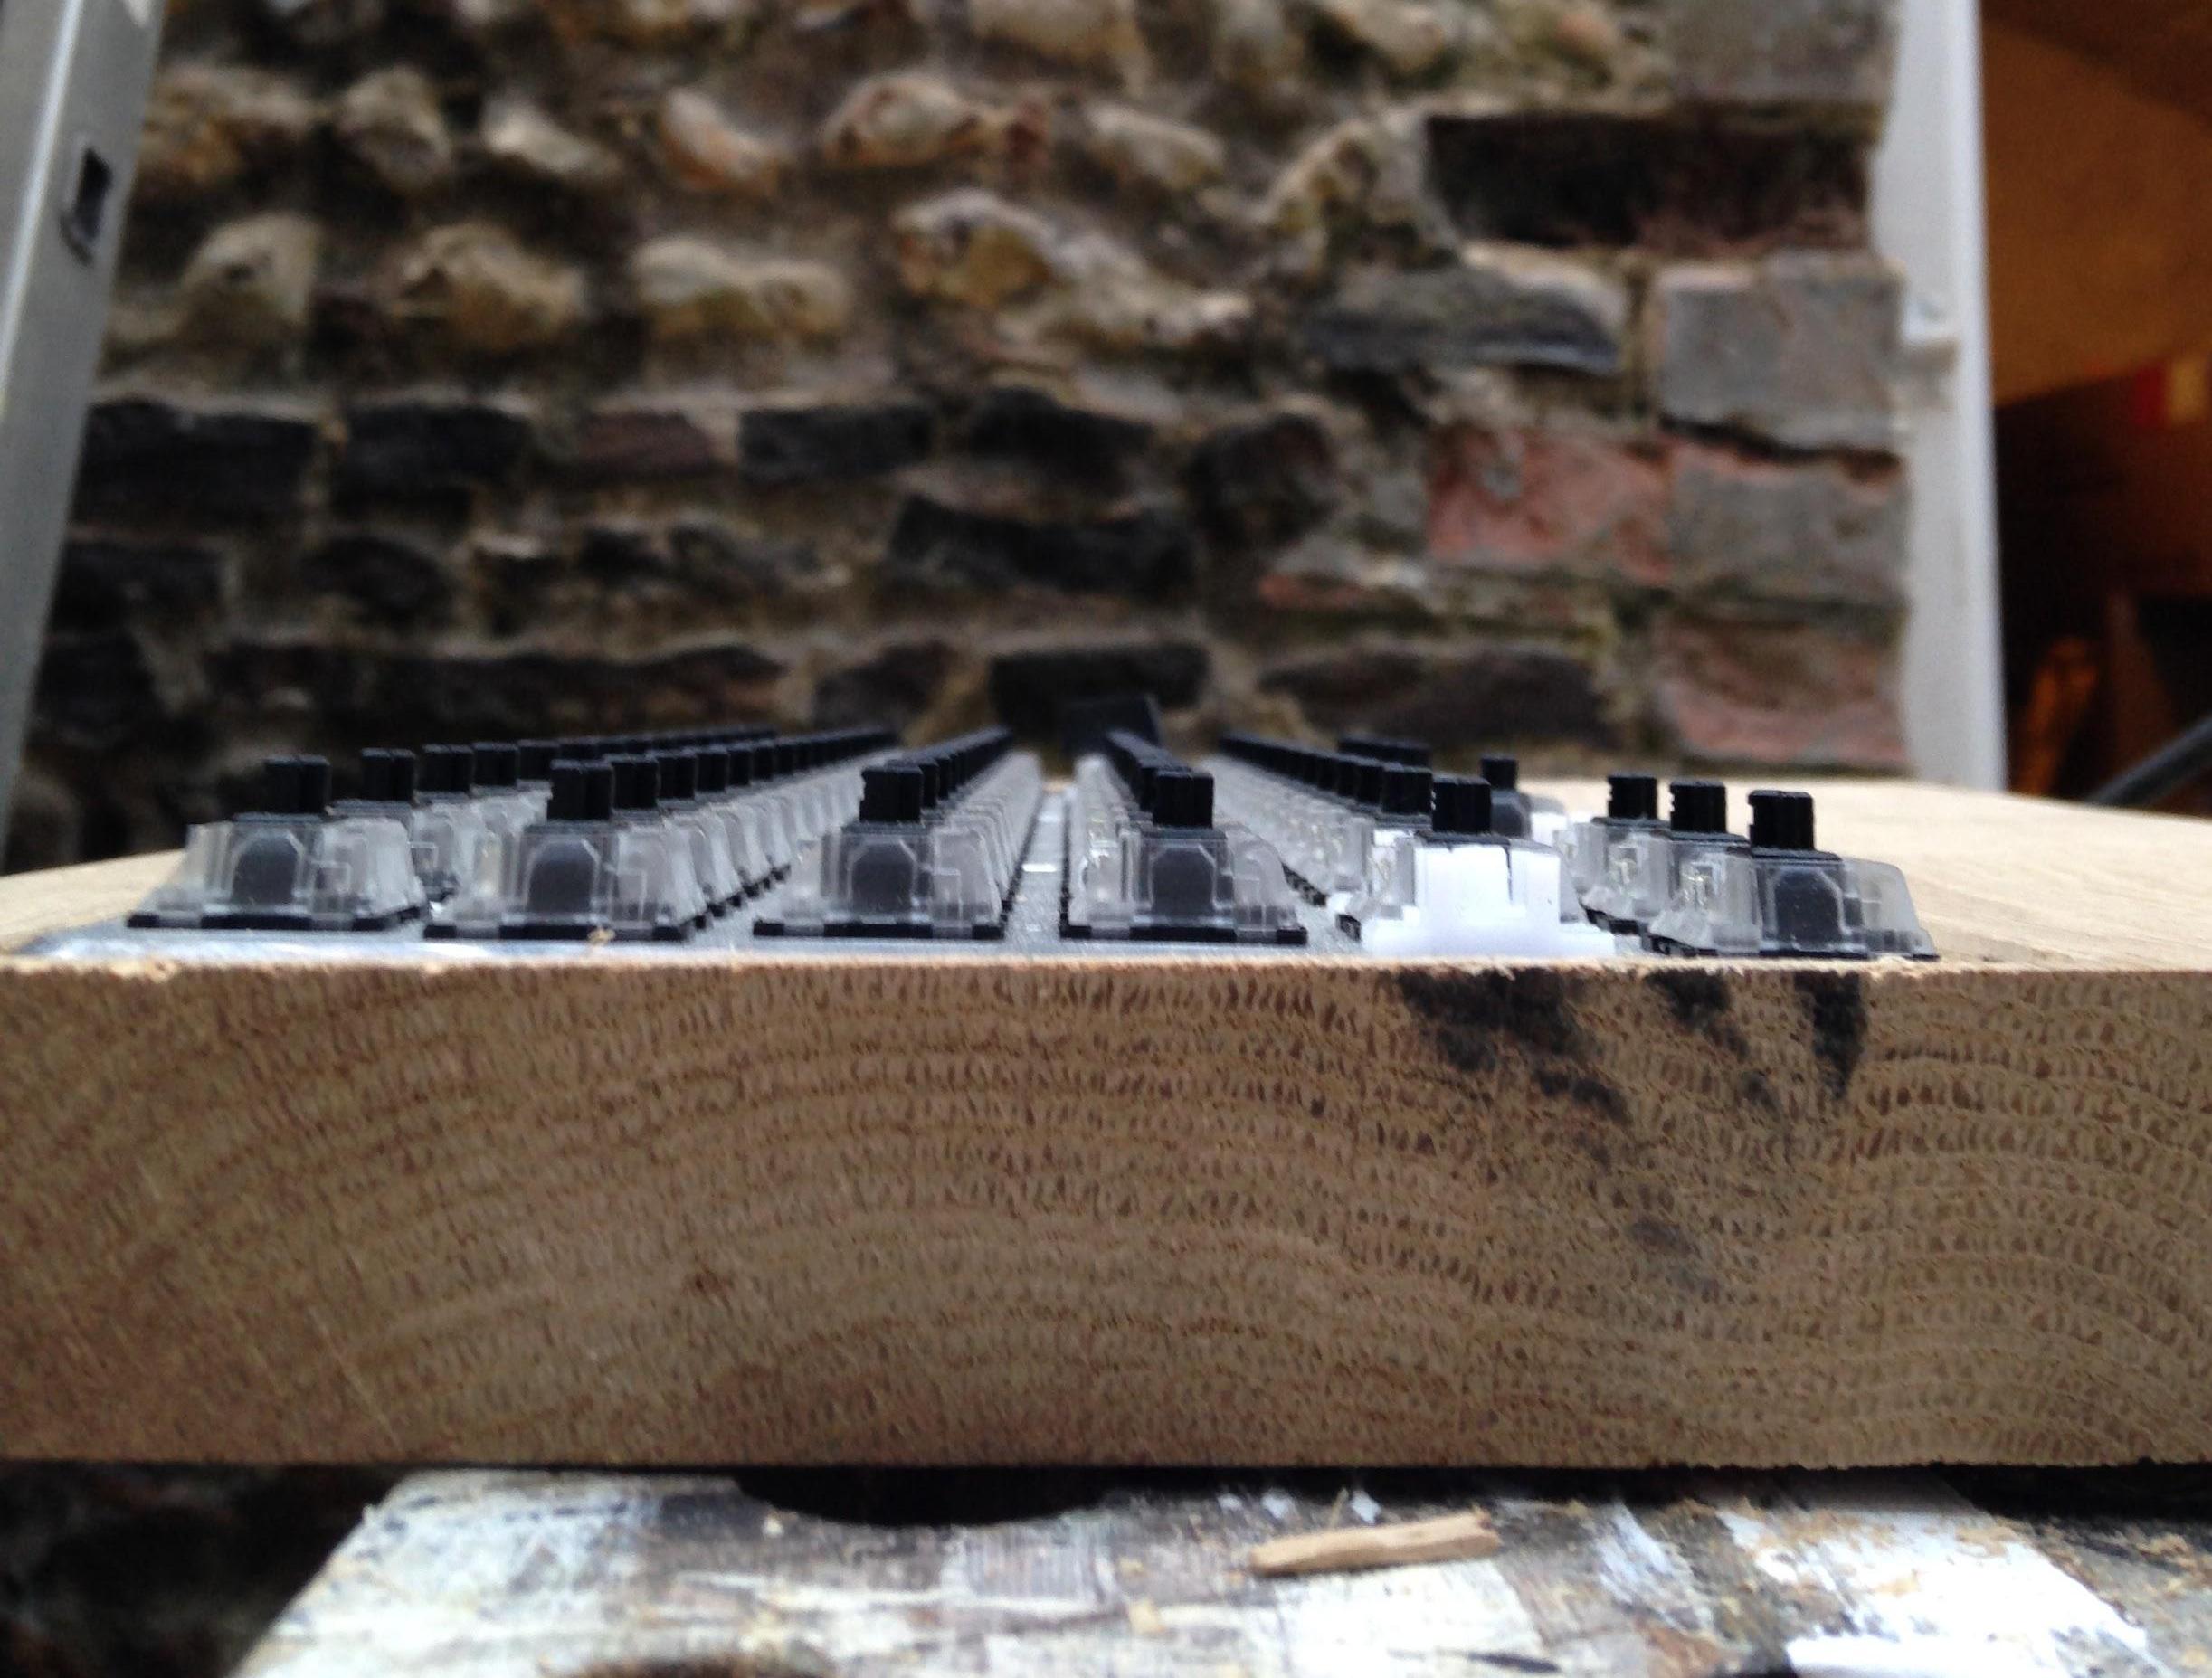
- A circular saw was used to cut the wood close to the route to give a nice close bezel. This ended up being a lot closer than intended. Dangerously so.
- From another angle...
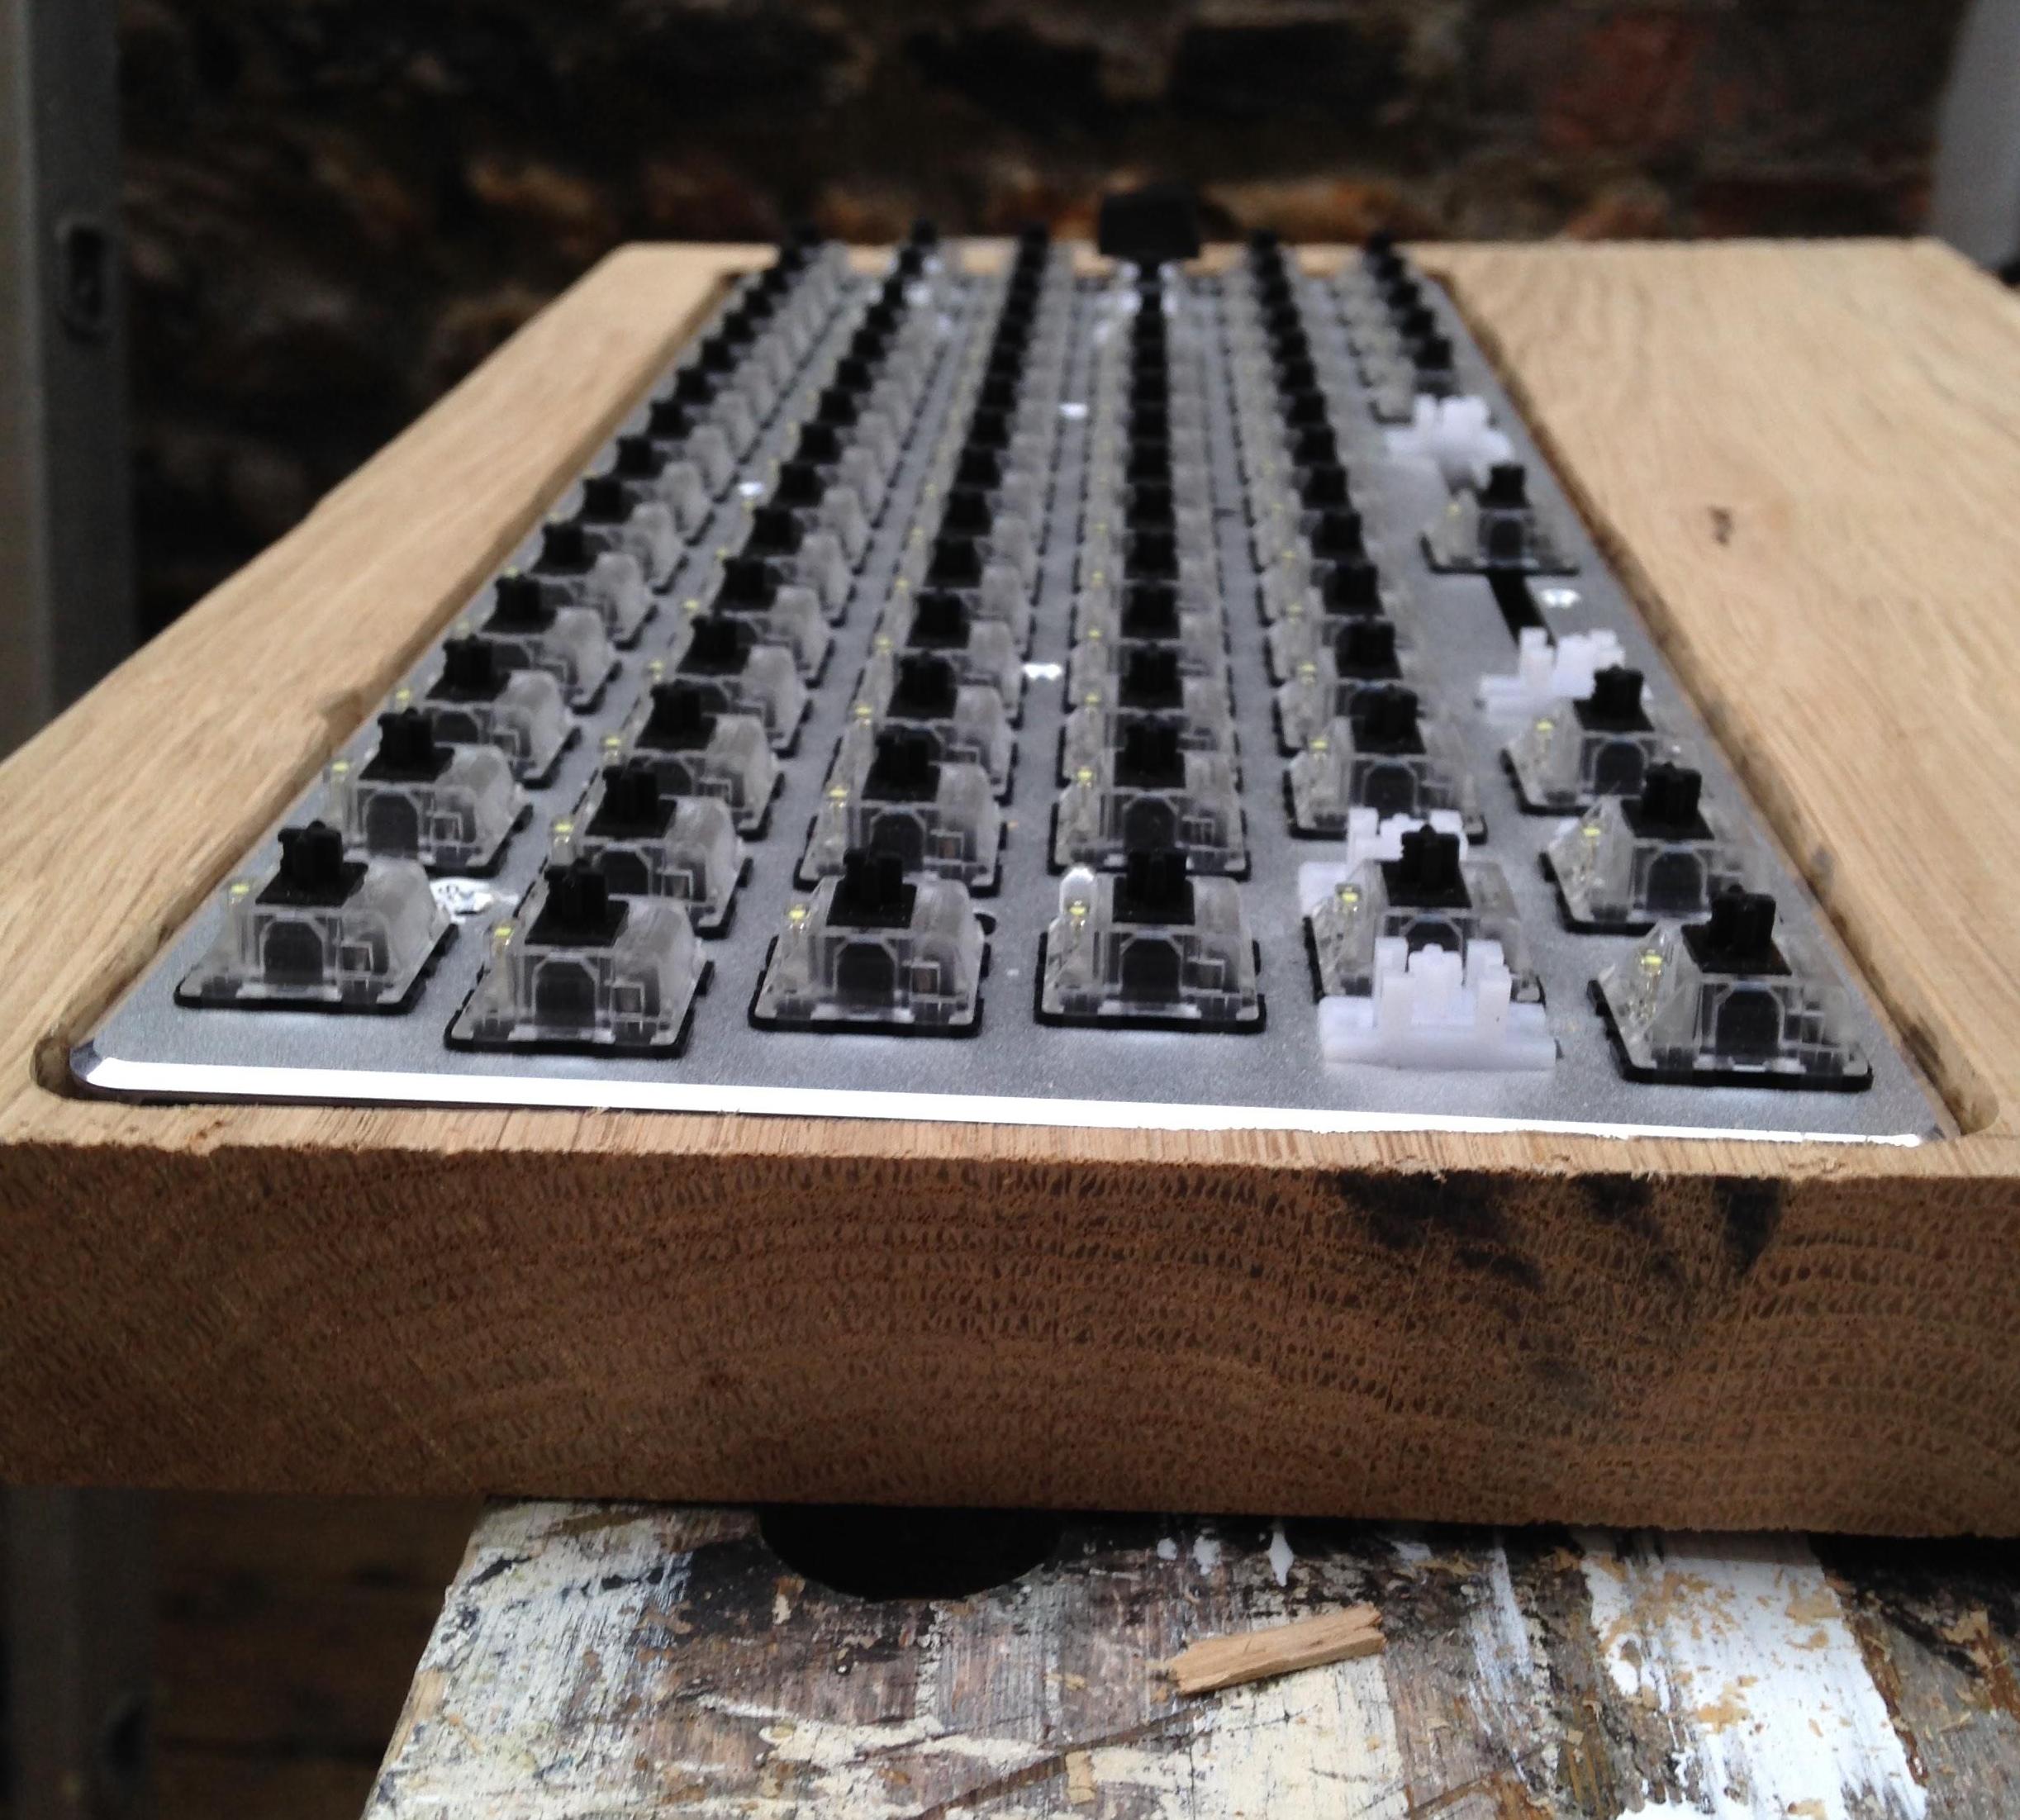
- And another...
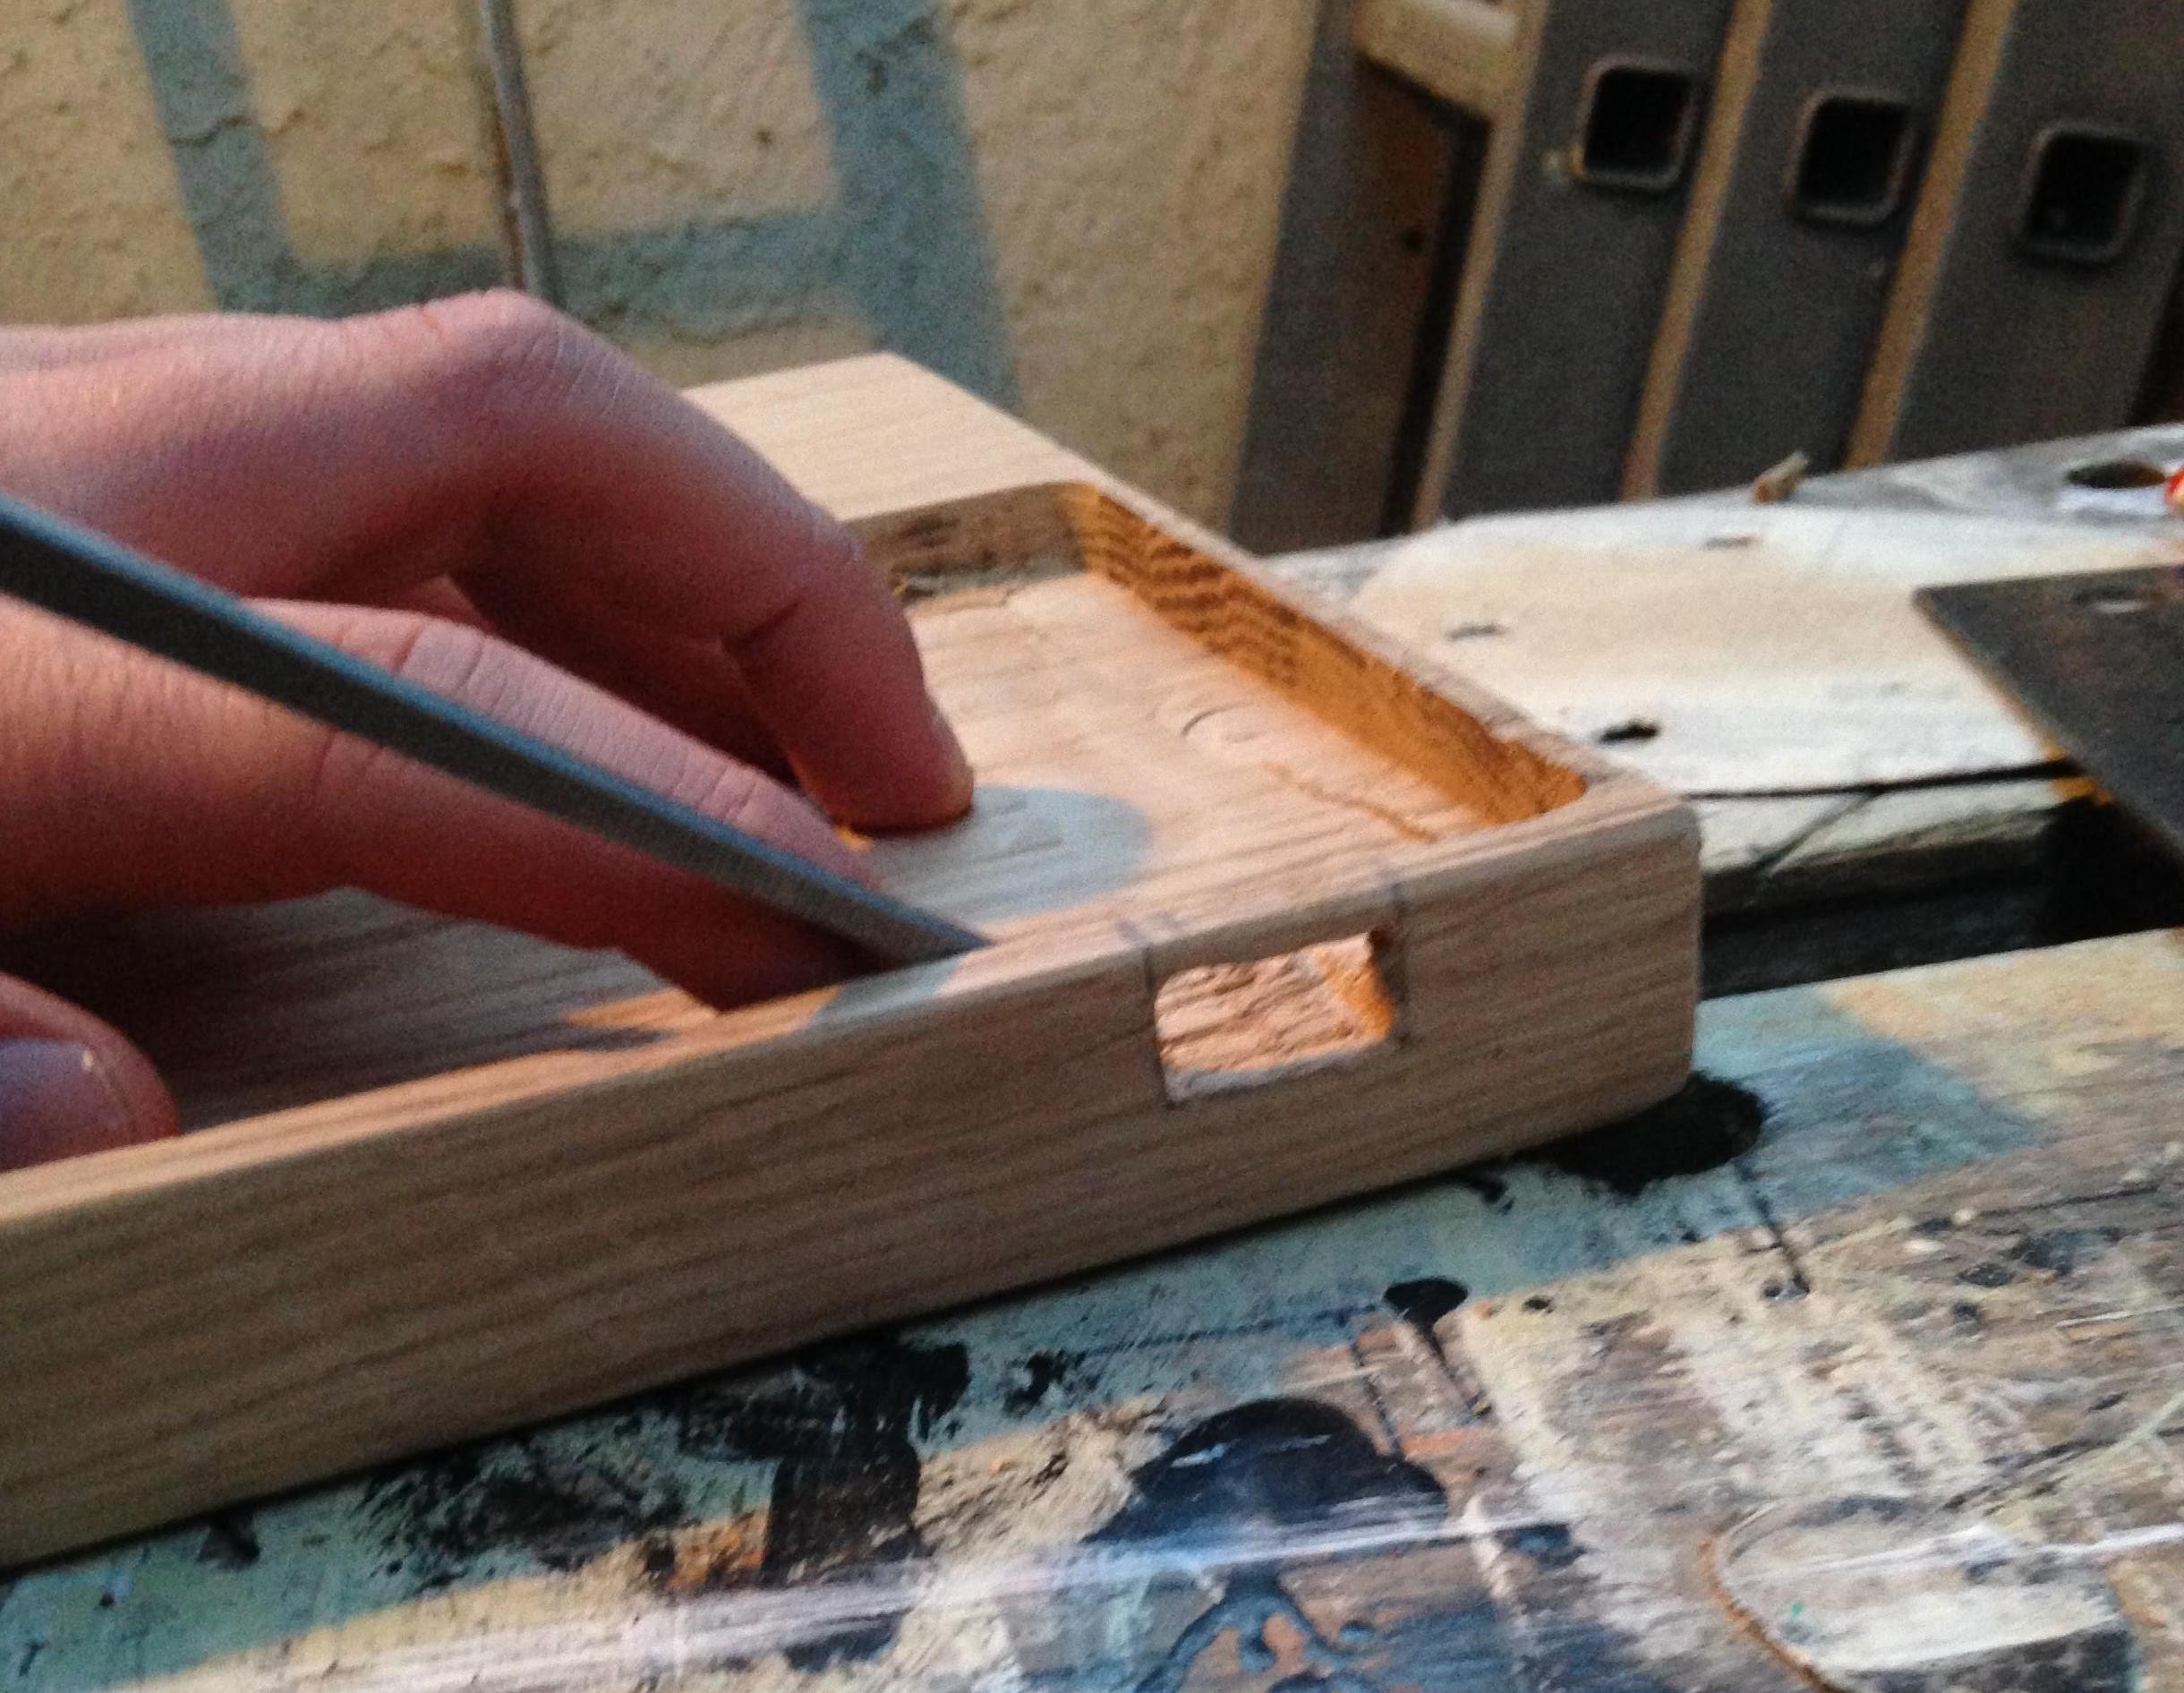
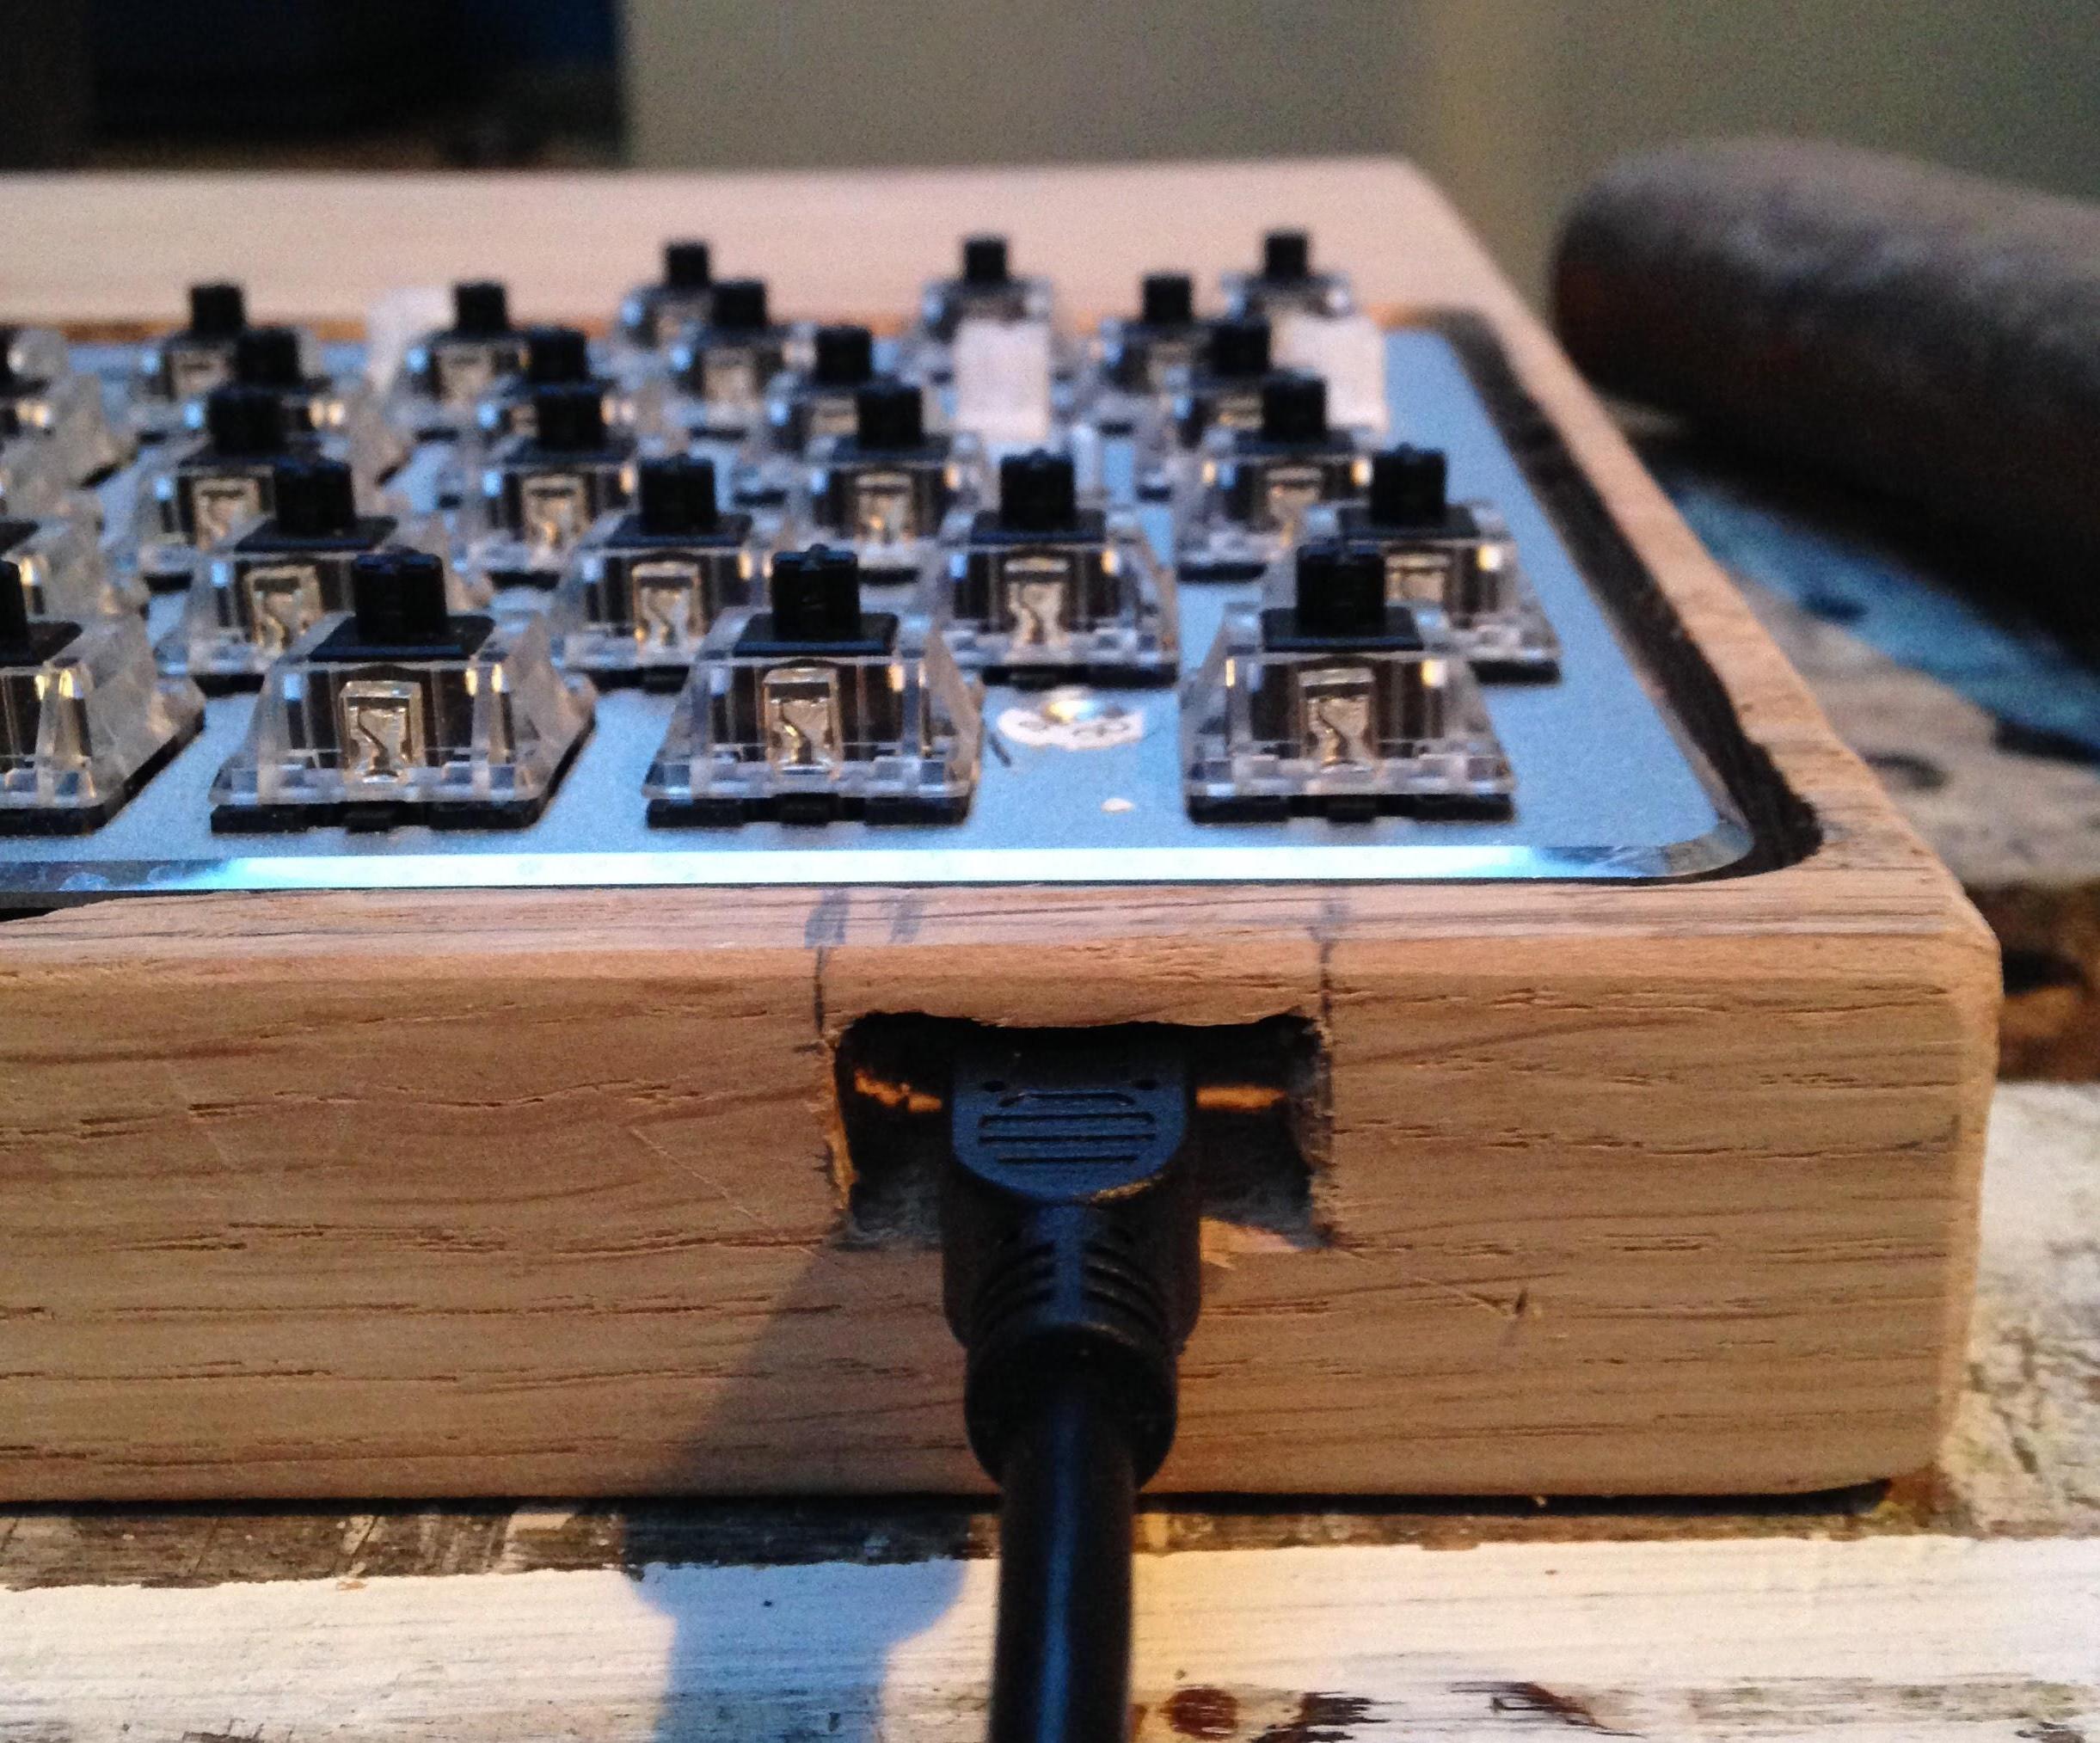
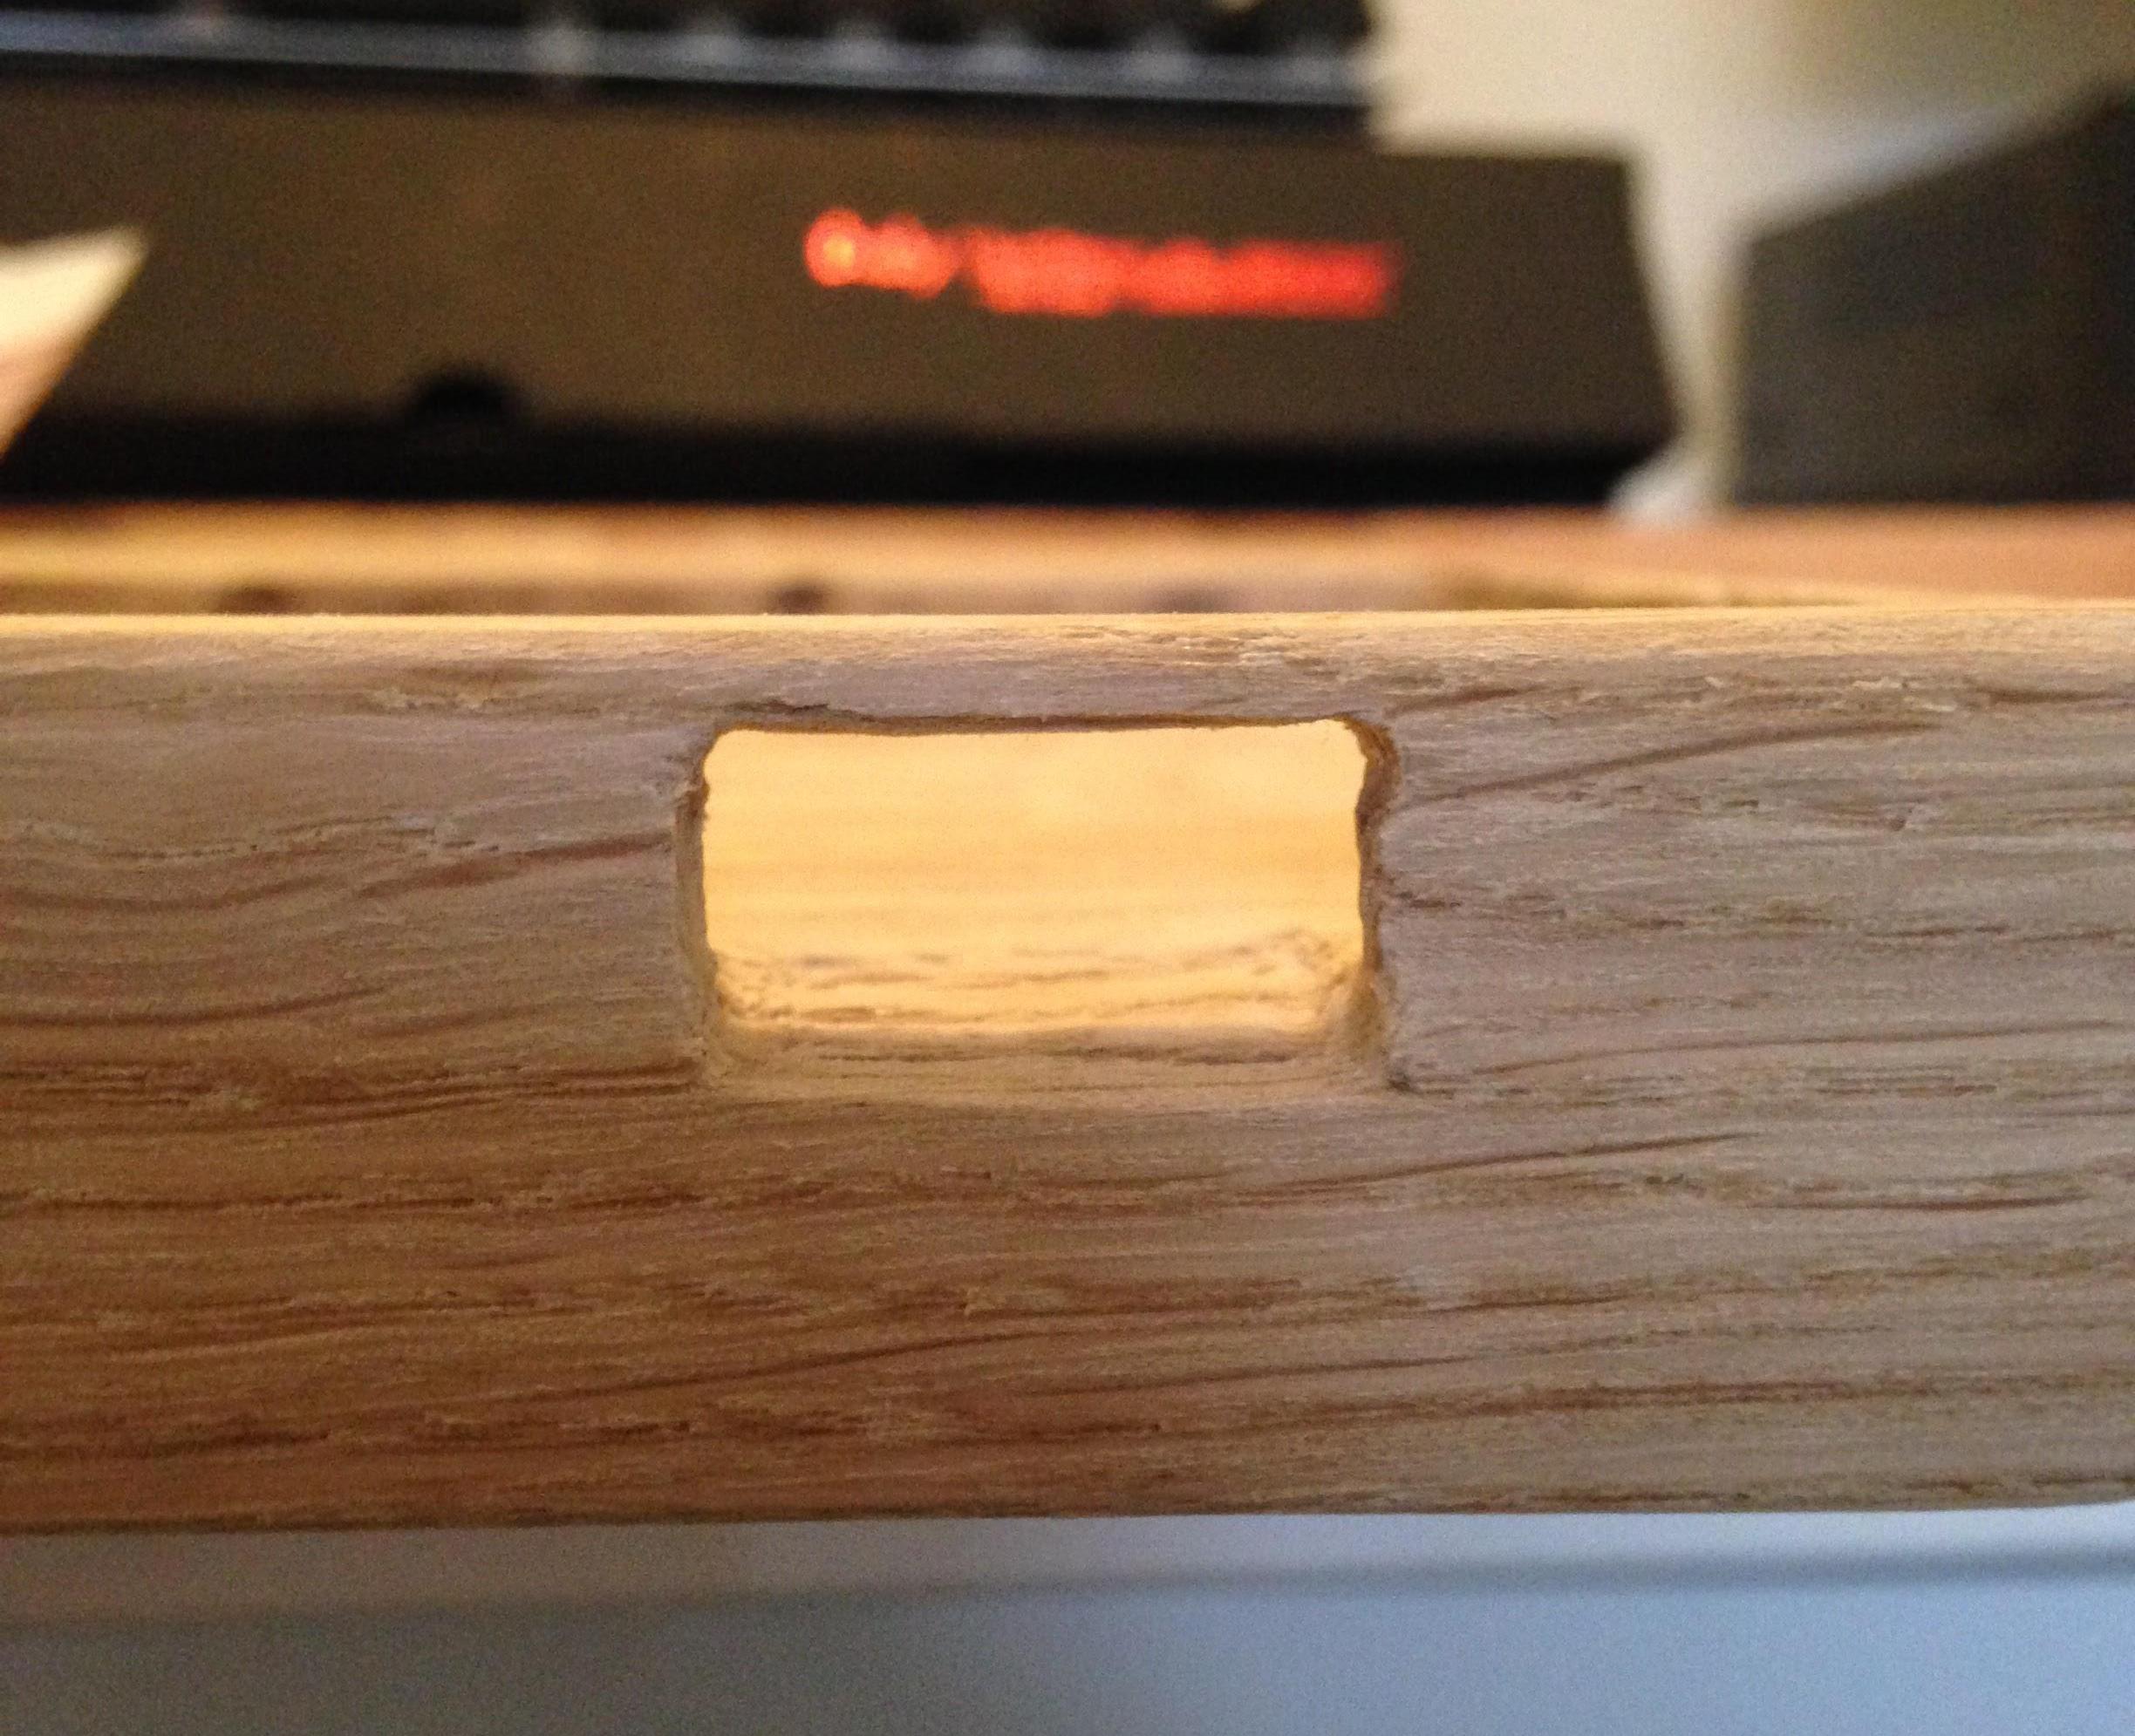
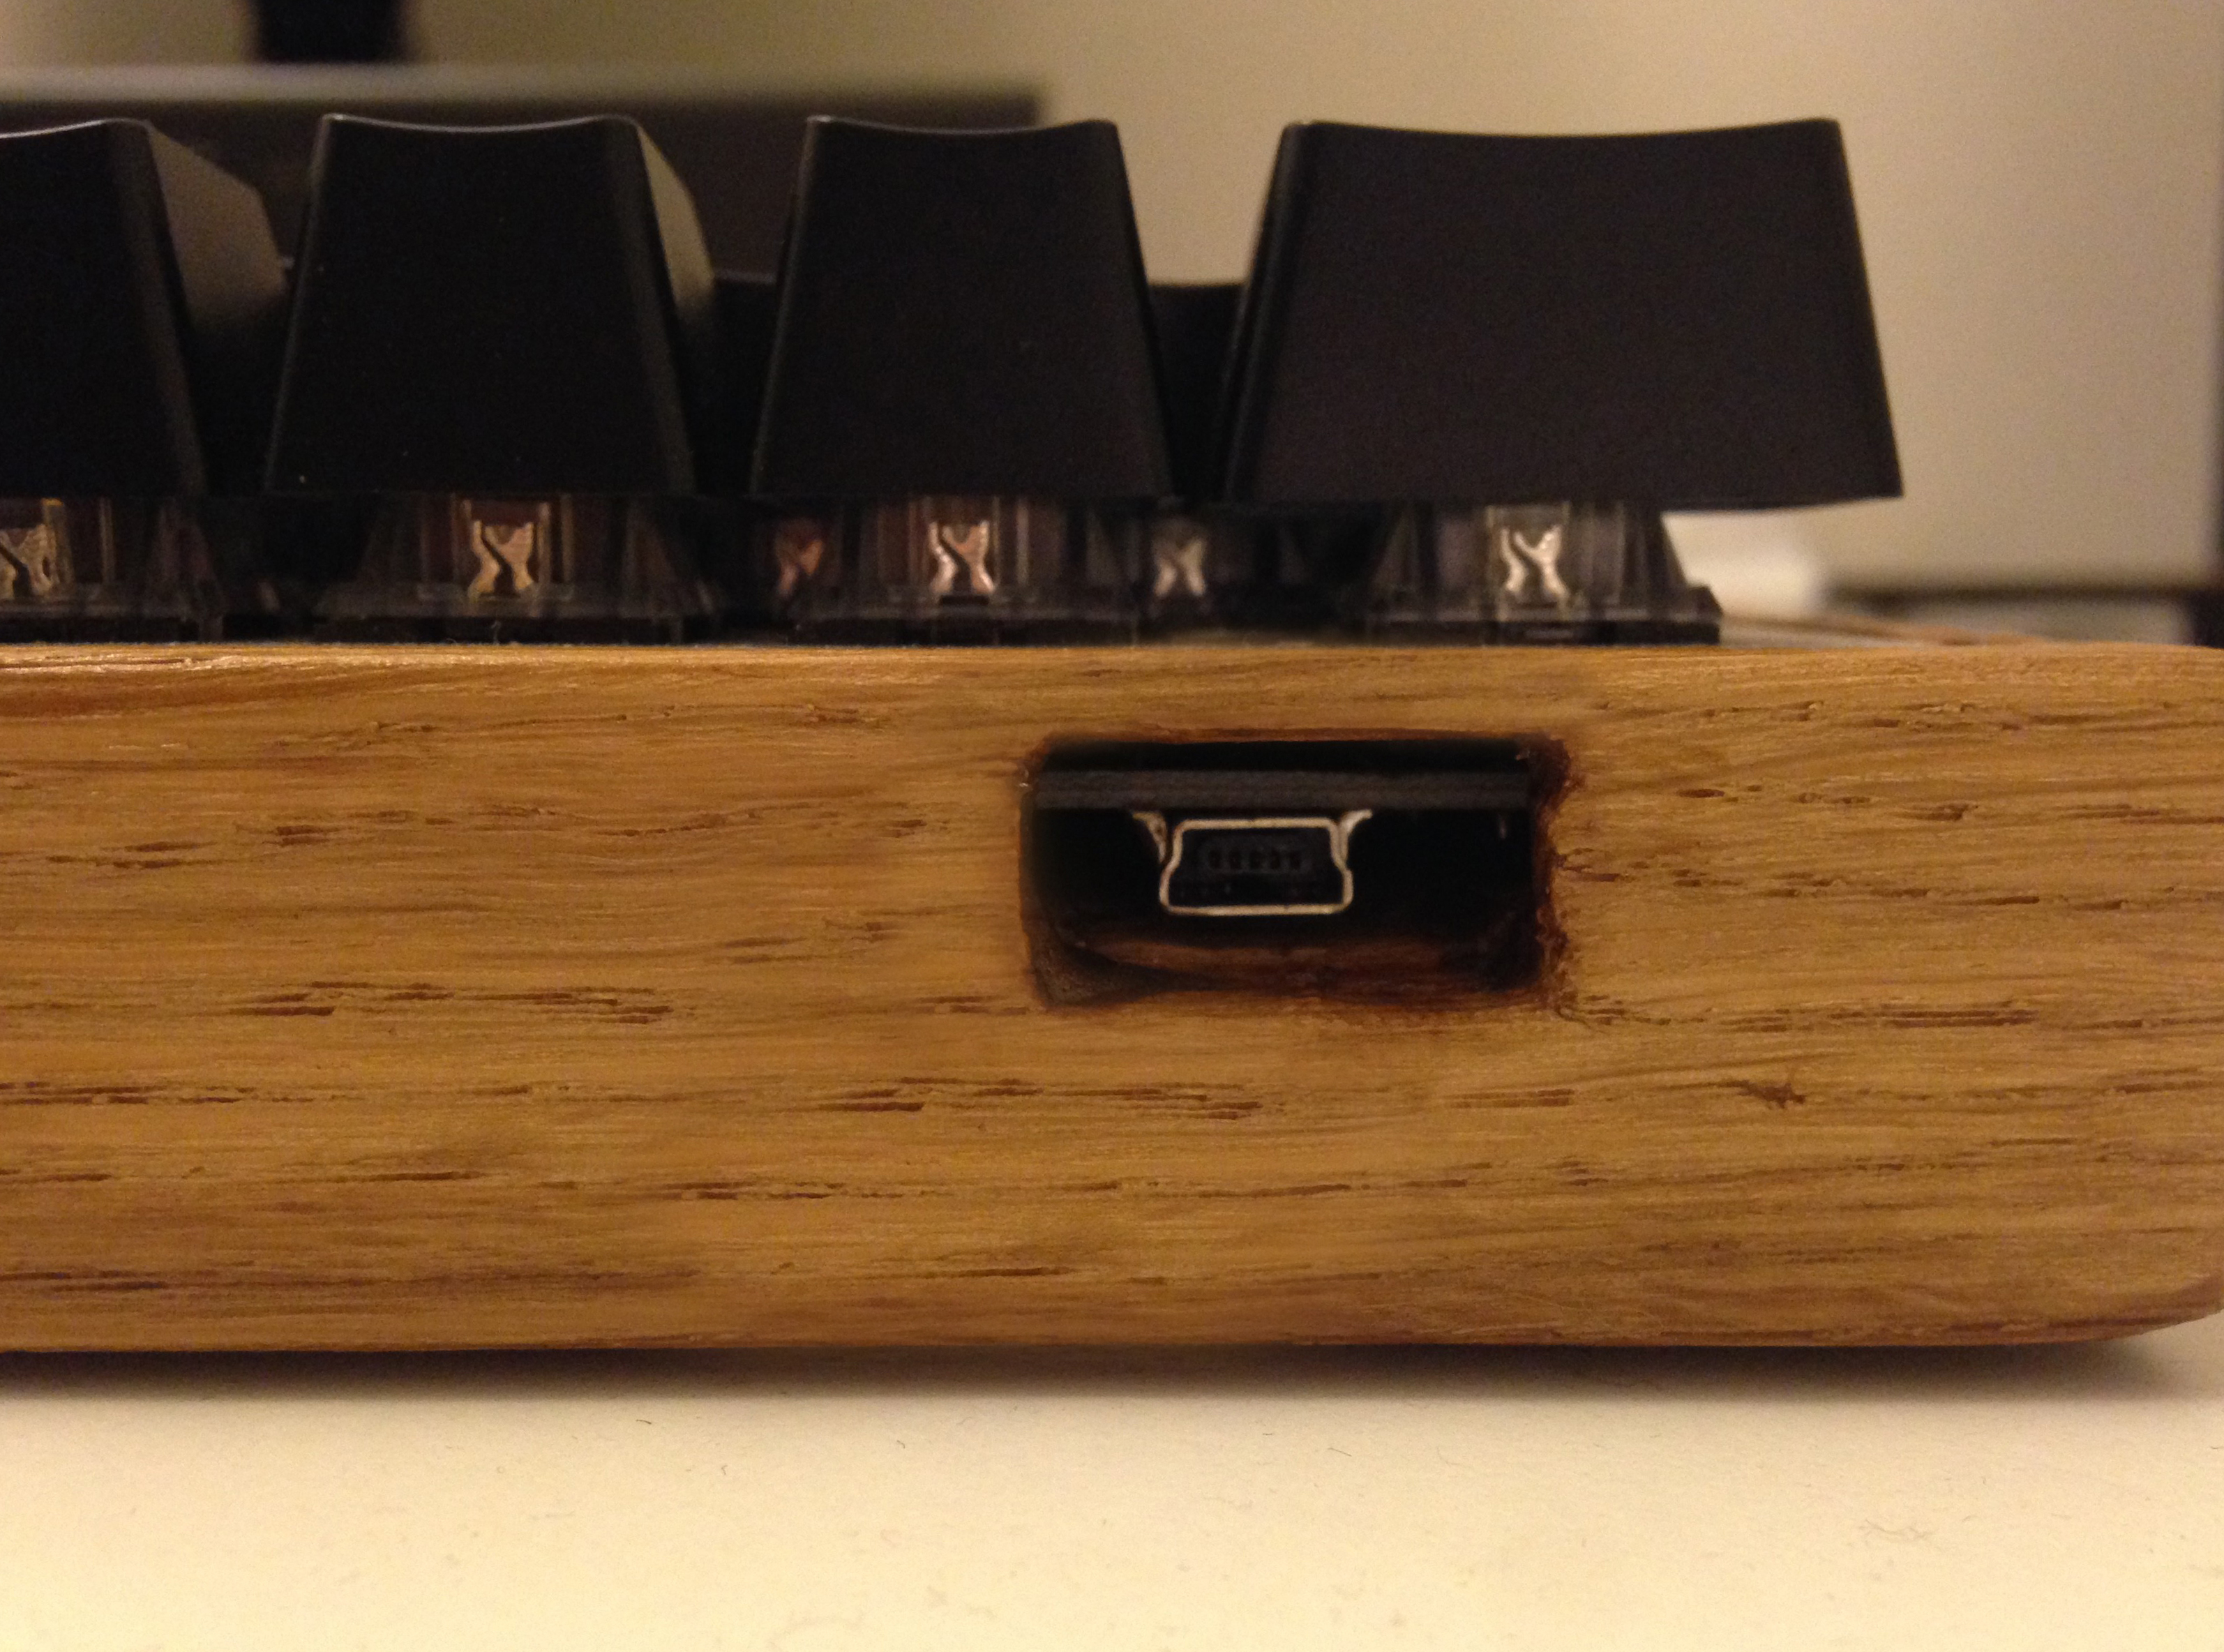
- Cutting the cable hole was undocumented mainly because I was convinced that it wouldn't work. The hole was created by drilling smaller spaced holes through the wood, and knocking it through with a chisel. I then used the chisel to smooth it out and clean it up. Note: If I had access to the correct tools I would use a coping saw or similar.
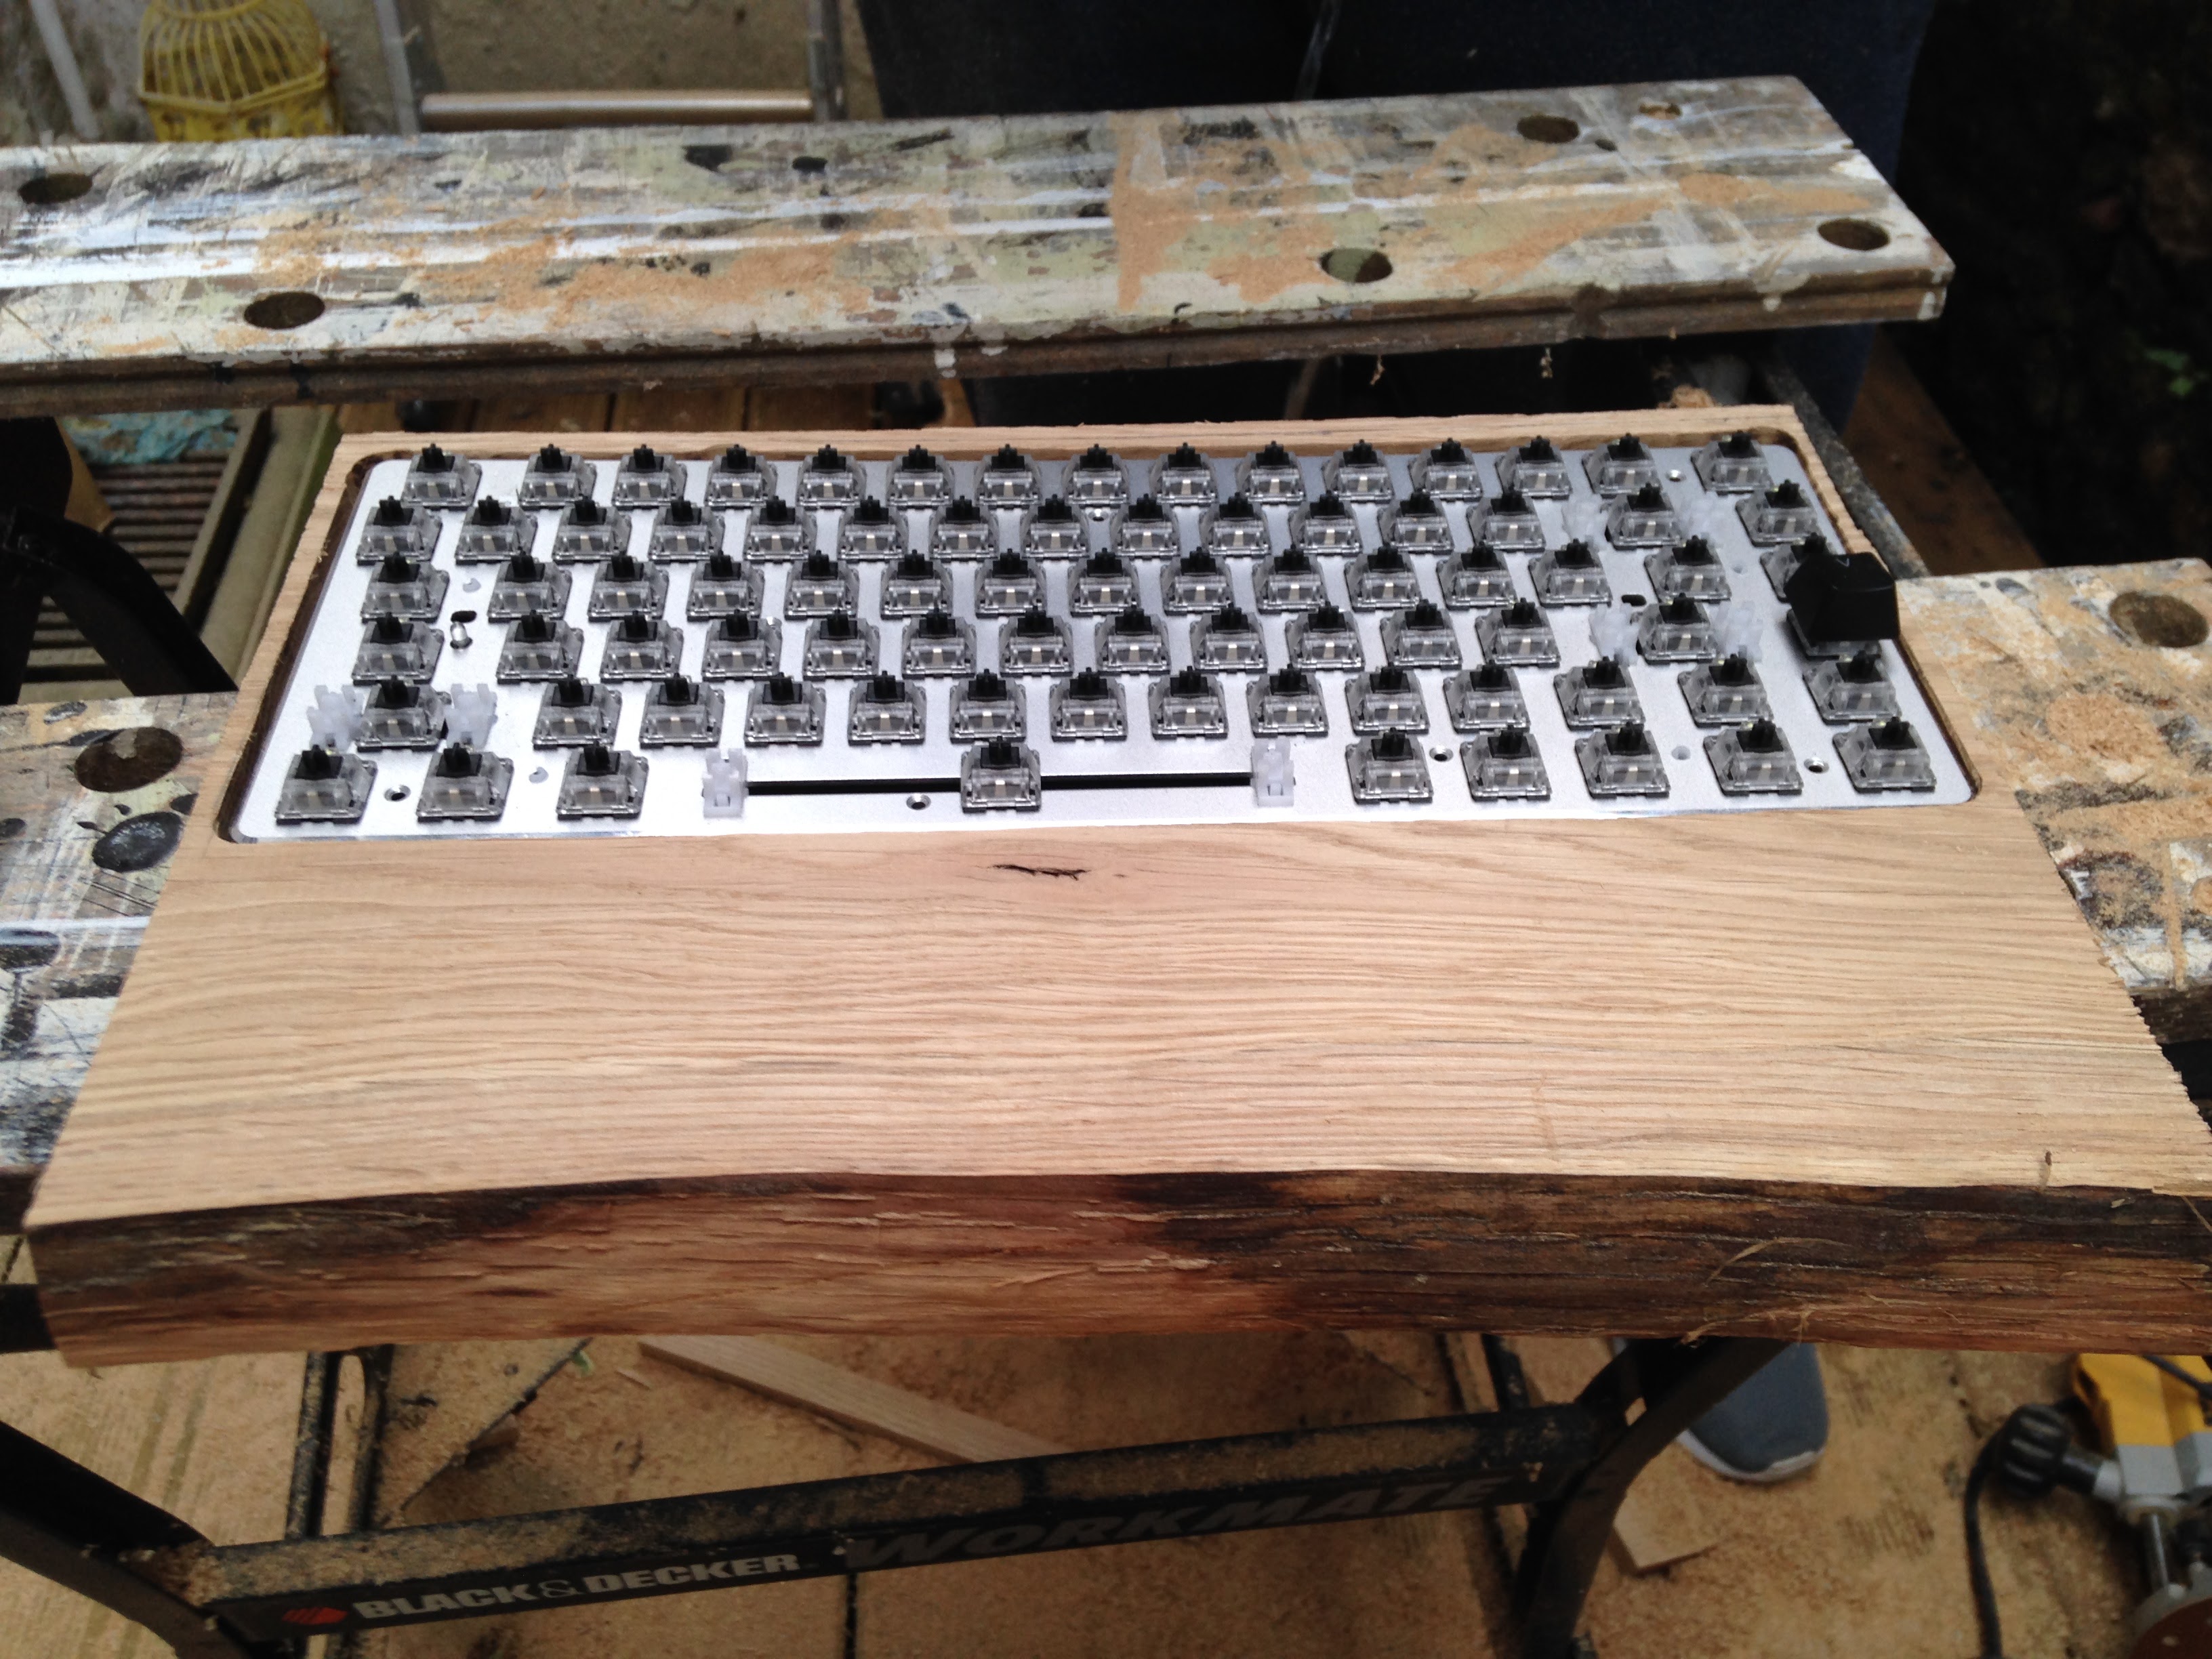
- The result of placing the keyboard back into the wood and plugging it in. It fits! This needs to be properly cleaned up.
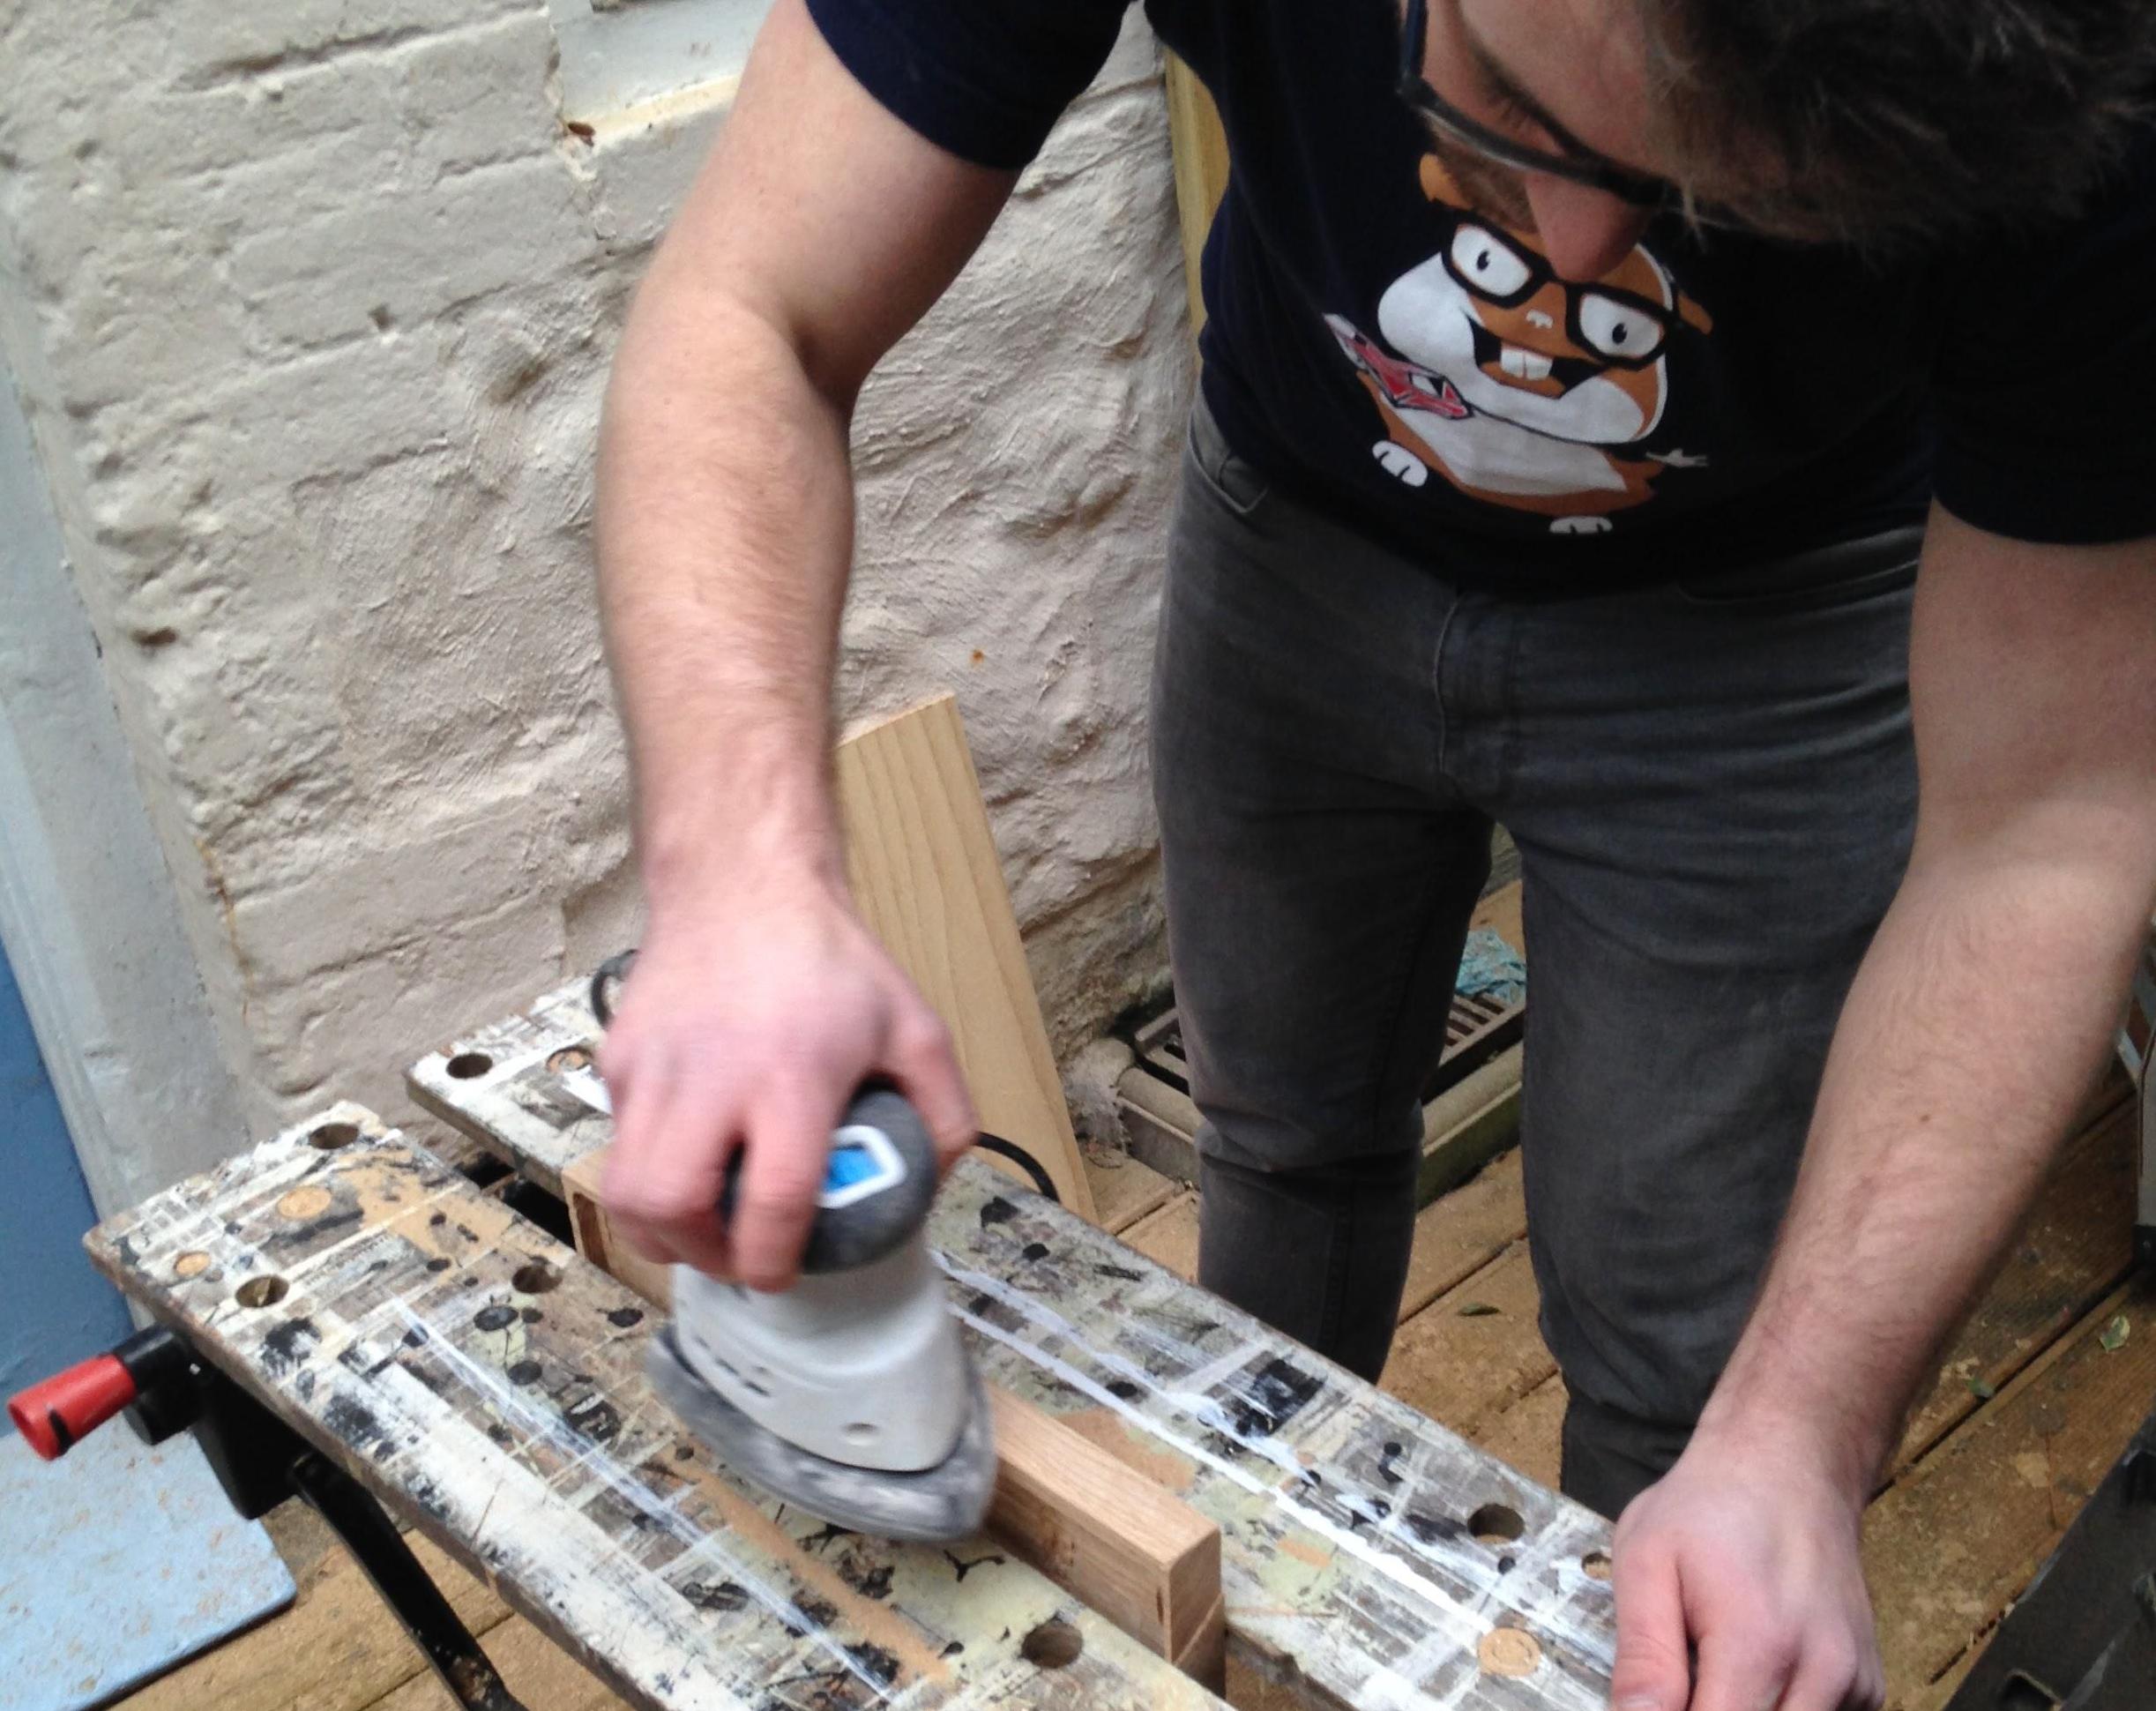
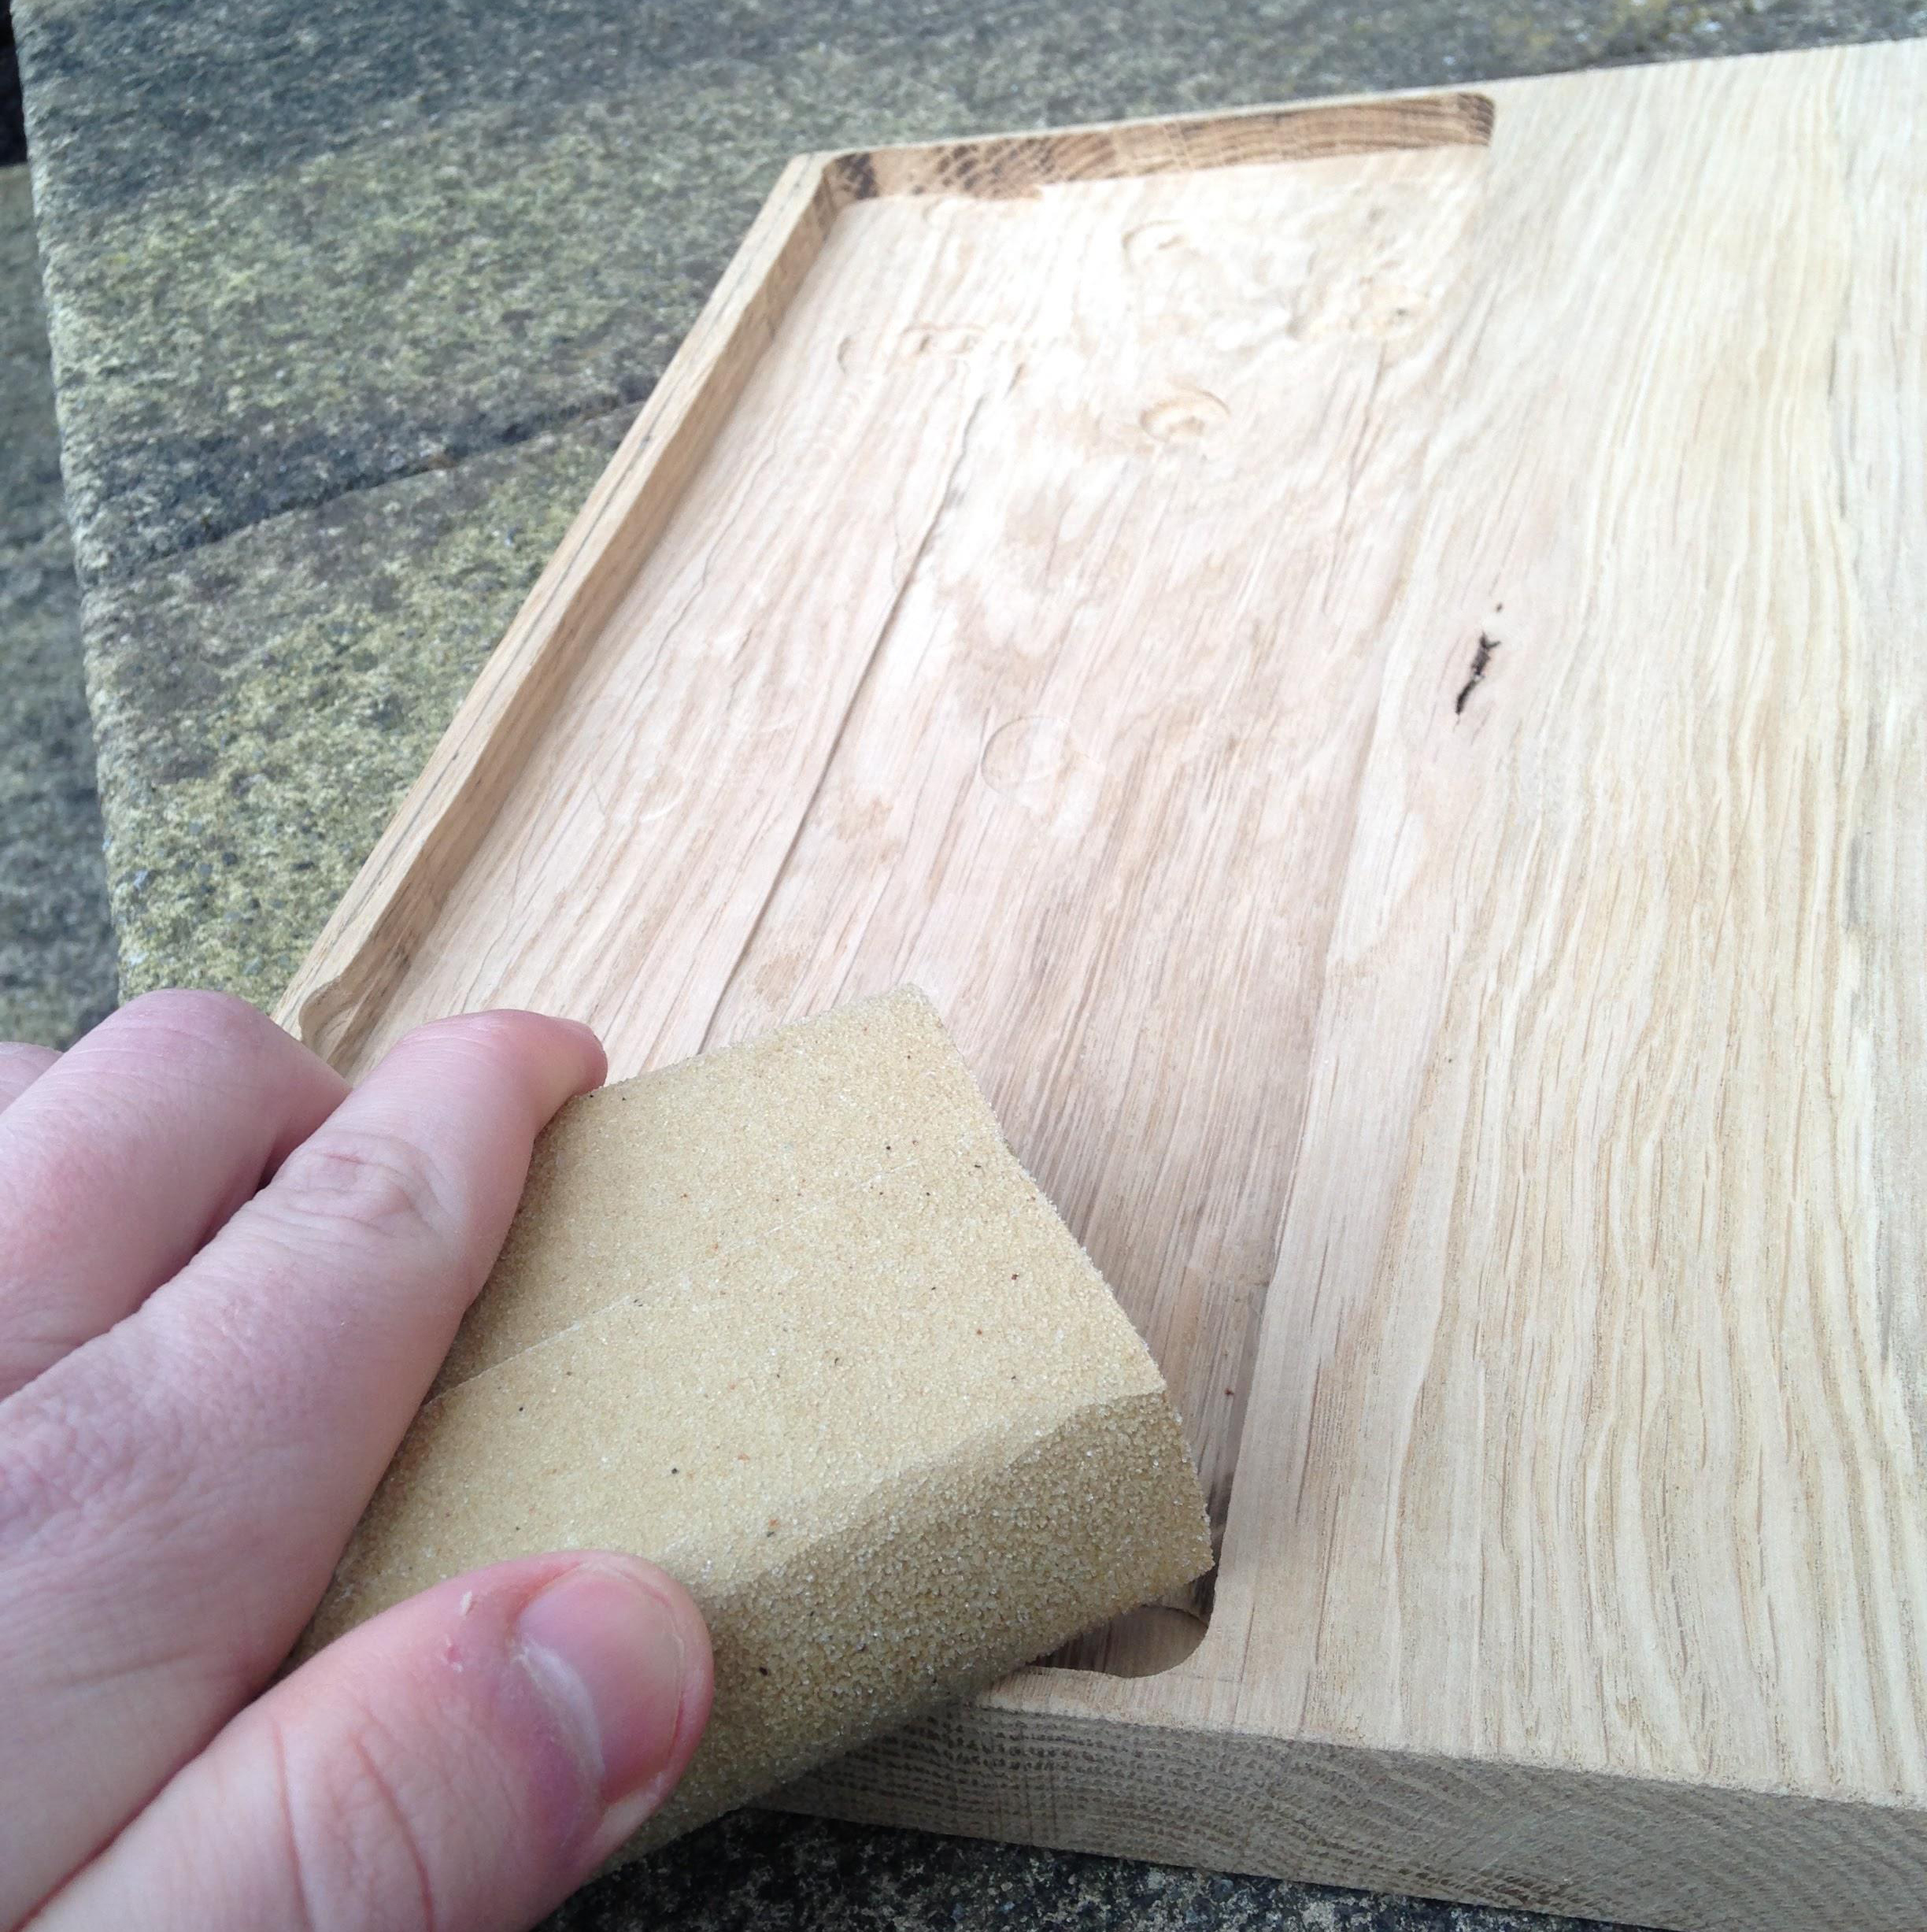
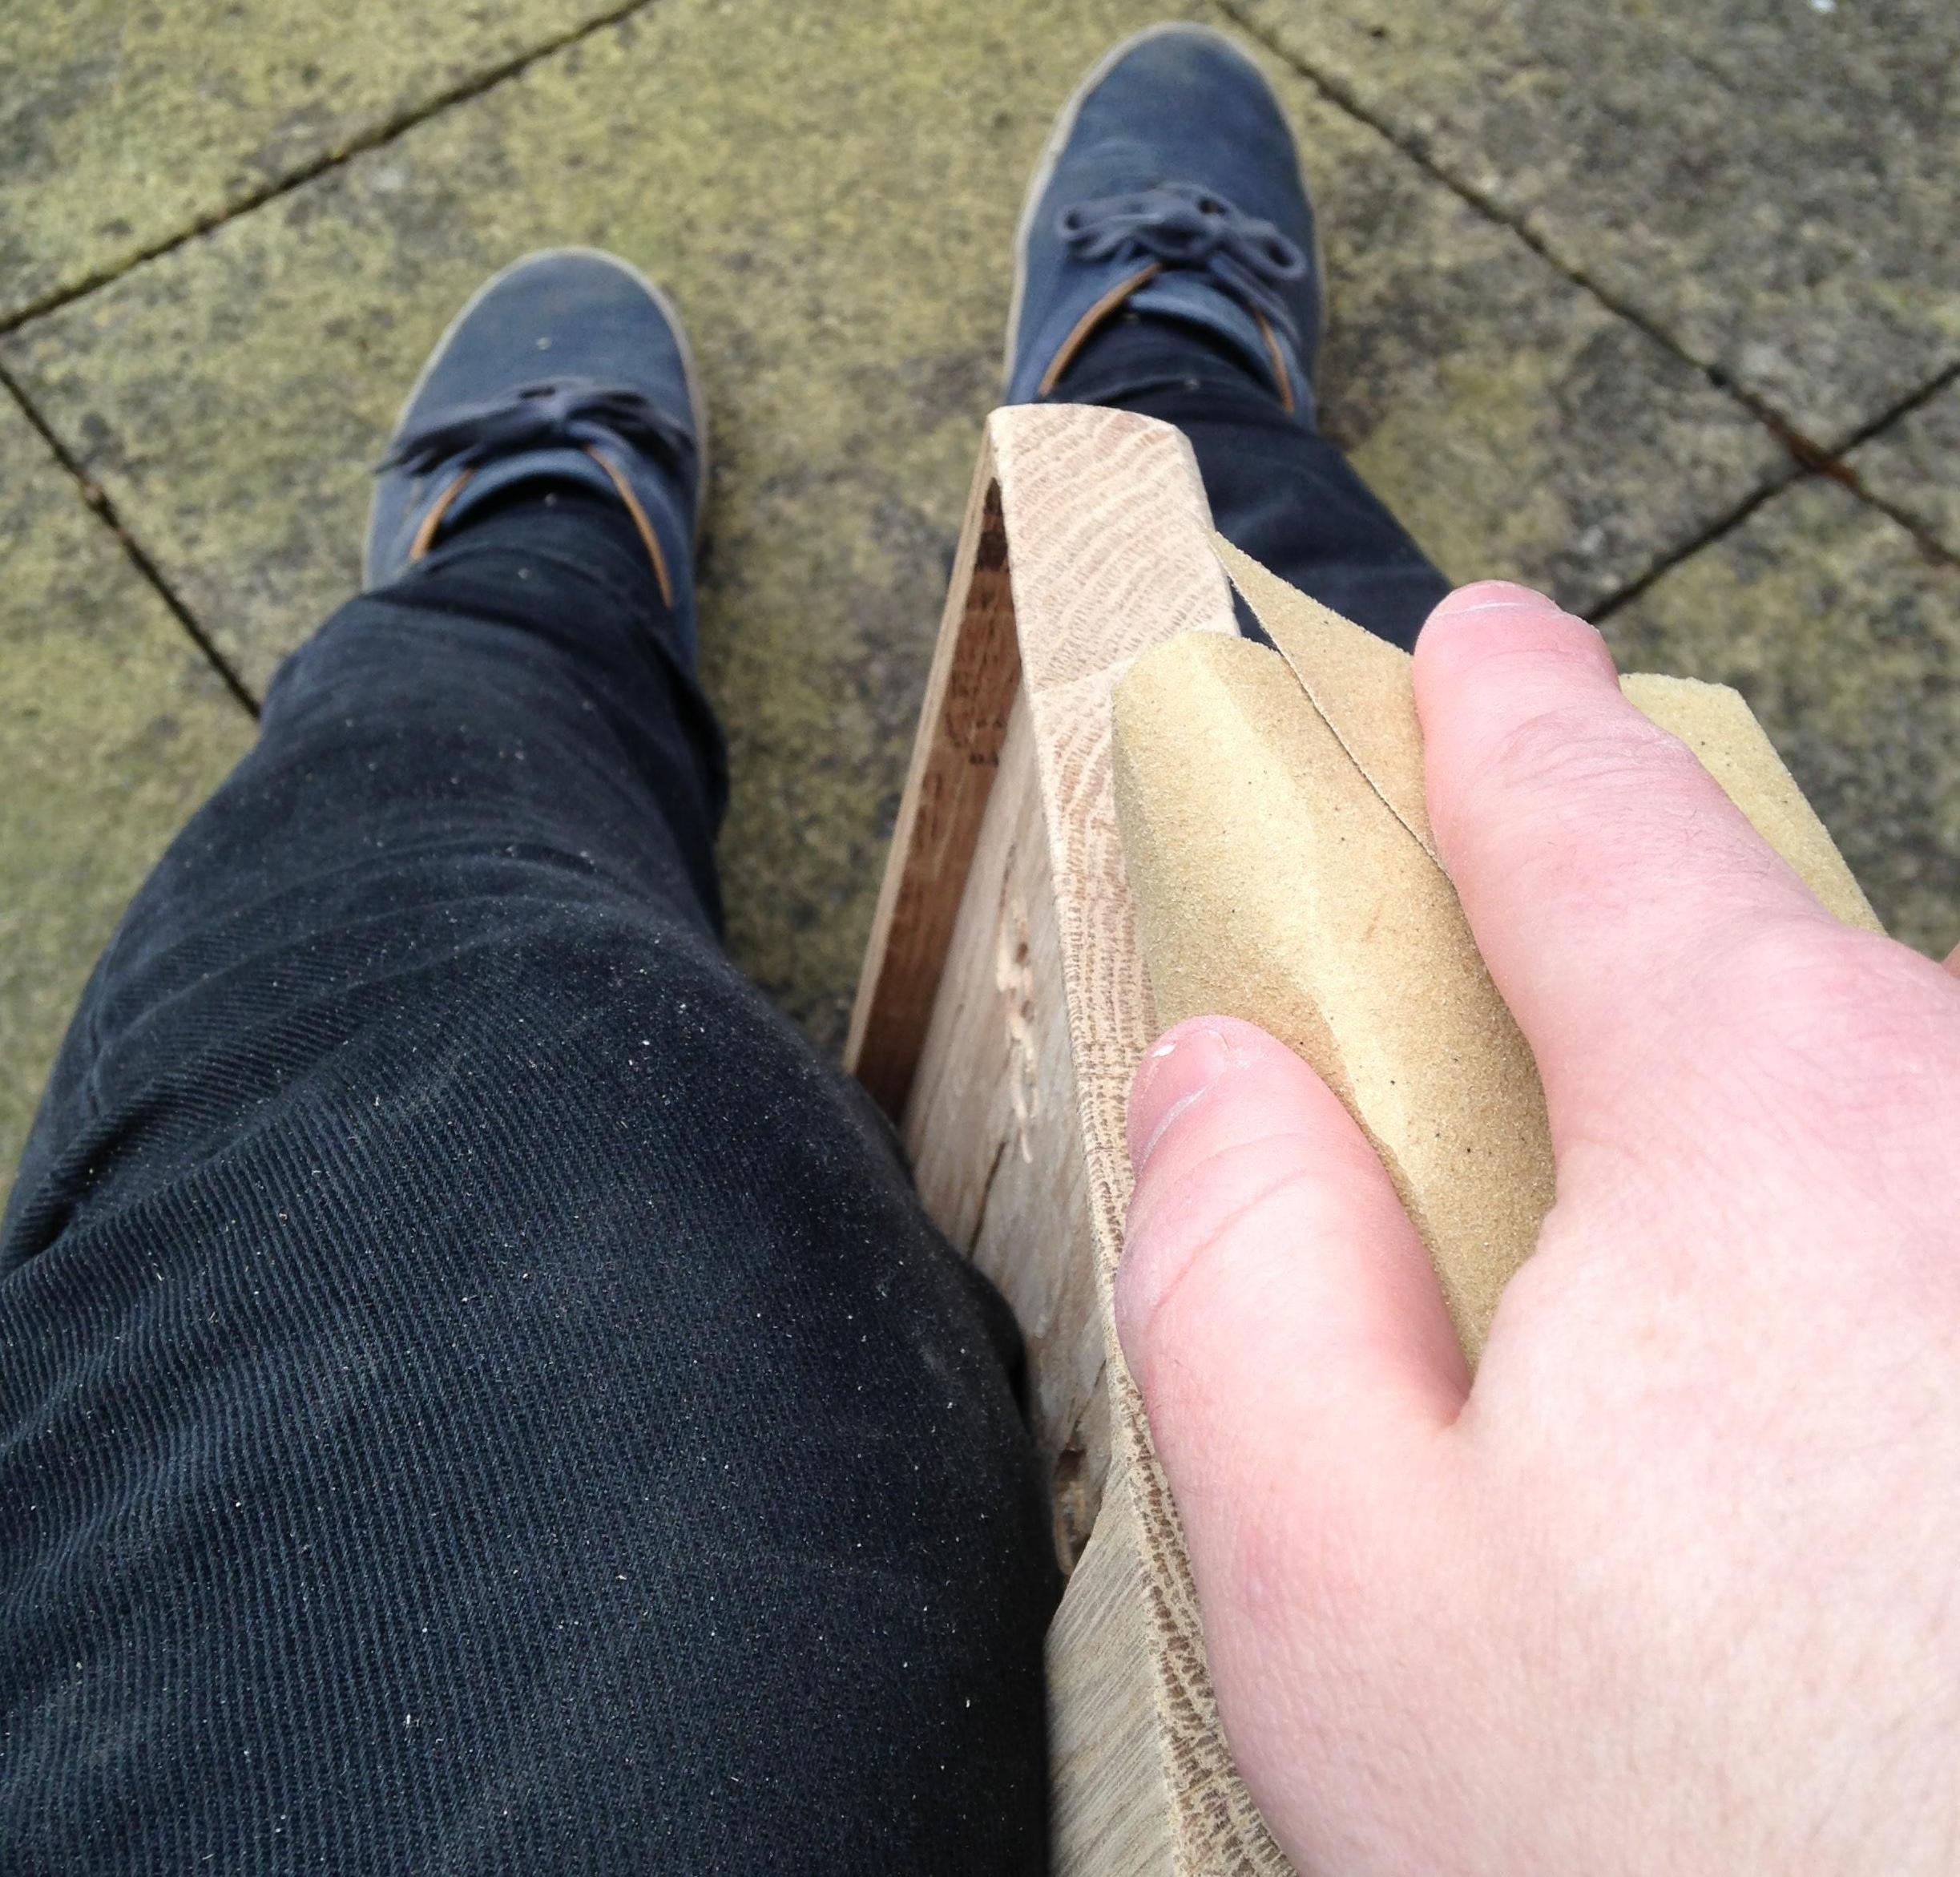
- I then used a power sander to smooth out the wood. This is the first of many rounds of sanding as I plan to hand-sand it before varnishing.
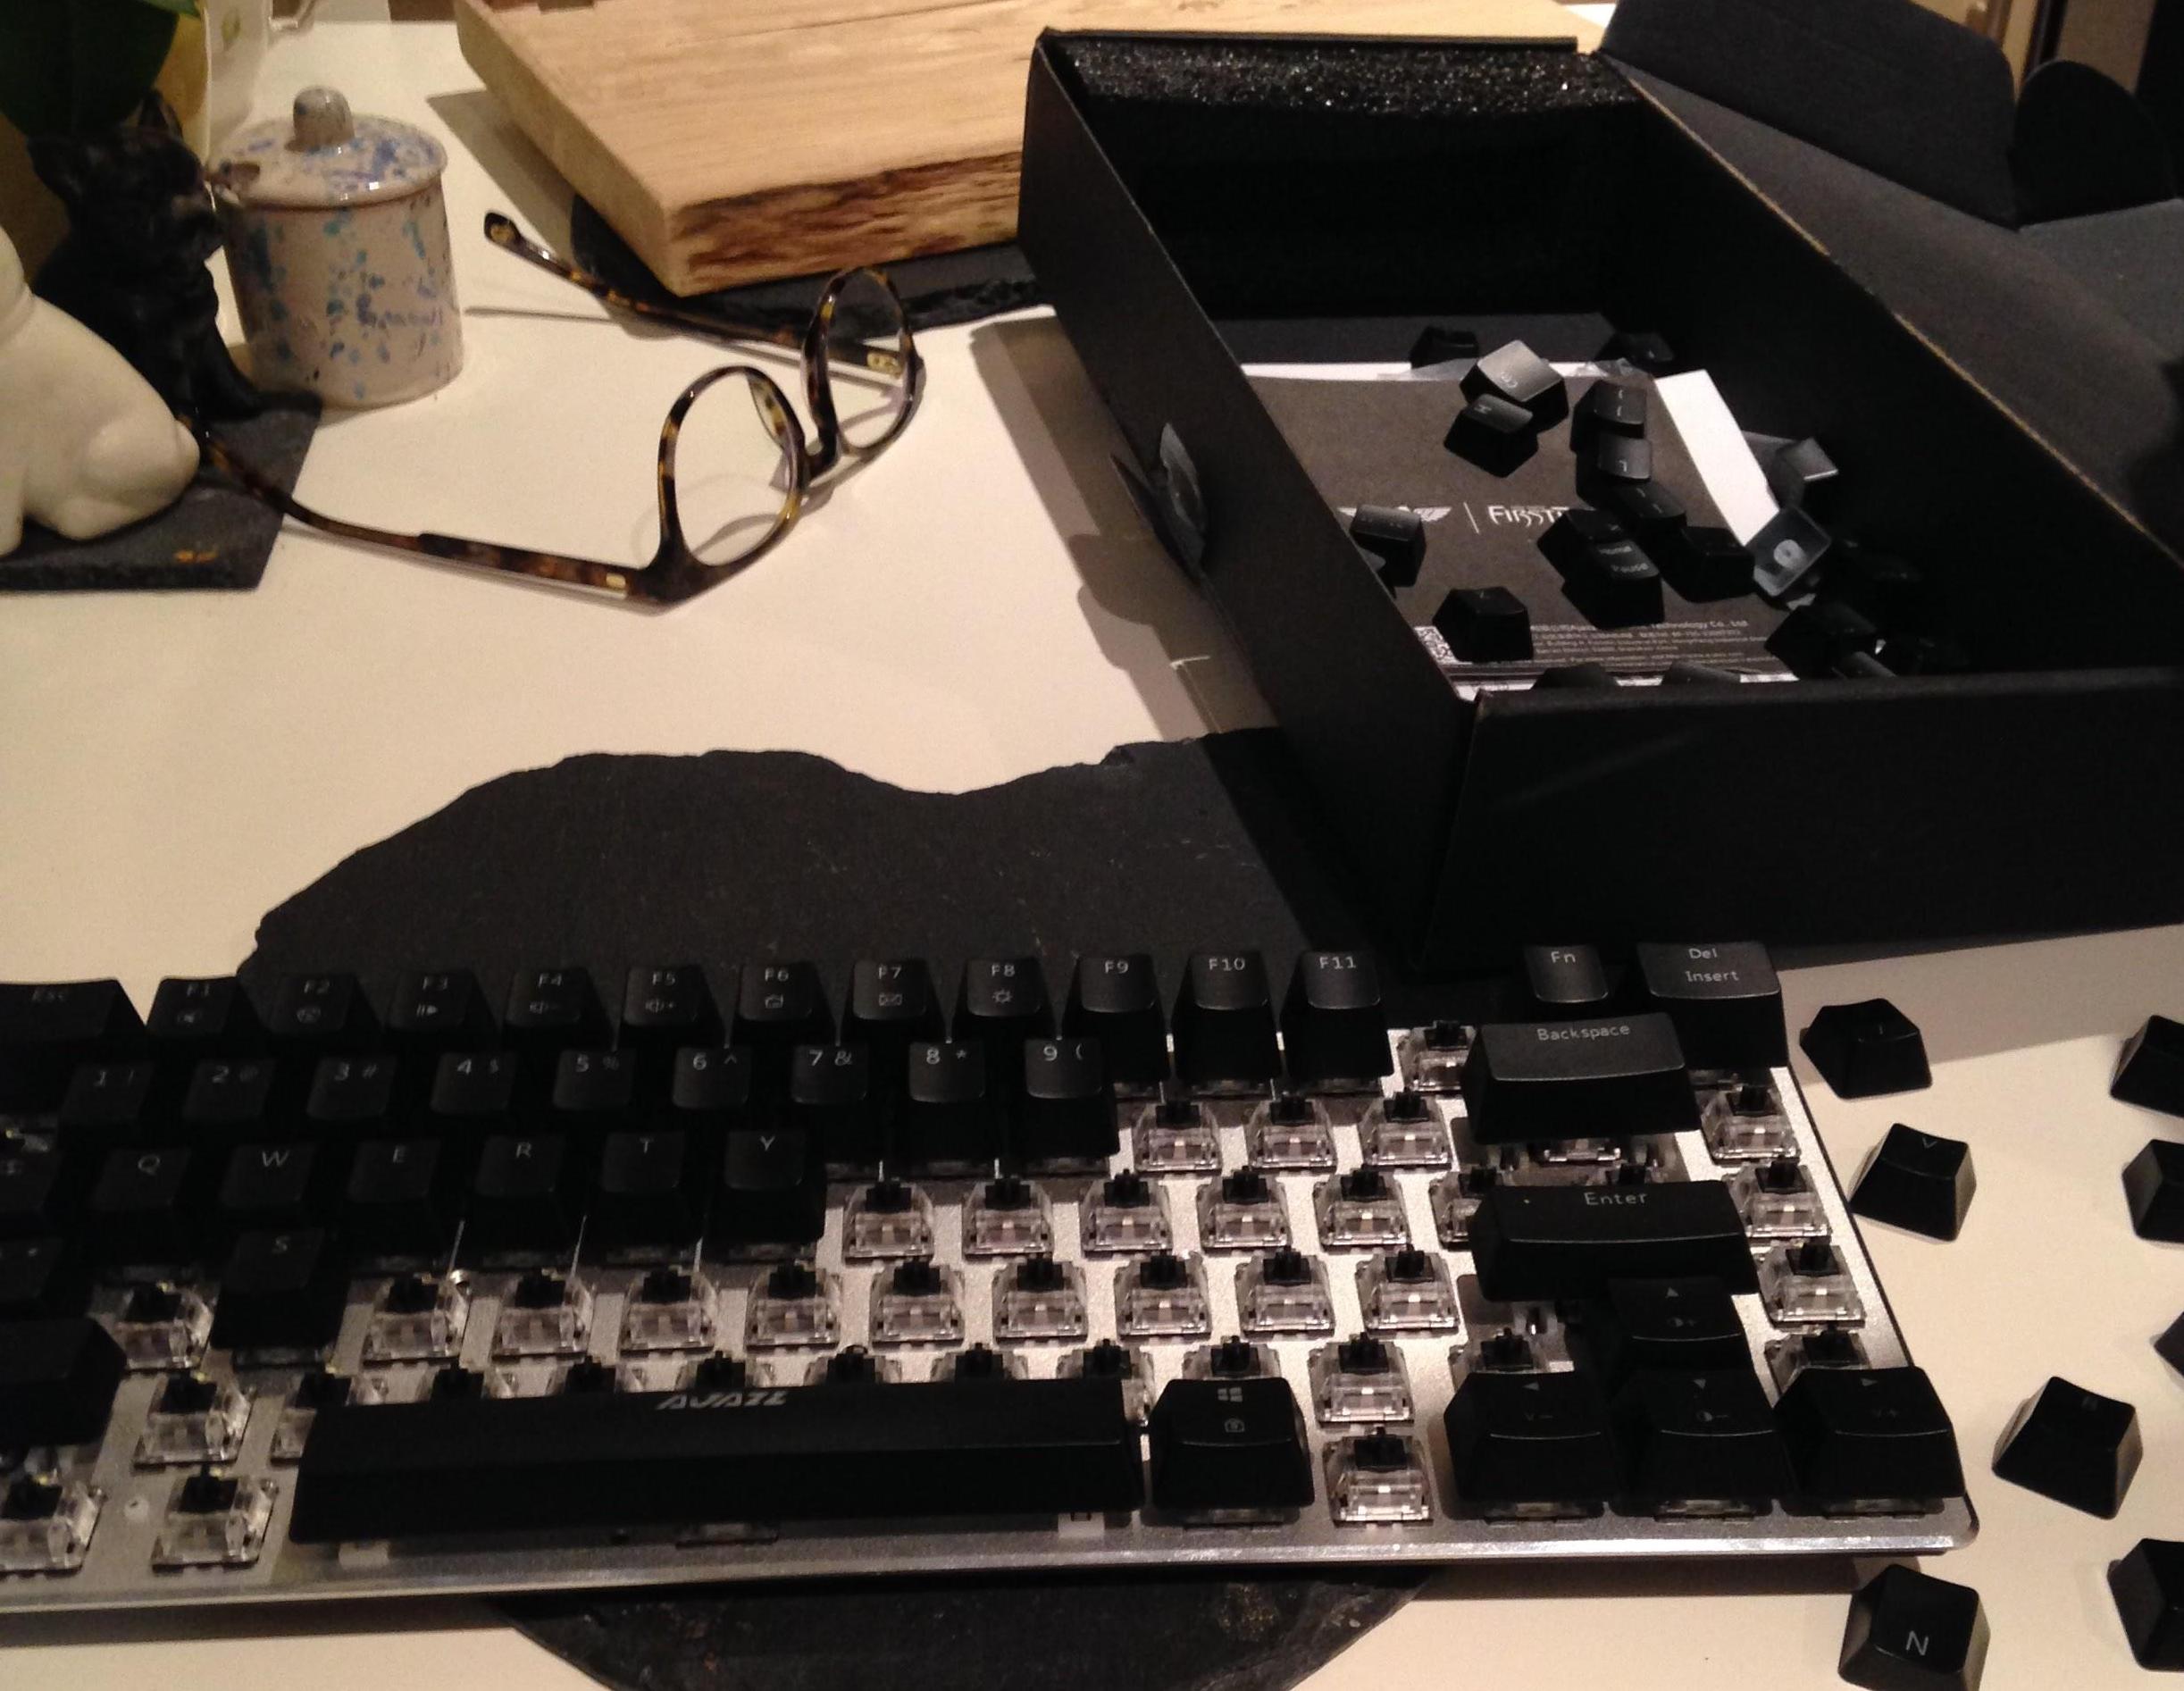
- Placing the keycaps back on the keyboard! Let's see how this bad boy looks so far...
- Artsy black and white photo of the unfinished board.
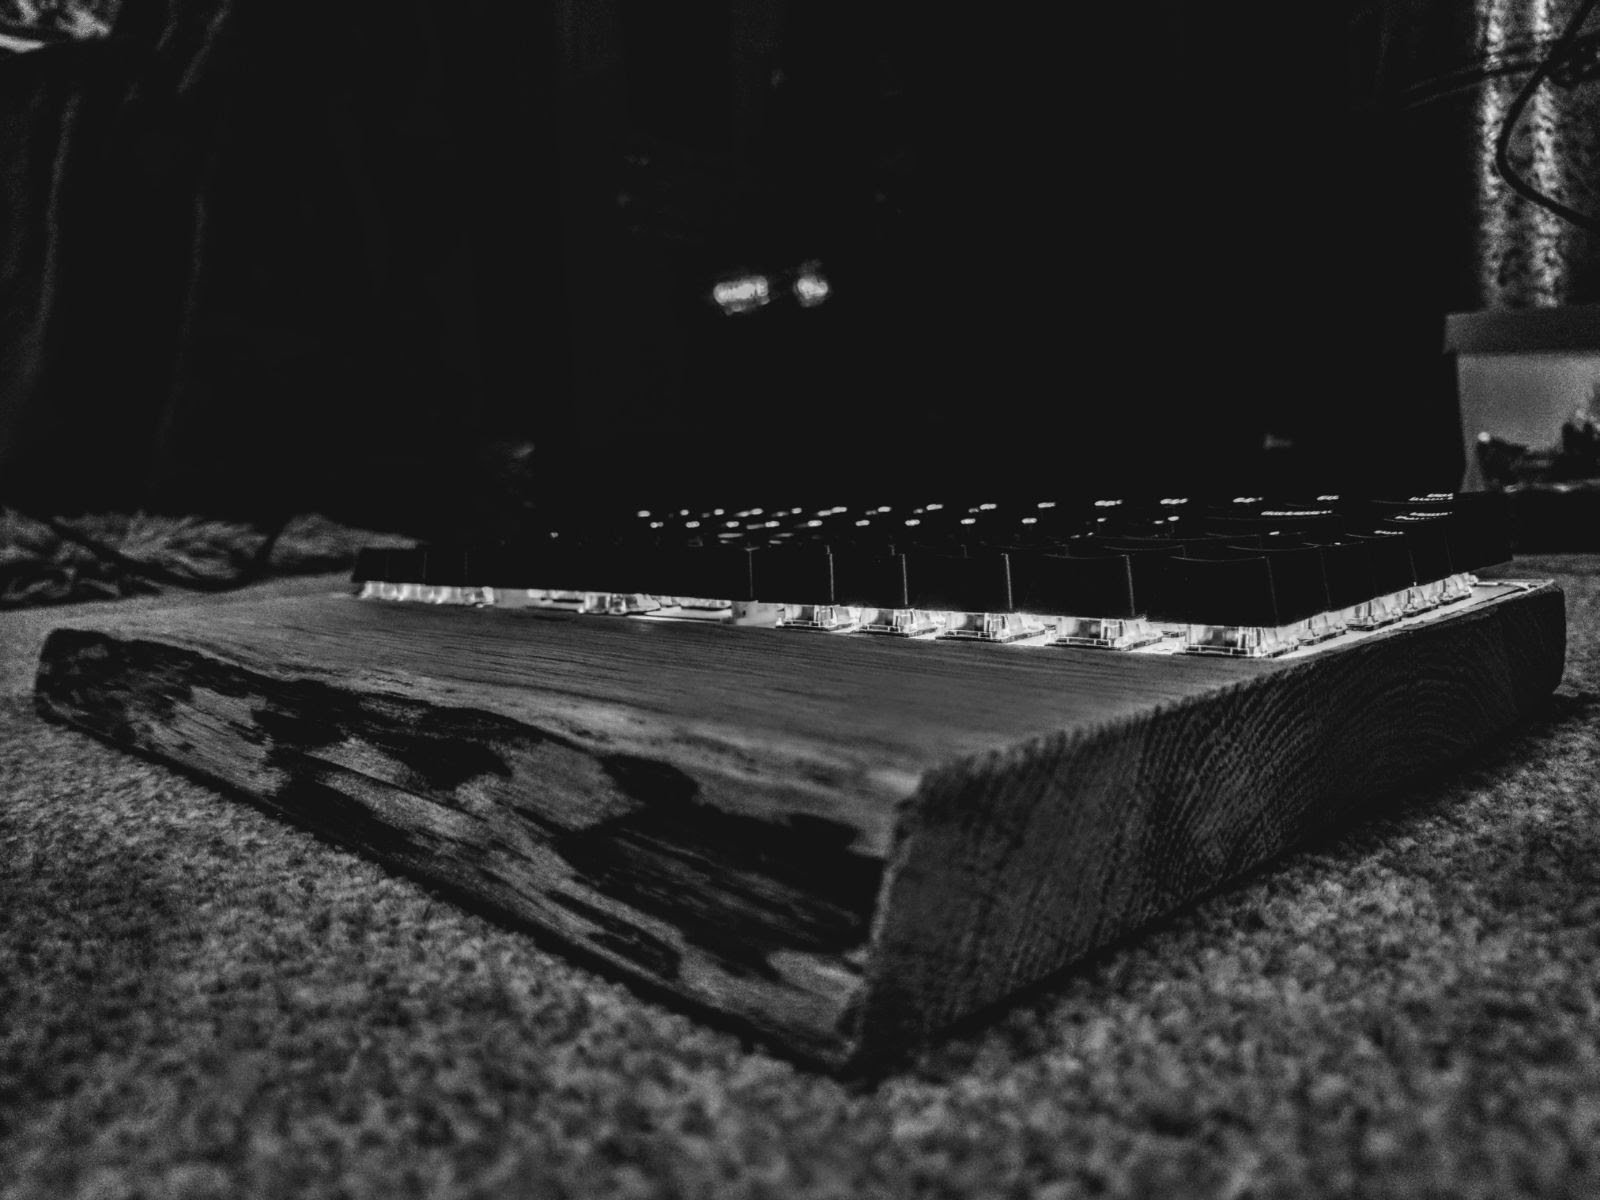
- The unvarnished board! Next step is to sand it and coat it with varnish.
- I call this the 'I have no idea what I'm doing' picture. I think I stood here for the best part of an hour.
- Let the second round of sanding begin! A lot of imperfections needed sanding out with varied grit levels.
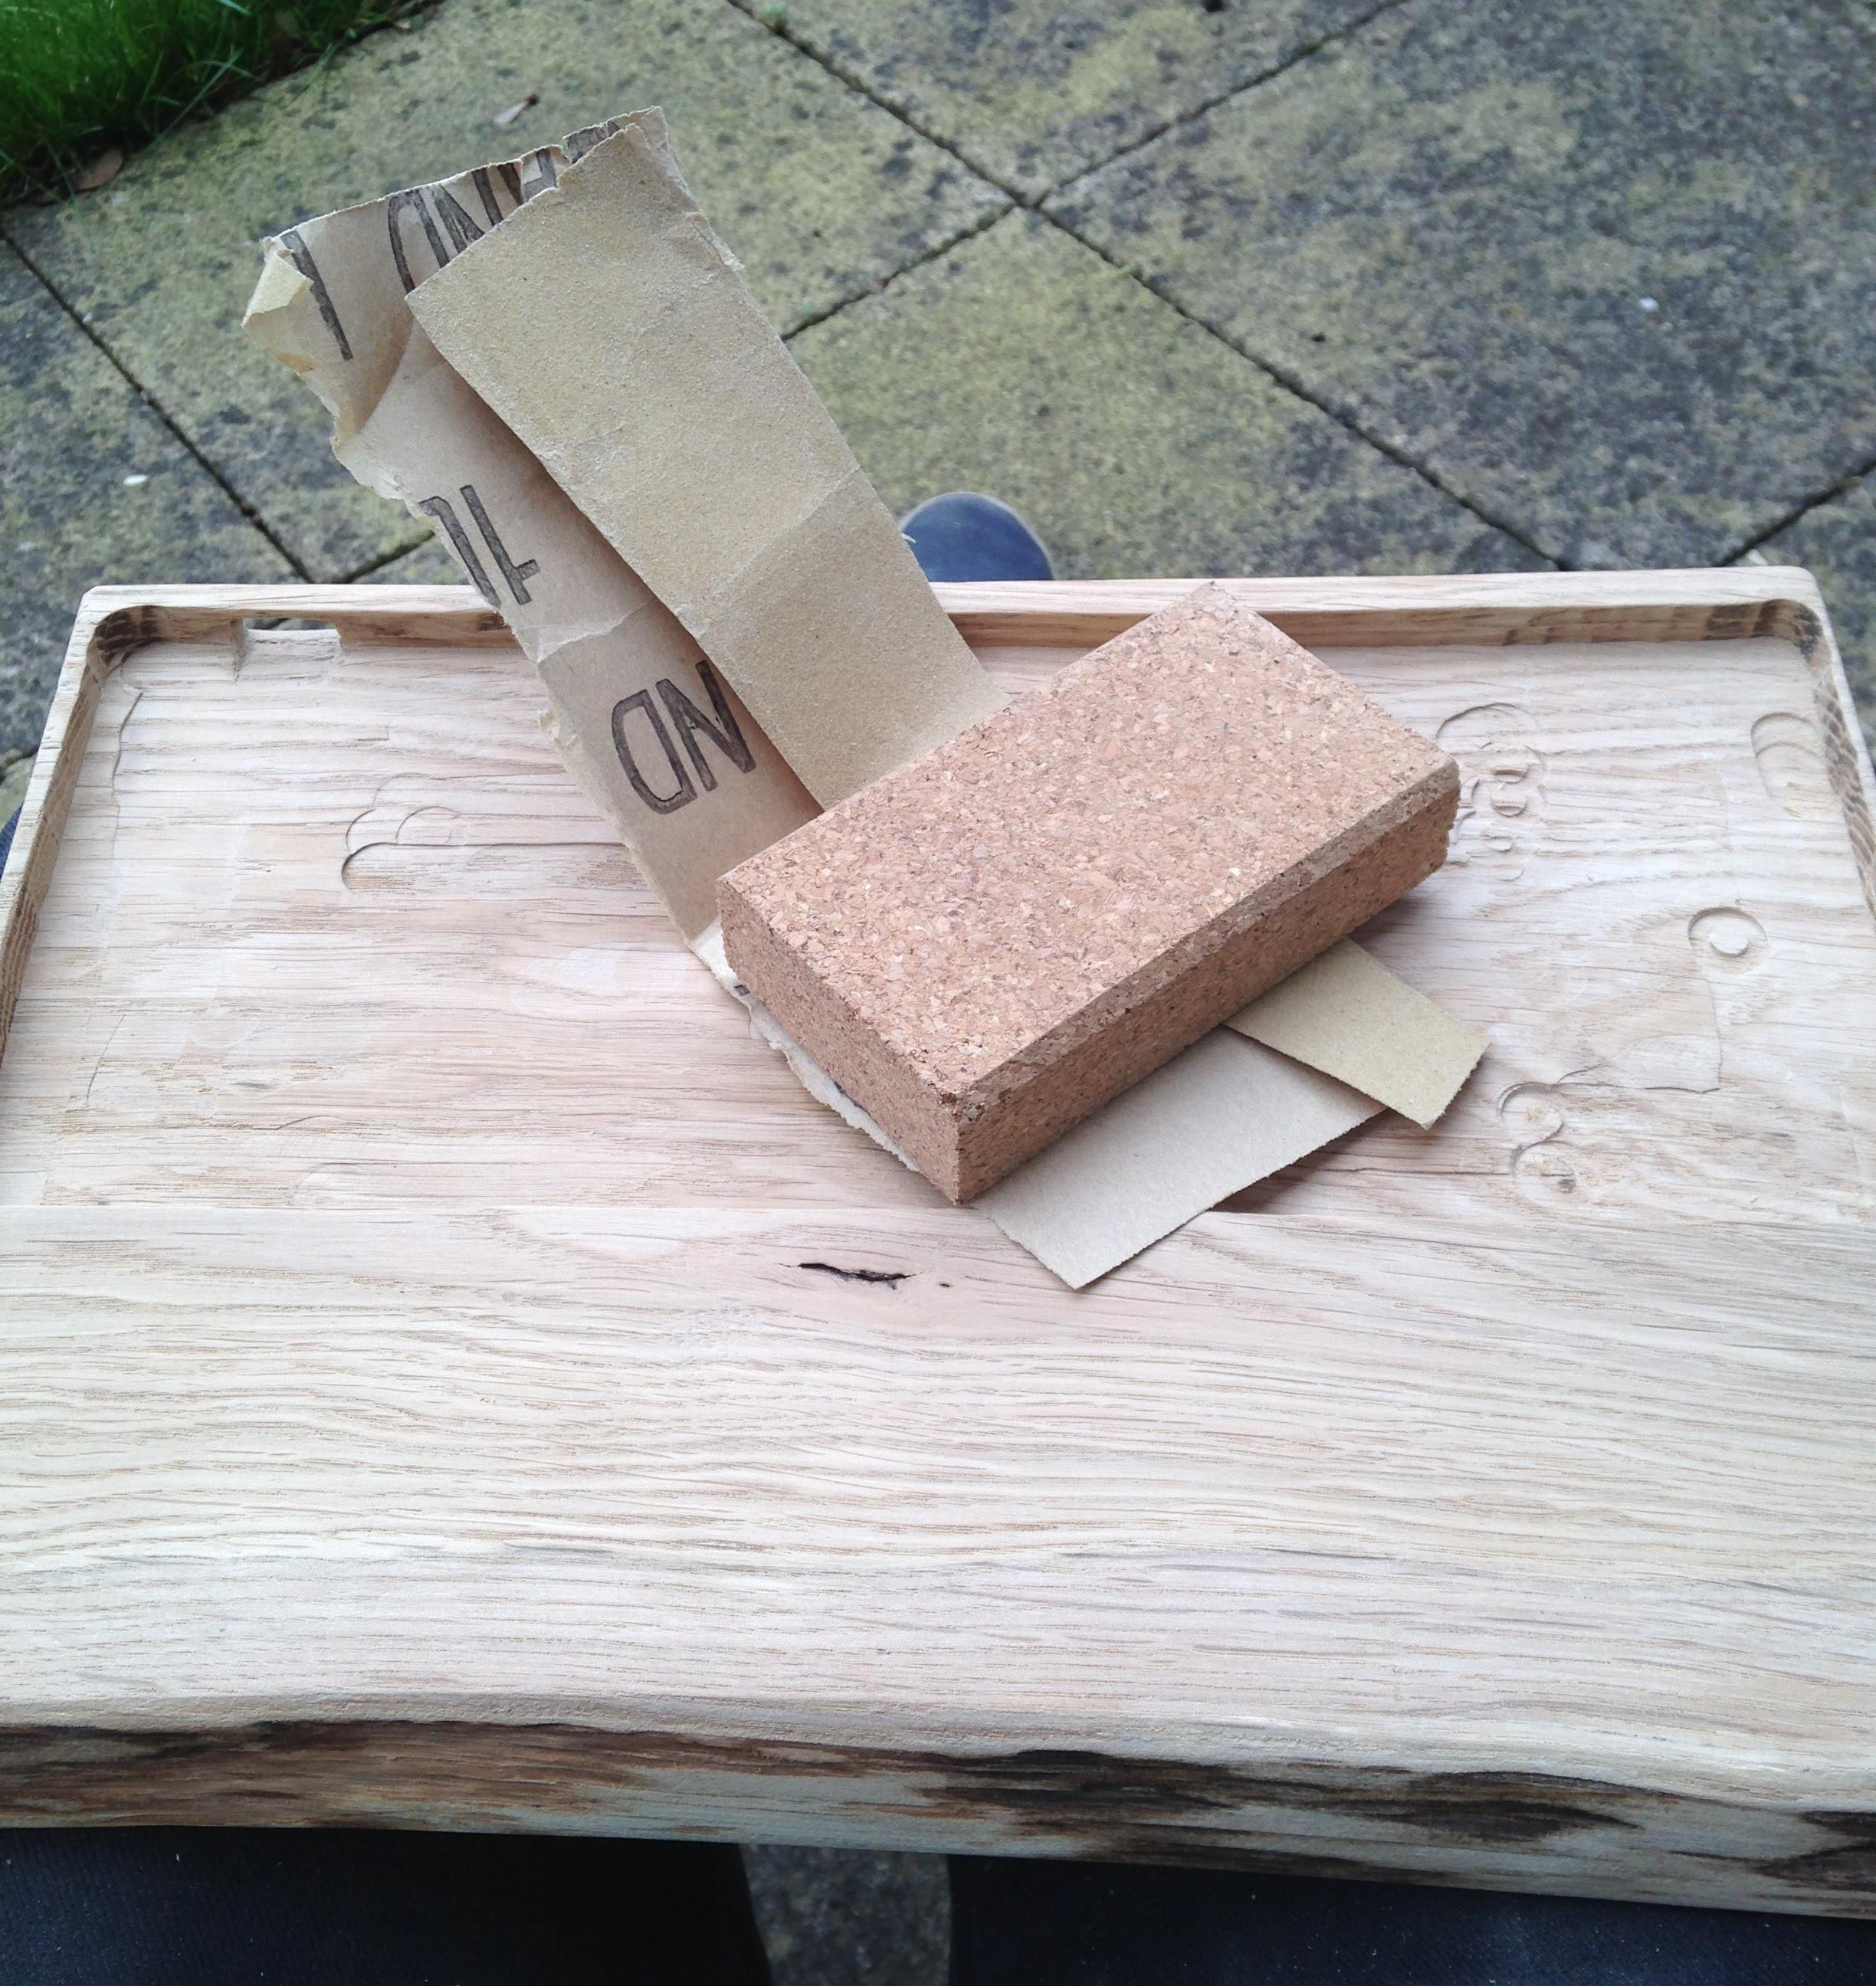
- More sanding!
- Even more sanding.
- This desperately needed sorting out. The cable hole is now a bit tidier!
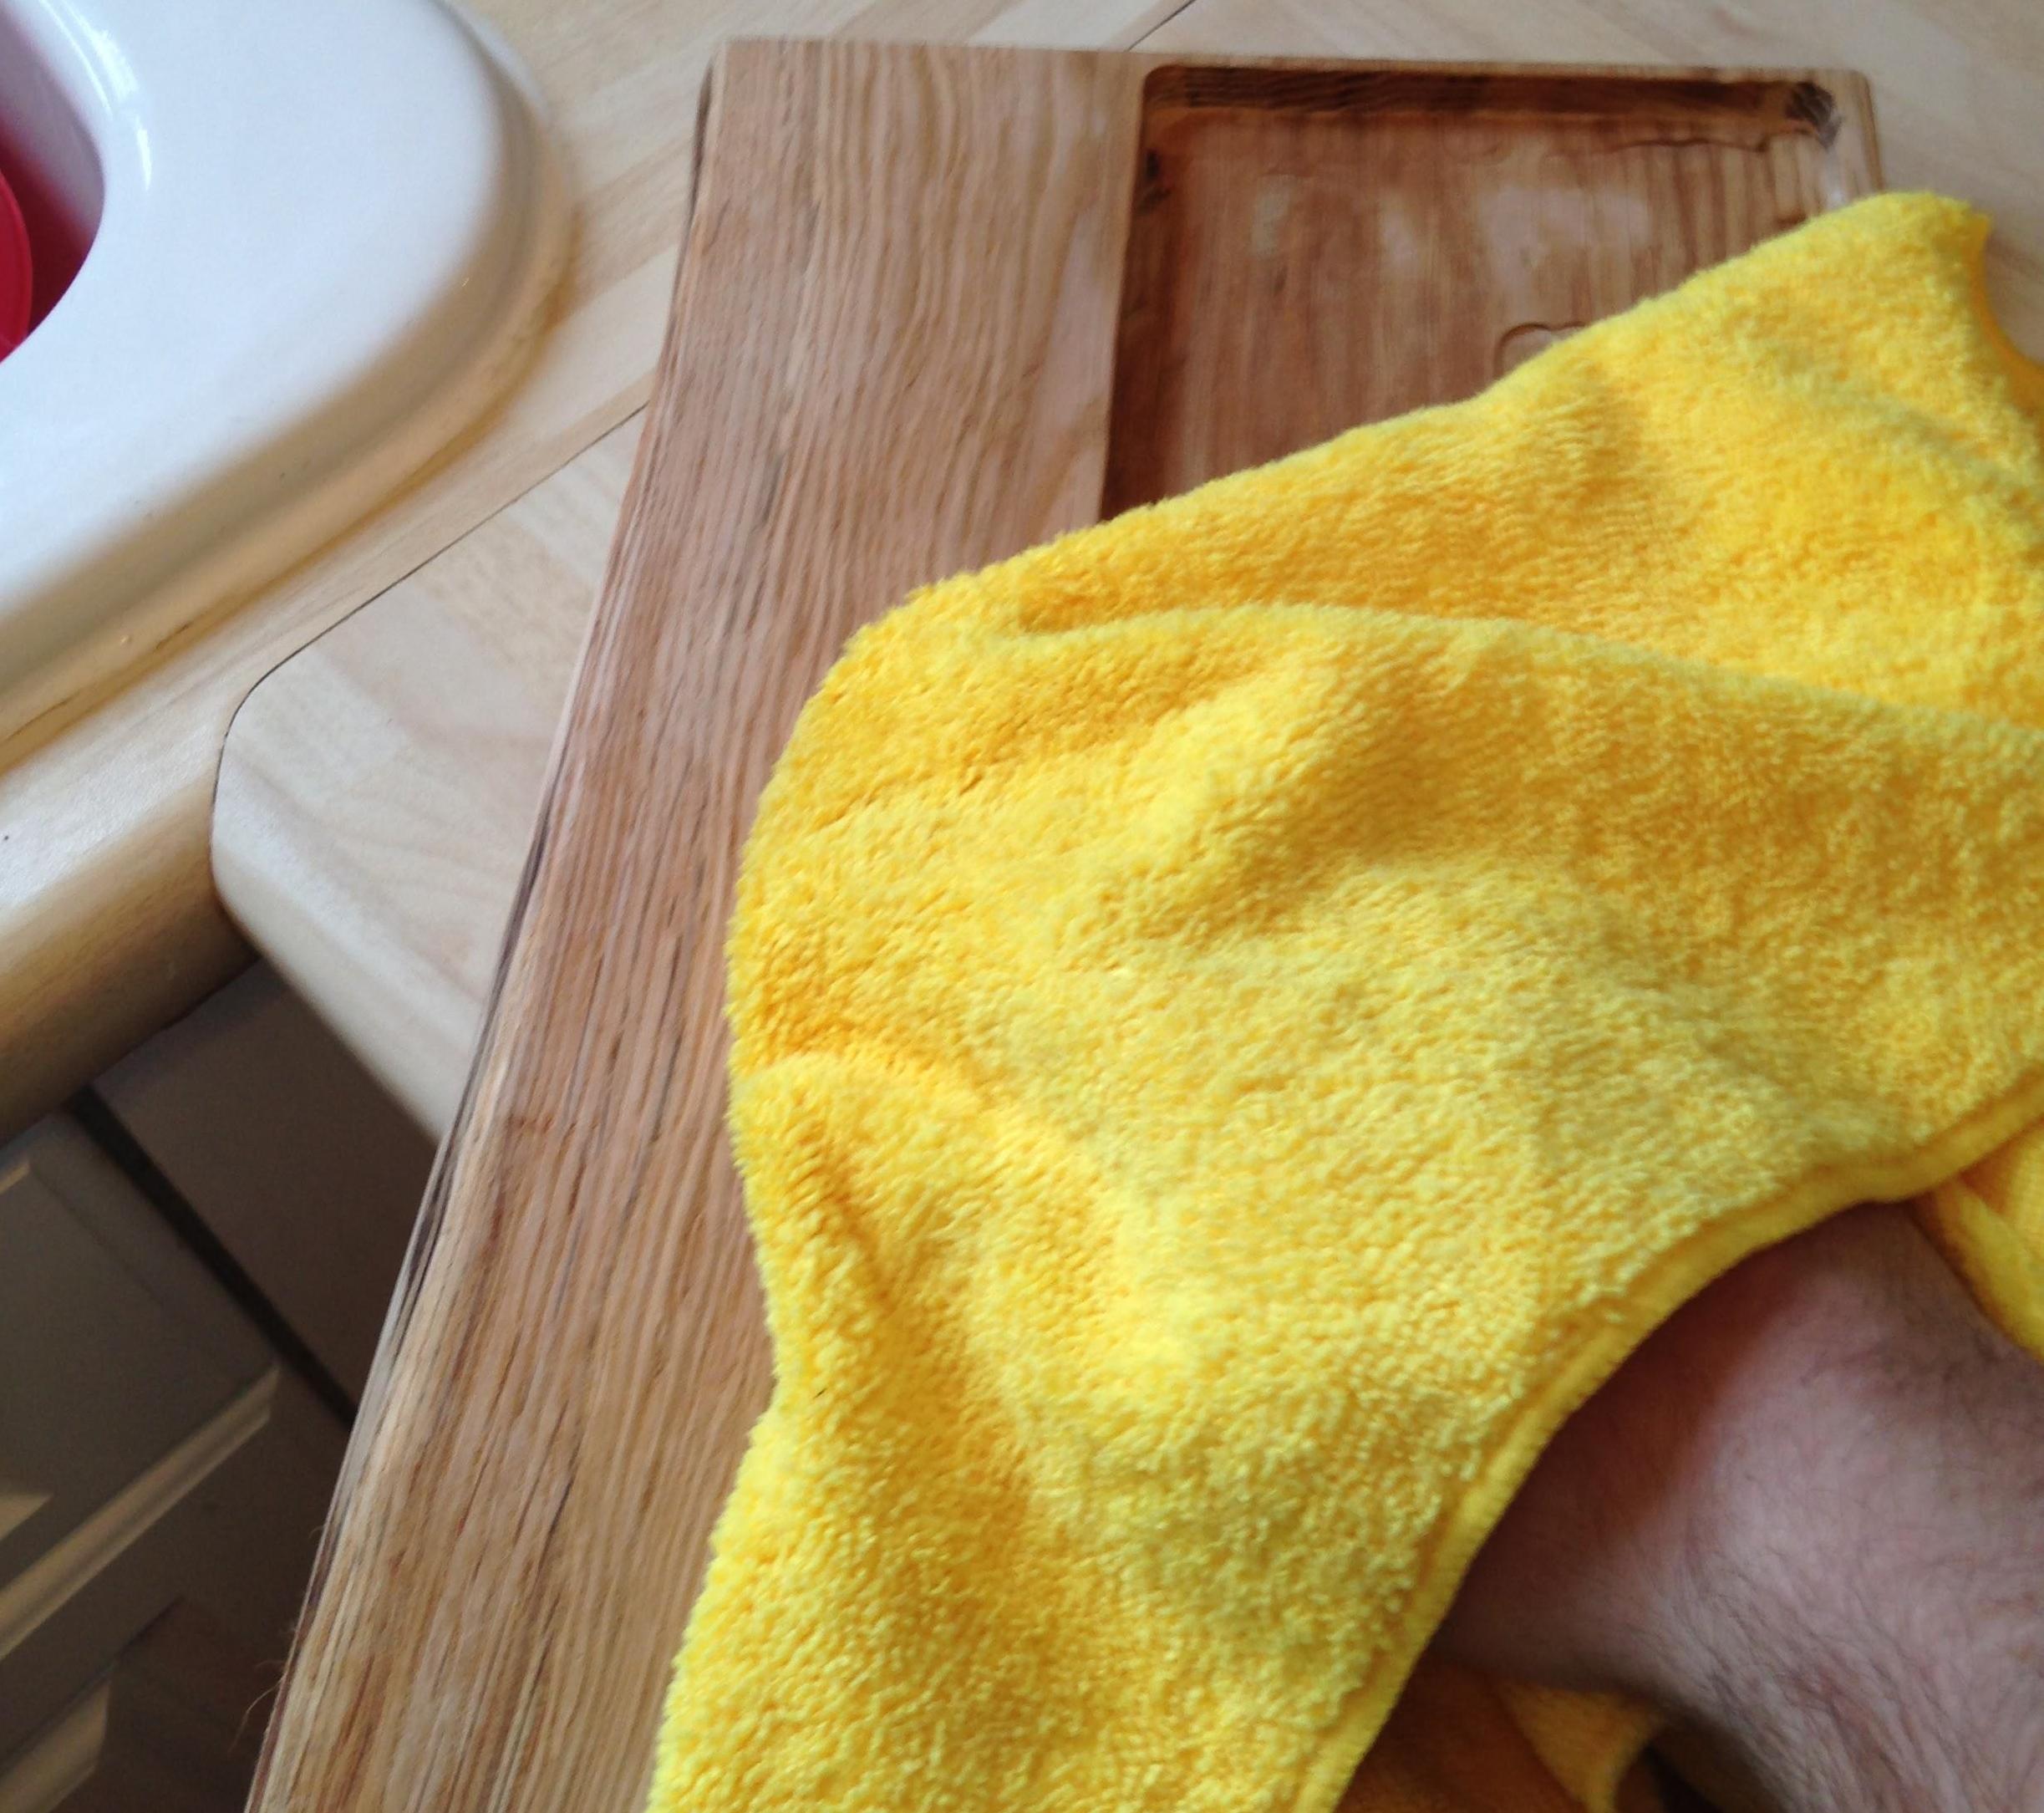
- Wiping the board down after the sanding. This removes all of the sawdust and general dirt from the wood in preparation for varnishing.
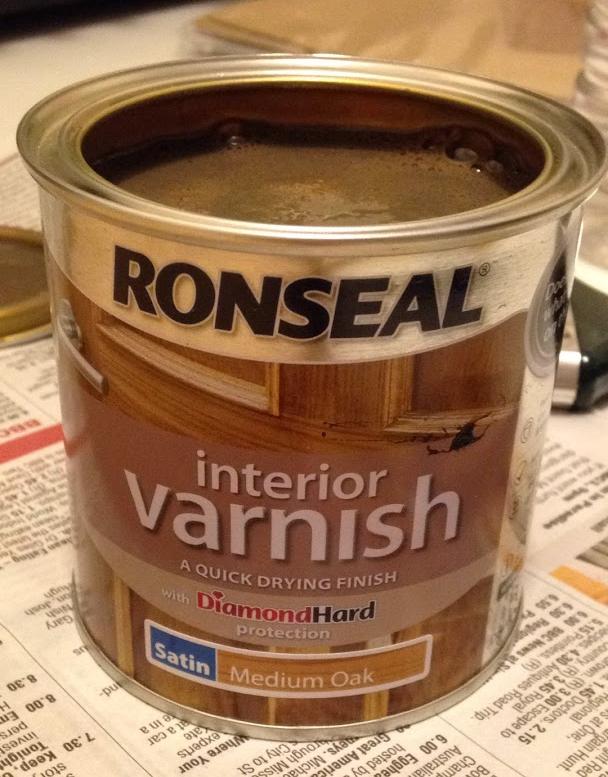
- About to start the varnishing! I chose a coloured varnish because I couldn't justify spending money on wood stain as well as varnish. This two in one seemed more sensible.
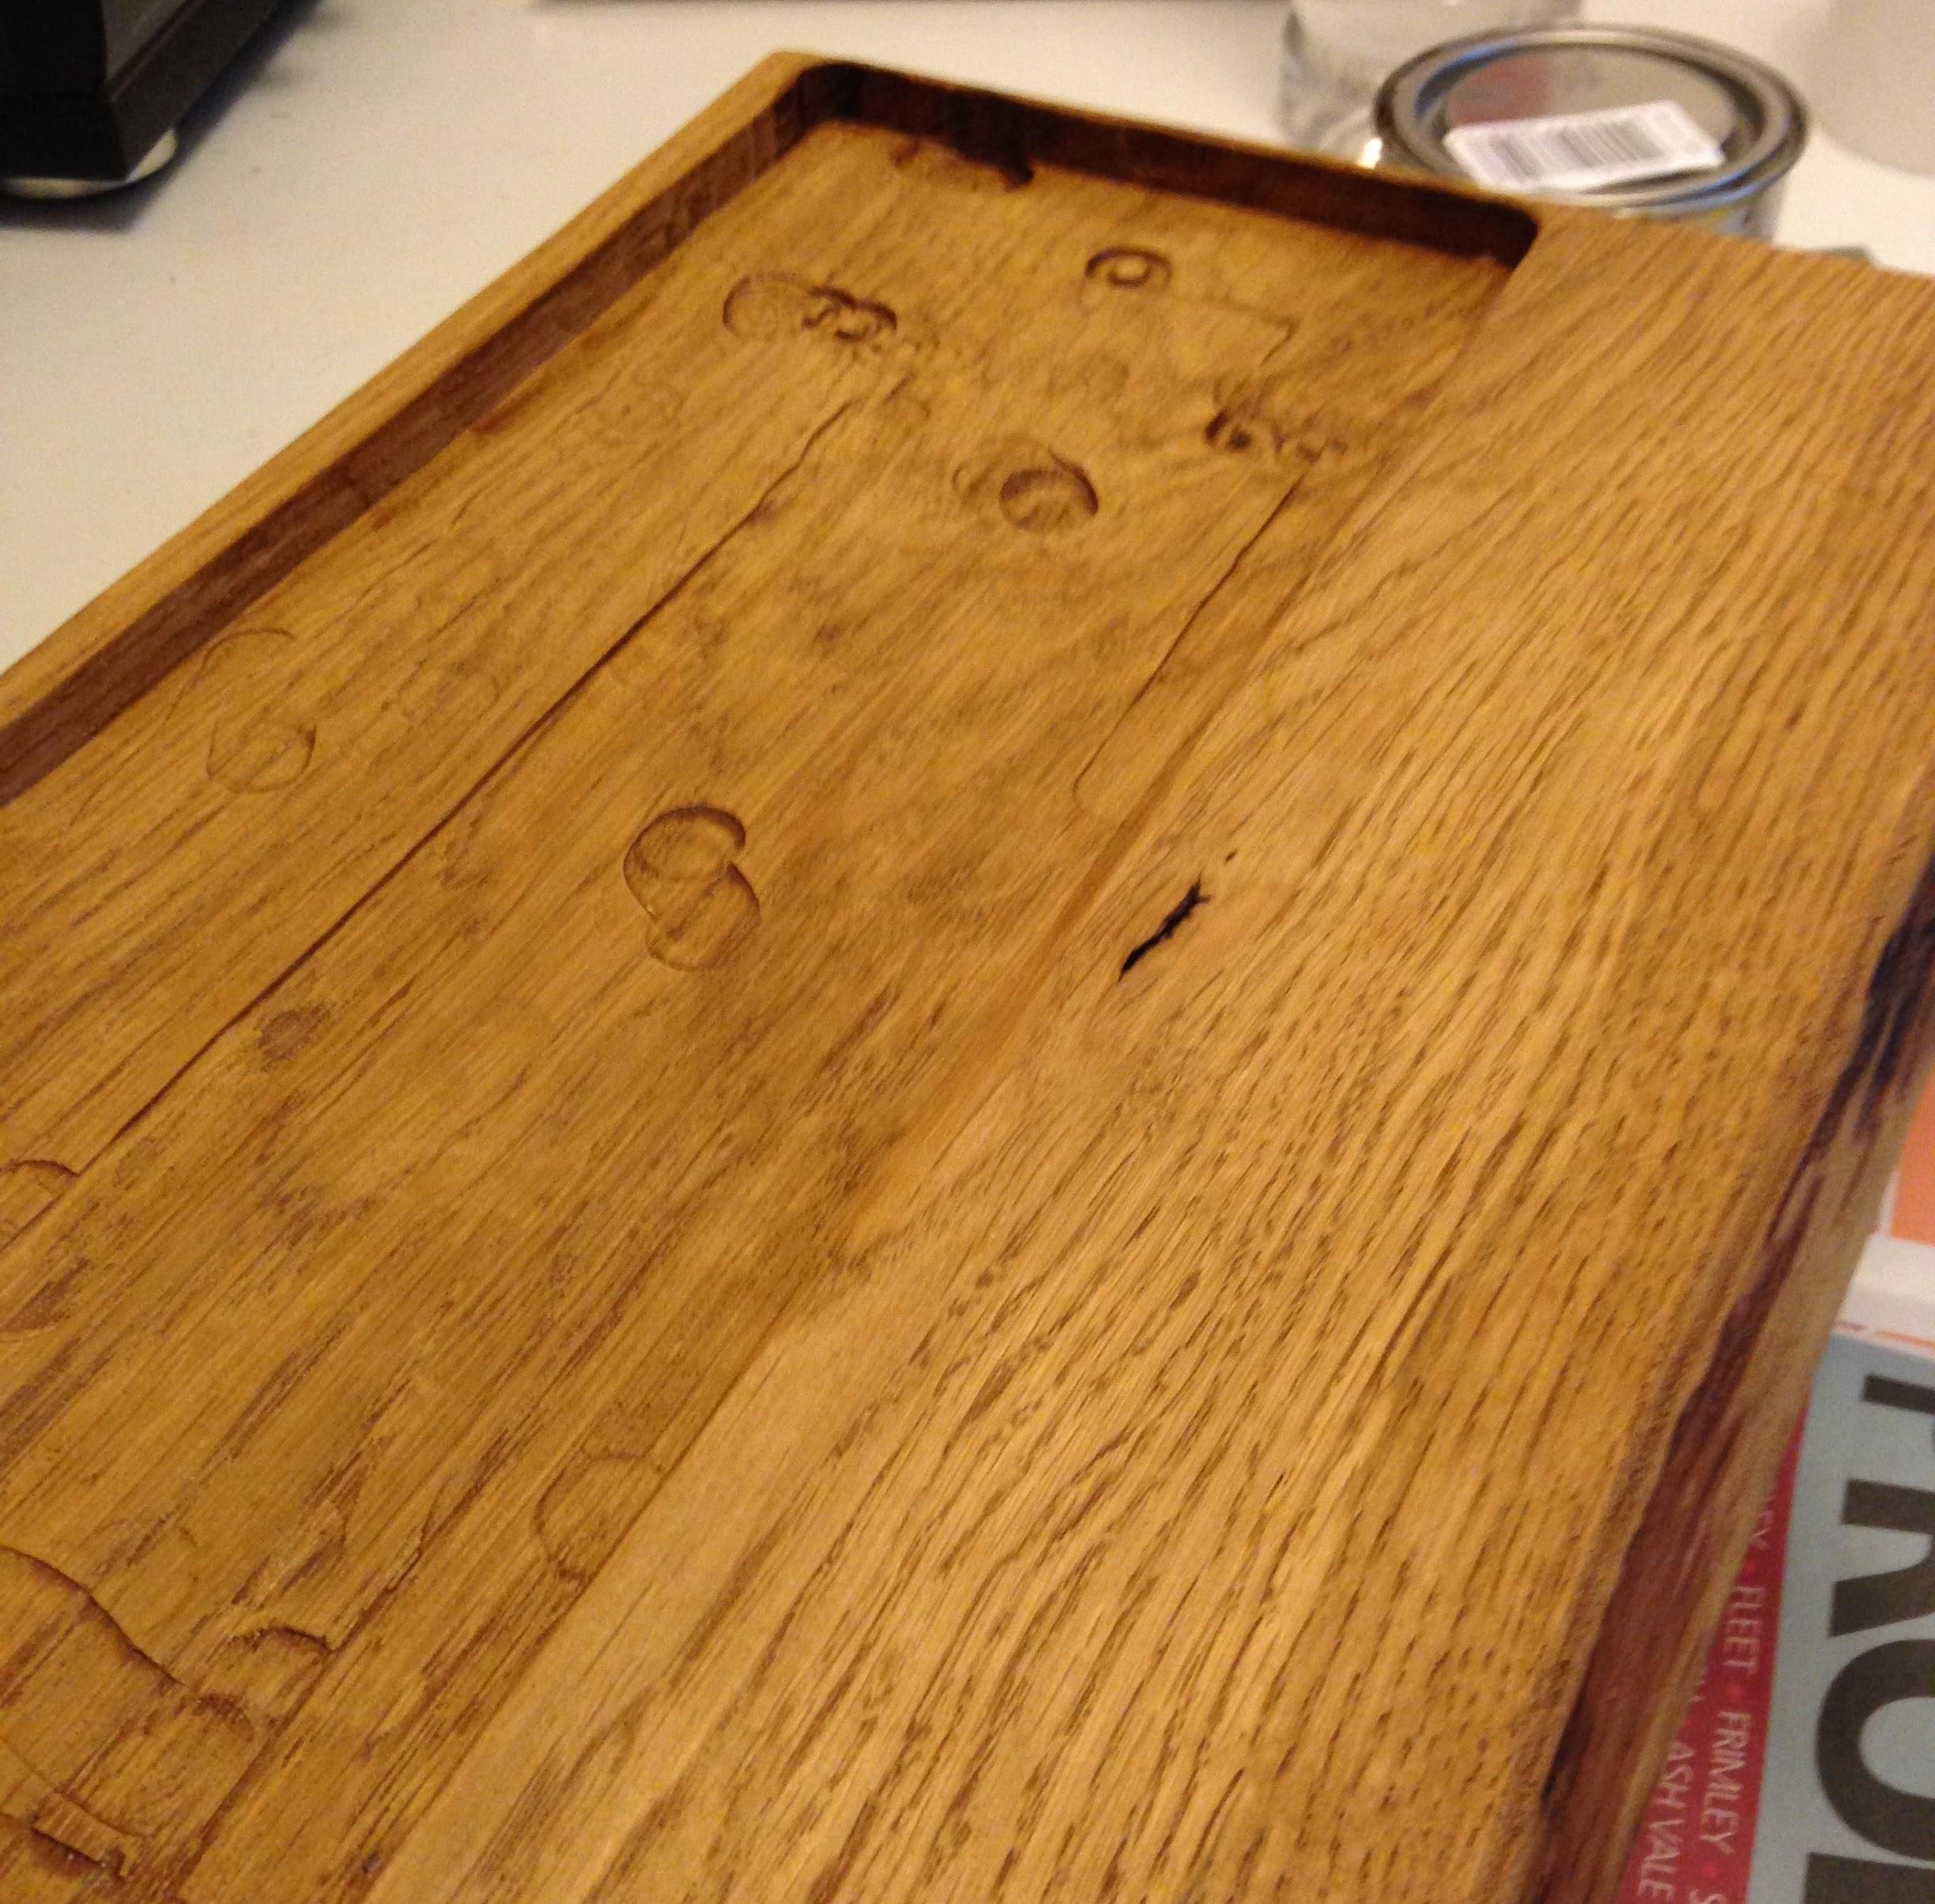
- This turned out awful. I have to admit, I was pretty worried after I did this. I put it on wayyyyyy too thick, and thought it was too dark. It was just a good job that I did it in a place that would be hidden!

- I waited until the routed bit had dried and it didn't actually look too bad. It dried a lot lighter so I did the rest of the board. This is the result of the first layer of varnishing. At this point I'm not too sure if I want to apply more coats due to the fact that it will get a lot darker with each coat. This also massively accentuated every imperfection in the routed part of the board. You can really see how bad I did this!
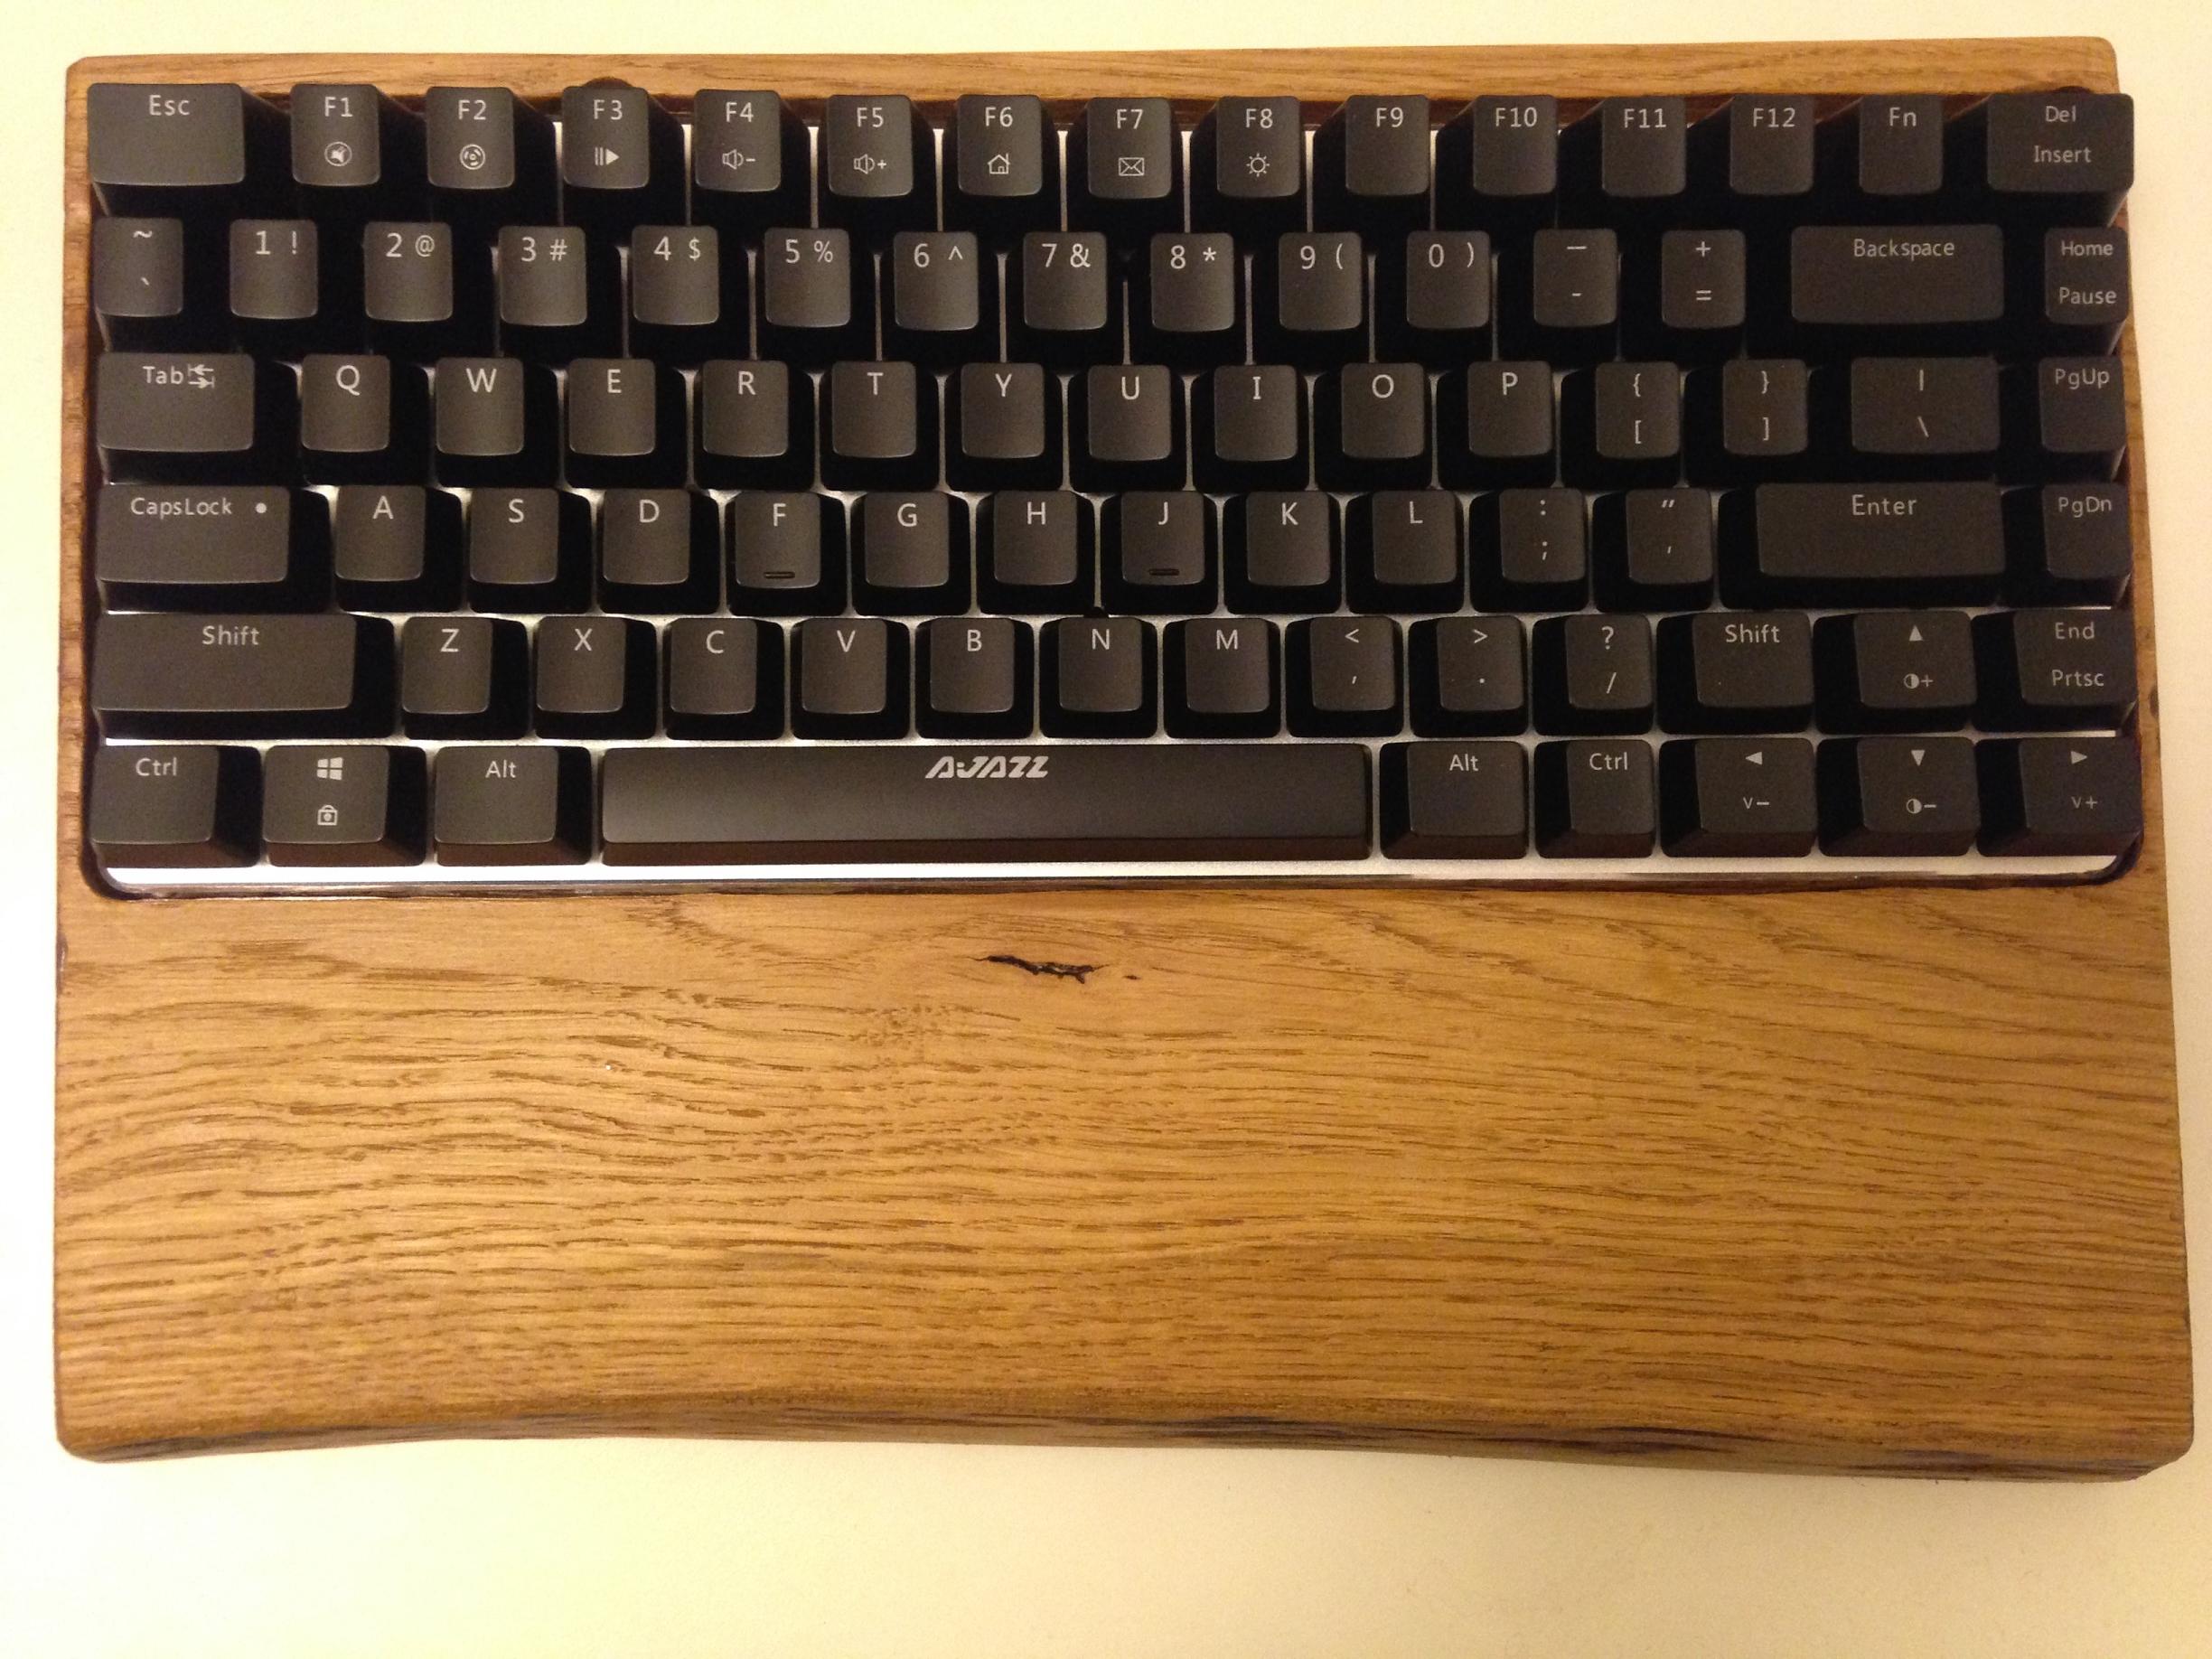
- The finished board! Top view
- The finished board! Back view
- The finished board!
I hope you enjoyed reading this, maybe even learning something along the way. I know I sure did!


